
How to Use a Plumbing Snake: DIY Guide to Unclogging Drains
To use a plumbing snake, start by gathering your tools and preparing the work area. Remove the drain cover and slowly insert the snake's feeding end into the opening. Rotate the handle clockwise to feed the cable deeper, applying steady pressure to guide bends. When you encounter the clog, rotate the cable to grip and break it up. Slowly retract the snake while rotating to extract debris. Clean the snake after use and wipe it down. Remember to wear gloves and safety glasses throughout the process. By becoming proficient in this technique, you'll be well-equipped to tackle stubborn drain clogs and save on plumbing bills.
What Is a Plumbing Snake?
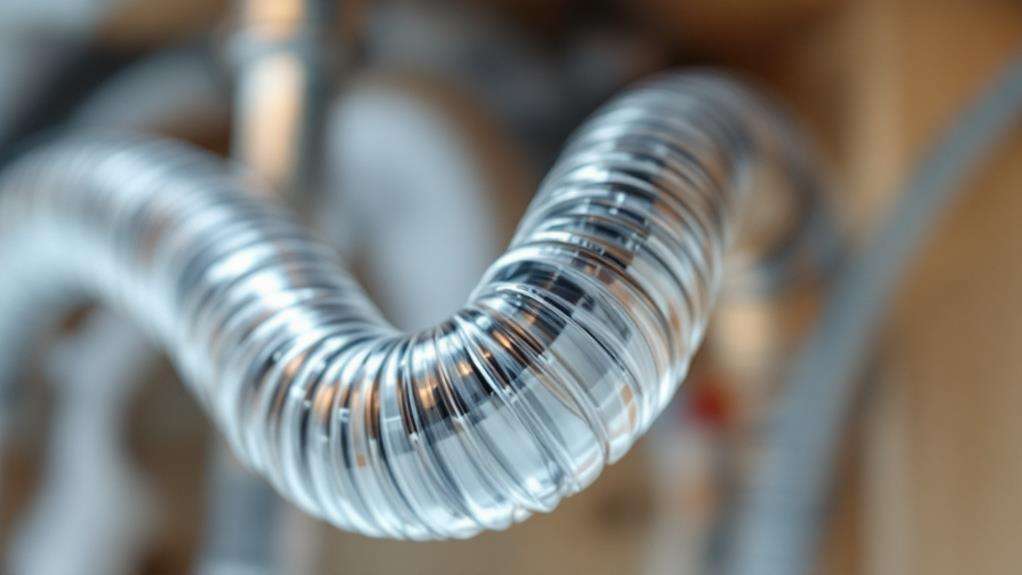
A plumber's best friend, the plumbing snake is an essential tool for tackling stubborn drain clogs. Also known as a drain auger, this versatile device consists of a long, flexible metal cable with a corkscrew-like end designed to break up and remove obstructions in your drains. When you're faced with a clogged drain that won't budge with a plunger or chemical cleaners, it's time to reach for the snake.
Drain snakes can extend up to 25 feet, allowing you to reach deep into your plumbing system. You'll find various sizes and styles available, including specialized augers for toilets, to handle different types of clogs and drain locations. Whether you're dealing with hair, soap scum, or other debris, a plumbing snake can effectively clear the blockage.
To use a drain auger, you'll either manually push the cable or rely on an electric motor to guide it through the pipes. While drain snakes are powerful implements, it's vital to use them properly to avoid damaging your plumbing. Always wear gloves and eye protection when operating a snake, and be sure to learn the correct technique for your specific drain type.
Types of Plumbing Snakes
Now that you understand what a plumbing snake is, let's investigate the different types available. Drain snakes come in various forms, each designed for specific plumbing challenges. You'll find manual cable snakes, flat tape snakes, power snakes, and specialized toilet augers on the market.
Manual snakes are your basic tool, featuring a cable and hook that you'll manually push into the drain pipe. They're great for simple clogs but require some elbow grease. Power snakes, on the other hand, are motorized versions that can tackle tougher blockages with ease. Flat tape snakes are perfect for narrow pipes, as they push clogs forward without damaging the pipe walls. For toilet-specific issues, you'll want a toilet auger, designed to clear clogs without scratching the porcelain.
When choosing a plumbing snake, consider:
- Pipe size
- Type of clog
- Manual or powered operation
- Cost vs. quality
When to Use a Snake
While plungers can tackle many common clogs, there are times when you'll need to reach for a plumbing snake. You'll want to use a drain snake when water in your sink, shower, or tub is draining slowly or not at all, and plunging hasn't solved the problem. Toilets with stubborn clogs that resist plunger efforts also call for a snake.
If you've tried removing the bathroom sink stopper or disconnecting the drain trap without success, it's time to use a drain snake. Kitchen sink clogs caused by grease and food bits often require more than just plunging. In these cases, using a drain snake can effectively break through the obstruction.
When you're dealing with a non-functioning or jammed garbage disposal, you'll need to unclog the drain before attempting repairs. Using a snake can clear the drain opening and restore proper function. Remember, before using a drain snake, it's worth trying home remedies like baking soda and vinegar to unclog a drain. However, if these methods fail, a plumbing snake is your next best option for tackling tough clogs and ensuring your drains flow freely once again.
Safety Precautions
Before you start wielding your plumbing snake, it's important to prioritize safety. Make sure you're wearing safety glasses and tight-fitting gloves to protect yourself from the rotating cable at the end of the snake. A well-lit work area free of obstructions will help you avoid accidents during the snaking process.
Before you begin, disconnect any chemicals or drain cleaners from the clogged drain. This step is essential to prevent harmful reactions and protect your plumbing systems. Follow the manufacturer's instructions carefully to use the plumbing snake effectively and safely.
- Use a sink strainer or drain covers to prevent future clogs and make your job easier.
- Be gentle when you pull the clog to avoid damaging your pipes.
- Properly dispose of any hazardous materials removed from the drain.
- Use a plumbing snake with a protective sheath to make it less likely to cause scratches or damage to your fixtures.
Preparing Your Work Area
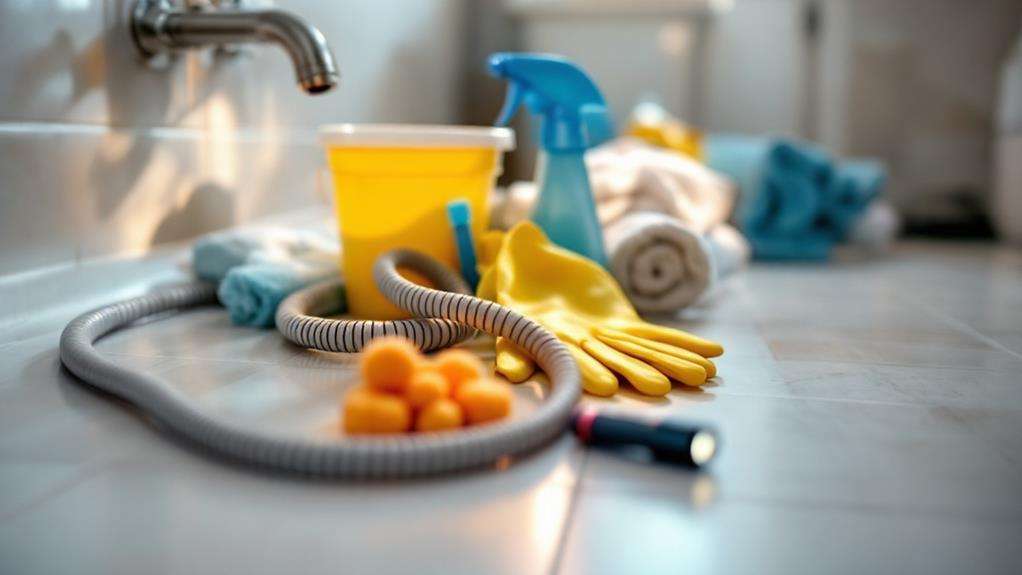
Properly preparing your work area is crucial for a successful drain-snaking operation. Begin by gathering all the necessary tools, including the drain snake, gloves, and towels. Set up your workspace near the clogged drain, ensuring it's well-lit and free of obstructions. This will allow you to easily maneuver the snake, whether you're working on a kitchen sink or a bathroom drain.
Protect surrounding surfaces by placing old towels or rags underneath the drain to catch any water or debris that may spill during the process. Wear protective gloves to avoid injury from the sharp edges of the manually operated snake. Identify the type of drain and the location of the clog to determine if your snake is long enough to reach deep within the pipes.
Before you push the snake into the drain until you feel resistance, run cold water to help lubricate the pipe. This home improvement task requires patience and precision. Regularly clean your work area as you progress to maintain a safe and efficient environment. By properly preparing your workspace, you'll be better equipped to tackle the clog and successfully complete the drain-snaking process.
Inserting the Snake
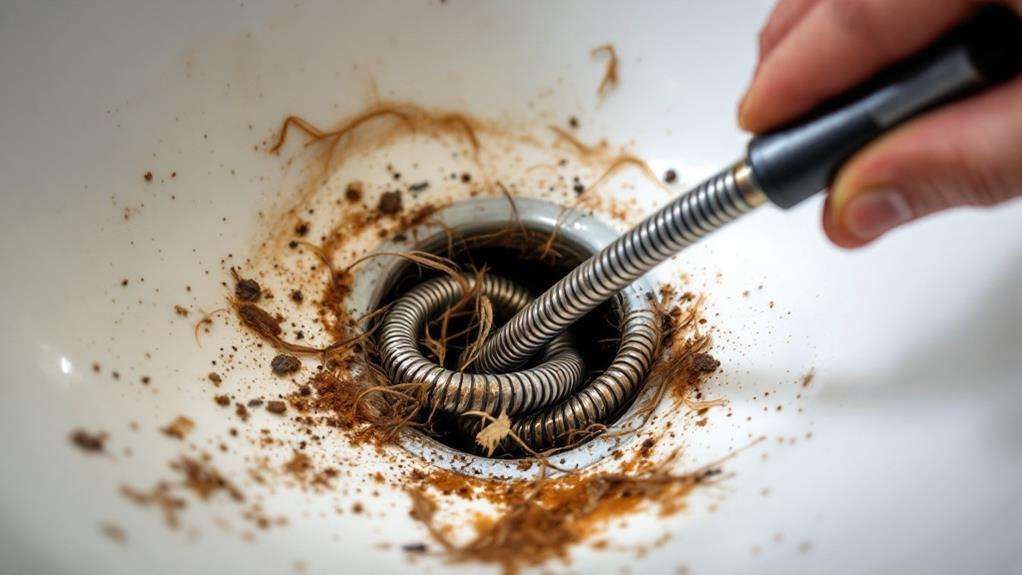
With your work area prepared, it's time to tackle the clog head-on. The first step in snaking a drain is to remove the drain cover or stopper. This gives you direct access to the drain opening, which is essential for the success of your unclogging efforts.
Once you've exposed the drain, it's time to start snaking the drain. Here's how to proceed:
- Slowly insert the feeding end of the snake into the drain opening.
- Rotate the handle clockwise to feed the cable further into the pipe.
- Apply steady pressure while adjusting the angle as needed to guide the snake through bends in the P-trap and trap arm.
- Monitor the snake's progress and stop if you encounter excessive resistance.
As you continue rotating the handle clockwise, the snake's cable will work through the clog, breaking it up as it progresses. If you're not able to remove the blockage on your first attempt, don't worry. Simply retract the snake and repeat the process. This plumbing tool is designed to be persistent, so keep at it until you've successfully cleared the drain.
Navigating Pipe Bends
The twists and turns of your plumbing system can be a challenge when using a drain snake. Maneuvering pipe bends requires careful navigation to avoid kinking or jamming the metal cable. To successfully guide the snake through your drain line, apply gentle, steady pressure while slowly rotating the cable. This technique helps you get around tight corners and traps in the main drain.
When using a snake to fix the problem of clogged drains, insert it at an angle to assist in guiding it through bends. Opt for a flexible, smaller-diameter snake to improve navigability through intricate plumbing configurations. This is especially helpful for effective drain maintenance in complex systems.
Maintain control of the snake's feed rate and rotation as you work. This is essential to successfully passing it through bends without getting stuck. If you encounter resistance, don't force the cable. Instead, try pulling the cable back slightly and adjust your approach. Remember, patience is key when navigating pipe bends. After snaking, run water through the drain to confirm you've cleared the blockage and to flush out any debris dislodged during the process.
Removing the Clog
Once you've traversed the pipe bends, it's time to tackle the clog itself. As you feel resistance, you've likely encountered the blockage. To effectively remove the clog and guarantee proper drain cleaning, follow these steps:
- Rotate the cable: Turn the snake's handle clockwise to help the auger grip the obstruction. This is especially useful for bathroom sink and shower drain clogs, where hair and soap buildup often occur.
- Apply gentle pressure: Push forward slightly while continuing to rotate. Don't force it, as this could damage the pipes.
- Retract and repeat: Pull the cable back a few inches, then push forward again. This motion helps break up the clog and avoid damaging the pipe's interior.
- Extract the debris: Once you feel the resistance lessen, slowly retract the snake while continuing to rotate it. This action will help remove the clog material.
If you're still having trouble, you may need to remove the overflow plate or P-trap for better access. Remember, to avoid clogs in the future, use drain covers and regularly clean your drains. If you encounter persistent blockages or aren't comfortable using a plumbing snake, don't hesitate to call a professional plumber.
Cleaning and Maintenance

After successfully unclogging your drain, it's indispensable to clean and maintain your plumbing snake. Whether you've used it in a tub or shower, clogged toilet, or sink, proper care guarantees your tool remains effective for future use.
Start by wiping down the cable with a damp cloth to remove any debris, including grease or oil. This step is vital, especially if you've used a closet auger or toilet auger. Inspect the entire length of the cable, including the first three feet and one end, for any damage or wear. Look for kinks or a dull cutter head that might need replacement.
Once cleaned, store your plumbing snake in a dry, accessible location. Avoid leaving it in water or corrosive solutions, as this can damage the metal components, including any plastic nuts or attachments. If you've used an electric drill attachment, make sure it's completely dry before storage.
Properly dispose of any hazardous materials removed from the drain, such as hair or grease. You may want to use old towels to collect and dispose of these substances safely. By following these maintenance steps, you'll extend the life of your plumbing snake and ensure it's ready for the next clog.
Preventing Future Clogs
Proactive maintenance is key to preventing future clogs and reducing the need for your plumbing snake. To keep your drains flowing freely, implement these simple yet effective strategies:
- Install drain covers or strainers in all your sinks, showers, and tubs. These handy devices catch hair, food particles, and other debris before they enter your pipes, substantially reducing the risk of clogs.
- Regularly clean out the P-trap beneath your sinks. This U-shaped pipe section can accumulate gunk and debris over time, leading to slow drains or blockages.
- Avoid pouring grease, oil, or other fatty substances down your drains. These can solidify in your pipes, creating stubborn clogs that are difficult to remove.
- Use a natural cleaning solution of baking soda and vinegar to maintain your drains. Pour this mixture down your drains monthly to help dissolve buildup and prevent clogs.
Consider installing a garbage disposal in your kitchen sink to grind up food waste before it enters your plumbing system. This can help prevent large food particles from causing blockages. By following these preventive measures, you'll minimize the likelihood of future clogs and keep your drains running smoothly.