
Tips for Installing PVC Pipes in Your Home
When installing PVC pipes in your home, start by choosing high-quality materials and gathering essential tools like a pipe cutter, primer, and cement. Measure and cut pipes accurately, allowing for expansion. Clean and prime surfaces thoroughly before applying cement. Assemble pipes and fittings with a quarter-turn motion, holding them steady for initial setting. Support horizontal pipes every 4-6 feet and maintain proper slope for drainage. Always test your installation for leaks before finalizing. By following these tips, you'll guarantee a durable and efficient plumbing system. There's more to learn about creating a professional-grade PVC pipe installation in your home.
Understand PVC Pipe Basics
Diving into the world of PVC pipes, it is vital to grasp their fundamental characteristics and applications. PVC, or polyvinyl chloride, is a durable, lightweight, and corrosion-resistant plastic that's widely used in plumbing systems. When you're looking to install PVC pipes in your home, you'll appreciate their versatility and ease of use.
These pipes are perfect for potable water systems, underground piping, and sprinkler irrigation. They're also suitable for transporting various chemicals, making them ideal for different household and industrial applications. Before you start your project, make sure that PVC is compatible with the materials you'll be transporting and your home's environmental conditions.
When working with PVC, you'll need a few essential tools, including a PVC pipe cutter and cement. These will help you cut and join pipes effectively. Remember, PVC pipes offer numerous benefits, such as low installation and maintenance costs, and resistance to rust, rot, and corrosion. Their smooth interior surface prevents buildup, allowing for better flow and lower pressure loss compared to other materials. By understanding these basics, you'll be well-prepared to tackle your PVC pipe installation project with confidence.
Choose Quality Materials
When it comes to PVC pipe installation, choosing quality materials is indispensable. You'll want to invest in high-quality PVC pipes and fittings that exceed industry standards, guaranteeing superior strength and corrosion resistance. Reputable brands like Sentini Flo Pipes offer durable products that can prevent up to 80% of common plumbing failures, making them a judicious choice for your project.
Don't be tempted to cut corners with substandard materials. Selecting PVC pipes and fittings from trusted manufacturers ensures compatibility and a secure, leak-proof system. These high-quality products are specially formulated to withstand demanding applications and harsh environmental conditions, providing long-term performance and preventing potential issues.
When installing your PVC system, remember to use PVC primer to clean the pipe and fitting surfaces before applying PVC cement. This step is pivotal for creating a strong bond between the pipe and fitting. Properly clean and prepare all components to guarantee a tight, lasting connection. By following these Installation Tips and using top-quality materials, you'll create a reliable plumbing system that stands the test of time and minimizes the risk of future problems.
Gather Essential Tools
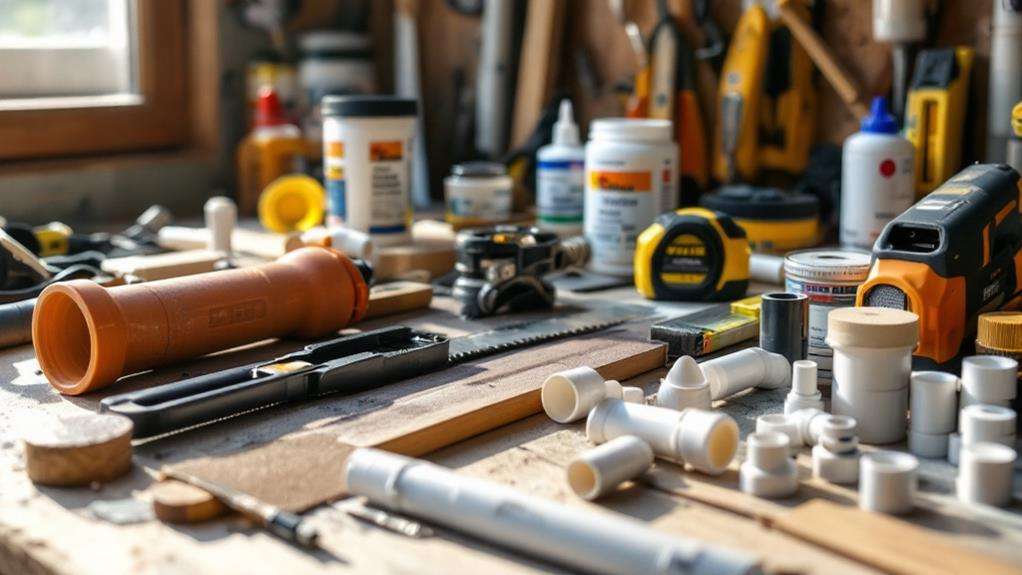
Gathering the right tools is essential for a successful PVC pipe installation. Before you begin, make sure you have a hacksaw or PVC pipe cutter for precise cuts. You'll also need emery cloth or sandpaper to smooth the cut edges**** and remove burrs, guaranteeing a clean surface for bonding.
Don't forget these critical items for your PVC pipe project:
- PVC primer to clean and prepare the pipe and fitting surfaces
- PVC Solvent Cement for creating strong, permanent bonds
- Measuring tape and marker for accurate measurements
- Clean rags for wiping surfaces and cleanup
Applying PVC Solvent Cement correctly is paramount for a leak-free installation. Before using the cement, ensure you've properly cleaned and primed the surfaces. The primer helps the cement bond more effectively, guaranteeing a watertight seal between pipes and fittings.
Remember to use the right tools for each step of the process. A proper cutting tool will give you clean, straight cuts, while sandpaper will help you achieve smooth edges. By having all these tools on hand, you'll be well-prepared to tackle your PVC pipe installation project efficiently and effectively.
Measure and Cut Accurately
Precision is key when measuring and cutting PVC pipes for your installation project. To guarantee a proper fit and prevent leaks, you'll need the following tools: a measuring tape, a miter box or PVC pipe cutter, and a file or sandpaper. Start by taking precise measurements of the length of pipe needed, using your measuring tape. Remember to account for a small 1/8-inch gap between pipes to allow for expansion and contraction.
When you're ready to cut, carefully mark the cut lines on the pipe to maintain consistent length and alignment. Choosing the right cutting method is essential for clean, square cuts. Use a miter box or PVC pipe cutter to achieve this. After cutting, don't forget to deburr the cut edges with a file or sandpaper to remove any rough spots that could compromise the joint.
Proper preparation of your pipes is crucial for a successful installation. By taking the time to measure accurately and cut precisely, you'll guarantee that your PVC pipes fit together seamlessly. This attention to detail will help prevent leaks and guarantee a long-lasting, reliable plumbing system in your home.
Clean and Prime Surfaces
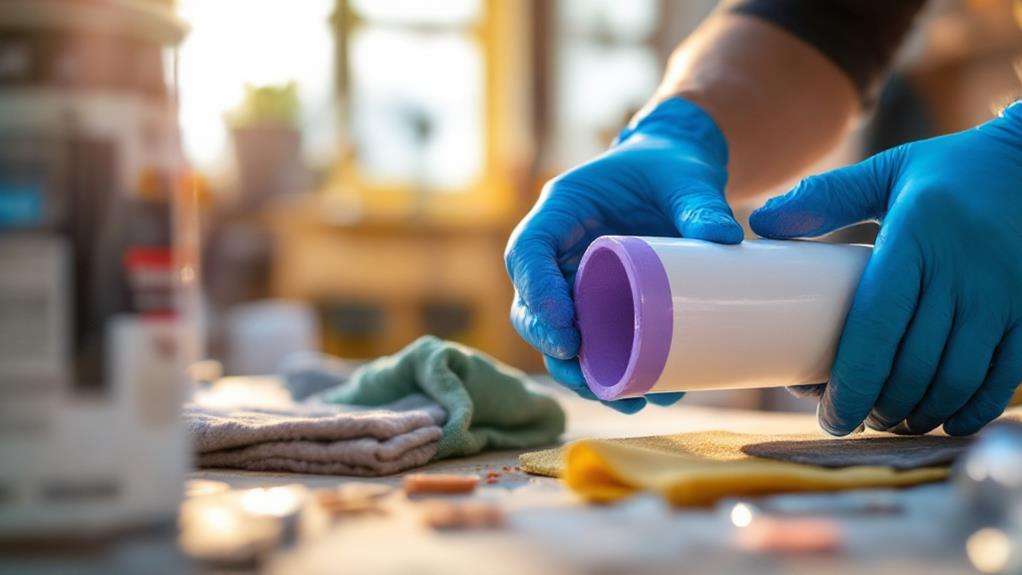
Prepping surfaces properly is essential for a successful PVC pipe installation. Before you start, guarantee you have the necessary materials: a degreasing agent, PVC primer, and cement. Follow these steps to clean and prime your surfaces:
- Thoroughly clean the pipe and fittings with a degreasing agent, removing any dirt, grease, or debris. This step is vital as contaminants can lead to weak joints and potential leaks.
- Apply a thin, even layer of primer to the outside of the pipe and the inside of the fittings. The primer helps clean and soften the PVC surfaces, creating a stronger bond when the cement is applied.
- Allow the primer to dry completely before proceeding. This usually takes only a few minutes, but always follow the manufacturer's instructions for best results.
- Once dry, apply the PVC cement as directed. Remember, proper surface preparation is key to a durable installation.
Apply Cement Properly
Once you've prepped the surfaces, it's time to plunge into applying the PVC cement. Apply a thin, even coat of cement to both the pipe and the fitting surfaces. It's indispensable to cover the entire area that will be joined to guarantee a strong, lasting bond.
After applying the cement, you'll need to act quickly. Immediately after applying, insert the pipe into the fitting while giving it a quarter turn. This twisting motion helps distribute the cement evenly and creates a tighter seal. Hold the joint steady for 30 seconds to allow the initial setting of the cement. This brief pause is essential for preventing the pipe from slipping out of position.
Once you've held it for the required time, you can release the joint. However, don't subject it to any pressure or stress just yet. Follow the manufacturer's recommended cure time to confirm the bond is fully set. While you're waiting, wipe away any excess cement that may have squeezed out during the process. This step not only improves the appearance but also helps prevent potential leaks.
Applying PVC cement correctly is essential for creating reliable, watertight connections in your plumbing system.
Assemble Pipes and Fittings
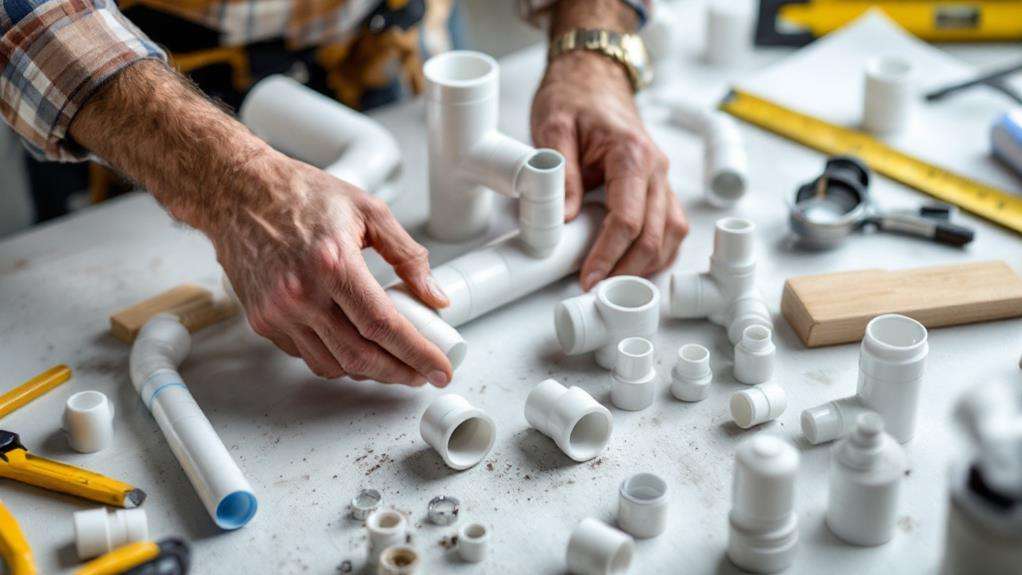
The cornerstone of successful PVC pipe installation lies in properly assembling pipes and fittings. Once you've applied the cement, you'll need to act quickly to insert the pipe into the fitting. Make sure you've aligned the pieces correctly before proceeding. To safeguard a secure connection, follow these steps:
- Push the pipe into the fitting using firm, steady pressure. You'll feel resistance as the pipe enters the socket.
- Give the pipe a quarter turn as you insert it. This helps distribute the cement evenly and creates a stronger bond.
- Continue pushing until the pipe reaches the fitting's stop. Don't force it beyond this point.
- Hold the connection in place for about 30 seconds to allow the cement to set initially.
As you assemble, keep in mind that timing is vital. You'll need to work efficiently, as PVC cement sets quickly. If you're joining multiple pieces, have them laid out and ready beforehand. Remember to wipe away any excess cement that squeezes out of the joint. This not only improves the appearance but also prevents potential weak spots. By following these steps and working with precision, you'll safeguard a secure and long-lasting PVC pipe installation.
Support and Slope Correctly
Ensuring proper support and slope for your PVC pipes is essential for their longevity and ideal performance. When you support and slope correctly, you'll prevent sagging, which can lead to leaks and poor drainage. Start by familiarizing yourself with local building codes, as they often dictate specific requirements for pipe support and slope.
Use a measuring tape to determine the proper spacing between pipe supports. Generally, horizontal pipes should be supported every 4 to 6 feet, while vertical pipes need support at each floor level. Install hangers or brackets that are compatible with PVC pipes, ensuring they're securely fastened to joists or walls.
For proper slope, aim for a minimum of 1/4 inch drop per foot of horizontal run for drainage pipes. This gradient allows waste and water to flow smoothly through your plumbing system. Use a level tool to verify the correct slope during the installation process.
If you're unsure about achieving the right support and slope, don't hesitate to seek professional help. While PVC pipes are known for their ease of installation, proper support and slope are paramount for a long-lasting, efficient plumbing system. Taking the time to get it right will save you from future headaches and costly repairs.
Test for Leaks
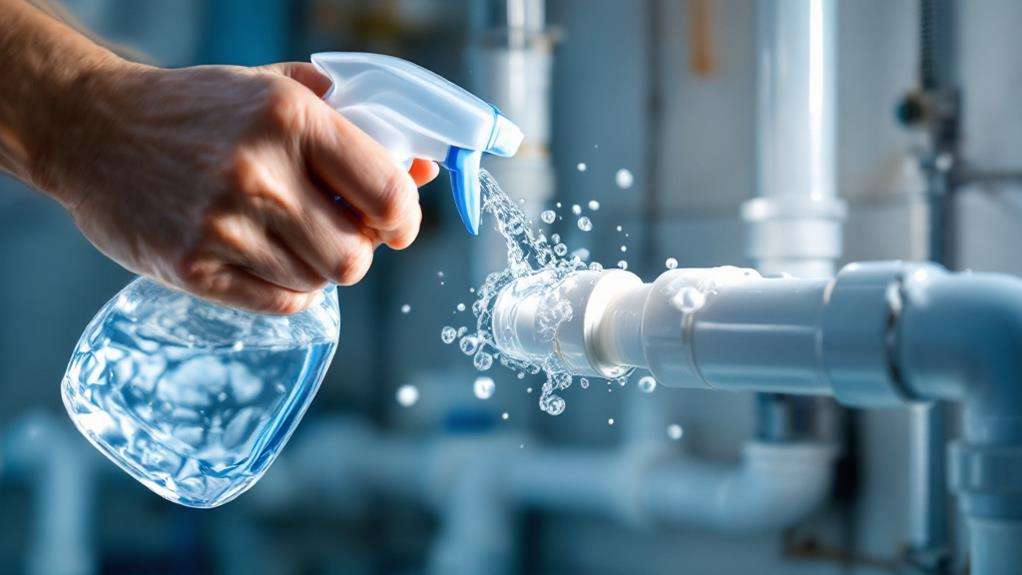
After completing your PVC pipe installation, it is necessary to test for leaks. Begin by conducting a visual inspection of the entire system, ensuring you've removed any dirt from the outside of the pipe. This initial check can help identify obvious issues before pressurizing the system.
Next, perform a pressure test by slowly introducing water to the system. Follow these steps:
- Close all valves initially
- Open valves one at a time, checking for smooth operation
- Monitor the system as it reaches operating pressure
- Evaluate the system's response when turned off and on
As you test, pay close attention to any signs of leaks or unusual behavior. It is indispensable to simulate your system's typical usage conditions during this process, as it can reveal potential issues that might not be apparent under static conditions.
Throughout the testing phase, keep a watchful eye on all connections, joints, and fittings. If you notice any water seepage or sudden pressure drops, you'll need to address these problems before considering your installation complete. Remember, a thorough leak test now can save you from costly repairs and water damage in the future.