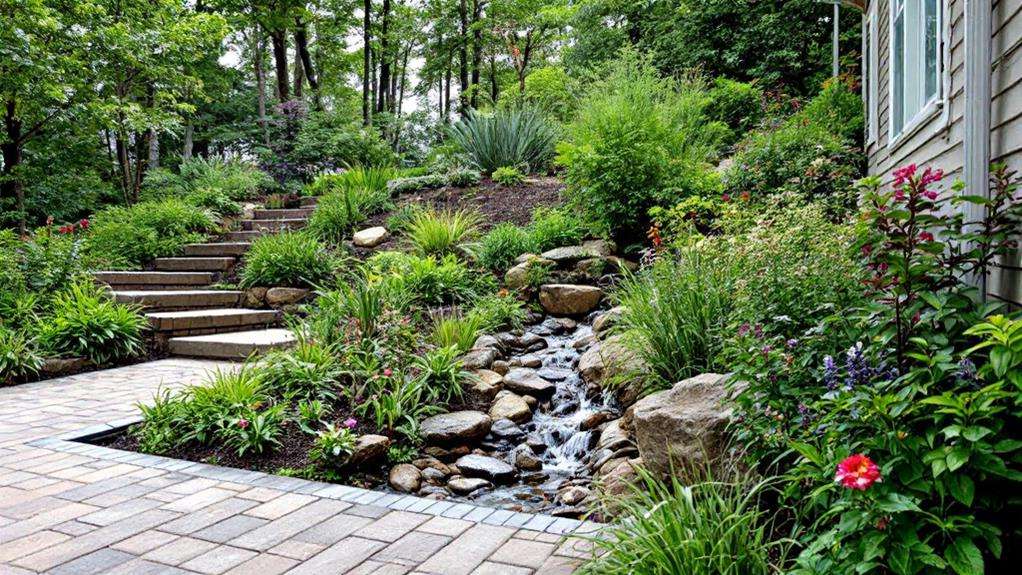
Outdoor Water Feature Plumbing: Tips for Building a Pond or Fountain
When building an outdoor water feature, proper plumbing is vital. Start by sizing pipes correctly for ideal flow, typically 1-2 inches for most ponds or fountains. Select a pump with the right capacity and install it at the lowest point. Set up a filtration system with a skimmer box and bio-falls for clean, circulating water. Carefully trench and bury plumbing, ensuring a slight slope for drainage. Don't forget to integrate lighting for ambiance and consider an automated dosing system for easy maintenance. Proper winterization is essential to protect your investment. With careful planning, you'll create a stunning and functional water feature that'll bring joy for years to come.
Sizing Pipes for Optimal Flow
When it comes to creating a stunning outdoor water feature, proper pipe sizing is the backbone of your project. To achieve paramount water flow rates of 500 to 2,000 gallons per hour, you'll want to use pipes with diameters ranging from 1 to 2 inches for your fountain or pond.
Calculating the required pipe size is integral and depends on several factors. You'll need to ponder your pump capacity, desired flow rate, and the overall elevation change in your system. Larger pipe diameters reduce friction losses and allow for higher flow rates, but keep in mind they require more excavation and stronger pump power.
It's indispensable to avoid undersized pipes, as they can restrict flow and lead to reduced water feature performance and increased pump wear. When determining the appropriate pipe size, don't forget to factor in your plumbing layout, the number of elbows, and other fittings to maintain sufficient water pressure and flow.
Pump Selection and Installation
Now that you've properly sized your pipes, it's time to focus on the heart of your water feature: the pump. Selecting and installing the right pump is vital for creating a water feature that's both functional and visually appealing. When choosing a pump, consider the size of your water feature and opt for one with a flow rate between 300 and 2000 gallons per hour, depending on your specific needs.
For best pump selection and installation, place the pump at the lowest point of your pond or in a skimmer box. This guarantees proper water circulation and filtration throughout your water feature. To simplify electrical work and enhance safety, use a low-voltage pump, especially when burying power cables.
Don't forget to incorporate a check valve to prevent backflow and a restrictor valve to adjust water flow as needed. When connecting the plumbing, securely seal all connections using hydraulic cement or two-part epoxy to avoid leaks. By following these guidelines, you'll create a well-functioning water feature that'll provide years of enjoyment and add a touch of tranquility to your outdoor space.
Filtration System Setup
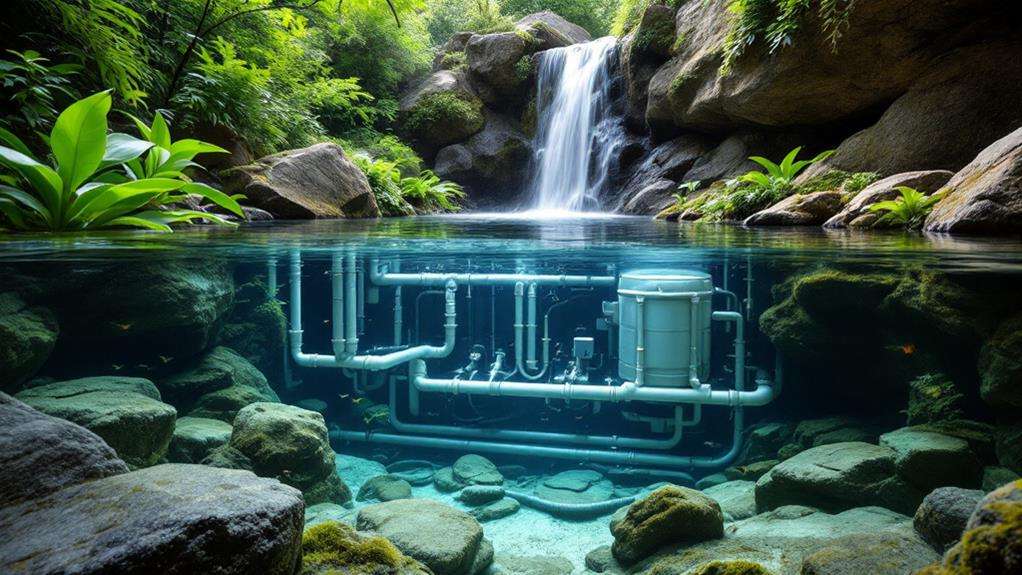
Setting up a proper filtration system is essential for maintaining a healthy and clear water feature. To achieve this, you'll need to install both mechanical and biological filters. Start by adding a skimmer box to remove large debris and particles from the water. This will help prevent clogging and guarantee the smooth operation of your pump.
Next, incorporate a biological filter, such as a bio-falls or UV clarifier, to break down organic matter and maintain water quality. These components work together to create a balanced ecosystem within your pond or fountain.
When sizing your filtration system, consider the volume of your water feature and the recommended flow rate of your pump. This will ensure optimum performance and efficiency. Position the filtration components strategically to maximize water circulation and movement, enhancing the soothing sound of running water.
Remember to clean and replace the filter media regularly to maintain peak filtration performance. By following these steps, you'll create a well-functioning filtration system that keeps your outdoor water feature clean, clear, and inviting throughout the seasons.
Skimmer and Bio-Falls Placement
In accordance with proper water feature design, the placement of your skimmer and bio-falls is essential for ideal filtration and aesthetic appeal. When positioning your skimmer box, locate it near the deepest part of your pond. This strategic placement guarantees efficient removal of floating debris, keeping your water feature clean and healthy.
For the bio-falls, you'll want to install it at a higher elevation than the skimmer. This allows for gravity-fed water flow, optimizing the filtration process. Angle the bio-falls to create a natural-looking waterfall effect, enhancing the visual appeal of your water feature. It's paramount to guarantee the bio-falls is level, as this promotes even water distribution across the filter media for effective biological filtration.
As you connect these components, think about minimizing visible plumbing. You don't want your garden hose or other pipes detracting from the naturalistic appearance of your pond. Integrate the skimmer and bio-falls seamlessly into the setting, creating a cohesive and visually pleasing water feature. By following these placement guidelines, you'll achieve both ideal functionality and aesthetic appeal in your outdoor water feature.
Trenching and Burying Plumbing
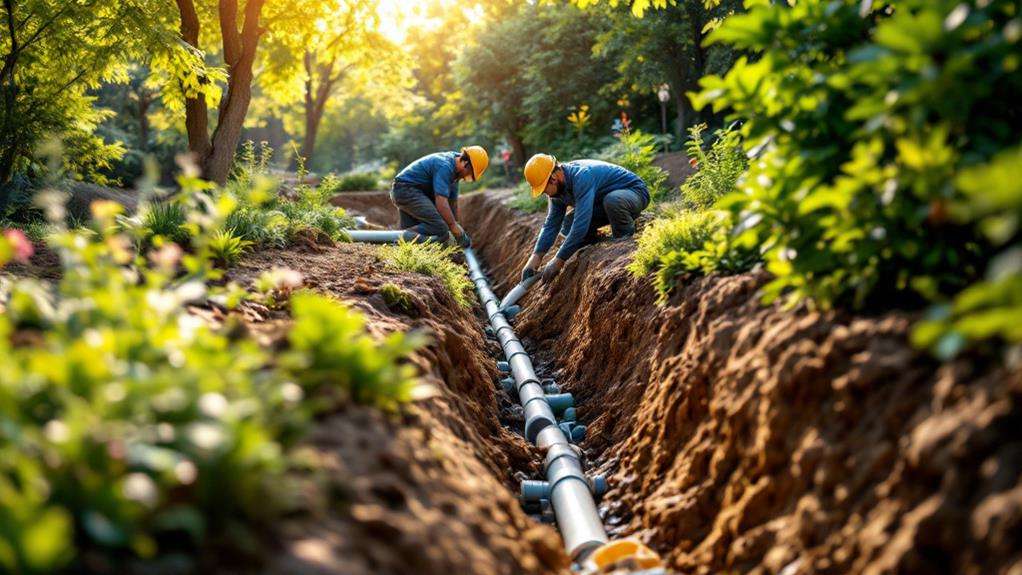
With your skimmer and bio-falls in place, it's time to tackle the essential task of trenching and burying the plumbing. Start by mapping out the most direct route between these components, avoiding sharp turns that could restrict water flow. Dig trenches at least 12 inches deep to protect pipes from freezing and lawn maintenance equipment.
Use a level to guarantee a slight downward slope towards the skimmer, allowing for proper drainage when winterizing your system. Place a layer of sand at the bottom of the hole to create a stable base for your pipes. As you lay the plumbing, use flexible PVC pipes for easier installation and to accommodate any ground shifting.
Secure all connections with appropriate PVC cement and allow them to dry completely before testing. Once you've verified that there are no leaks, backfill the trenches with excavated soil, tamping it down every few inches to prevent future settling. Finally, cover the filled trenches with topsoil and reseed or replace any displaced grass or plants. This careful approach to trenching and burying your plumbing will guarantee a long-lasting and efficient water feature system.
Waterfall Construction Techniques
Creating a stunning waterfall is the next step in your outdoor water feature project. When constructing your waterfall, you'll need to contemplate various materials like rocks, boulders, and pre-formed spillways. These elements will form the foundation of your water fountain's cascading feature.
To achieve the desired effect, you can adjust the height and flow rate by manipulating the water source, pump size, and spillway design. This allows you to create anything from a gentle trickle to a powerful rush of water. For a natural look, incorporate ledges, boulders, and plantings around the waterfall to seamlessly blend it into your landscape.
Proper plumbing is essential for a reliable waterfall. Install check valves and overflow systems to guarantee consistent water flow and prevent leaks. As you build, pay attention to the placement of pipes and pumps to maintain the illusion of a natural water feature.
Remember that regular maintenance is indispensable for your waterfall's longevity. Clean the feature regularly and check for debris buildup to keep it functioning at its best. With careful planning and execution, you'll create a beautiful waterfall that enhances your outdoor space for years to come.
Lighting Integration for Water Features
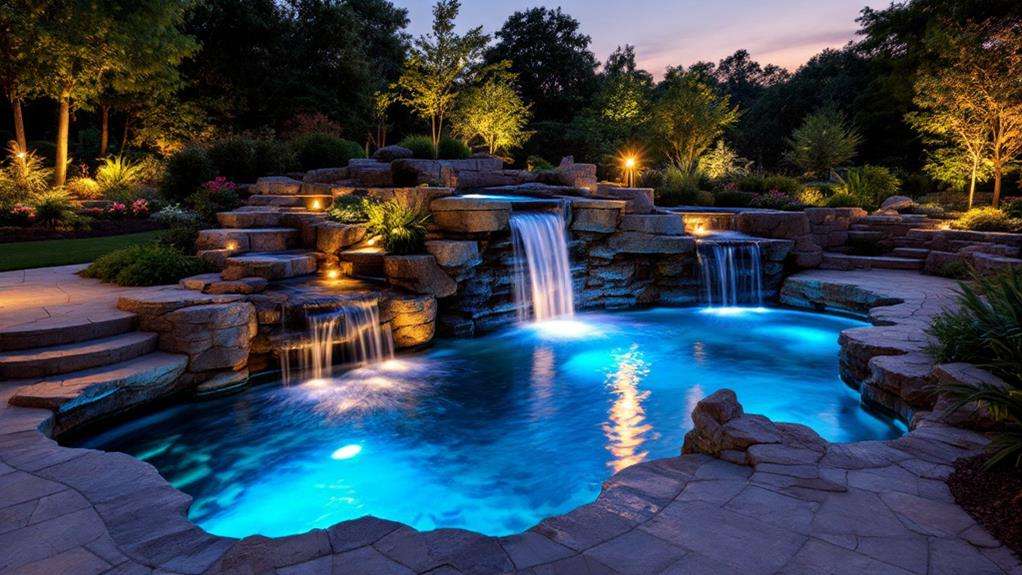
Illuminating your outdoor water feature converts it into a mesmerizing focal point after dark. By integrating lighting, you'll enhance the ambiance and extend your enjoyment well into the evening hours. Consider these options to create a stunning nighttime display:
- Low-voltage fixtures around the perimeter
- Solar-powered LED lights for energy efficiency
- Submersible underwater lights for depth and movement
- Smart home integration for remote control and scheduling
When planning your lighting layout, carefully place fixtures to accentuate specific design elements like waterfalls or streams. This strategic positioning will show off your water feature's best attributes and create a serene atmosphere.
For areas without easy access to electrical outlets, solar-powered LED lights offer a convenient and eco-friendly solution. These lights capture the sun's energy during the day and automatically illuminate your water feature at night.
To add depth and dimension, consider using submersible underwater lights. These fixtures will highlight the movement of the water and create an enthralling display.
For ultimate convenience, integrate your lighting system with smart home technology. This allows you to control and schedule your lights remotely, ensuring your water feature is always perfectly illuminated when you need it.
All rights reserved.
Automated Dosing System Implementation
While lighting enhances your water feature's visual appeal, an automated dosing system safeguards its long-term health and beauty. Implementing this technology in your garden water feature can revolutionize your maintenance routine and guarantee consistent water quality.
Automated dosing systems use programmable pumps to deliver precise amounts of chemicals like algaecides, pH buffers, and dechlorinators on a scheduled basis. This eliminates the need for manual intervention and helps maintain ideal water chemistry in your pond or fountain. You can integrate these systems with timers or smart home controllers for truly hands-off operation.
Advanced systems even monitor water parameters and adjust chemical doses automatically to keep your garden water within target ranges. To get the most out of your automated dosing system, confirm proper installation, calibration, and regular maintenance. This will prevent over- or under-dosing and certify reliable performance.
Winterizing Your Water Feature Plumbing
As winter approaches, it's essential to protect your outdoor water feature's plumbing from freezing temperatures and potential damage. To winterize your water feature effectively, start by draining all the water from the fountain or pond. This step is pivotal for preventing freezing and damage to the plumbing system.
Next, disconnect and store the pump, filters, and other removable components in a dry, protected location for the winter months. Before storing, thoroughly clean and maintain your water feature to minimize debris buildup during the off-season. This will make spring startup much easier.
Implement these freeze protection strategies to safeguard your water feature's plumbing:
- Insulate exposed pipes and valves with foam or other insulation materials
- Cover the water feature with a protective cover or netting
- Install a pond de-icer or heater for added protection
- Consider using antifreeze solutions in remaining water lines
Don't forget to inspect and maintain your water feature's plumbing regularly throughout the winter season. By taking these precautions, you'll guarantee that your outdoor water feature remains in excellent condition and is ready for use when spring arrives.