Outdoor Kitchen Plumbing: Setting Up a Sink and Faucet
Setting up a sink and faucet in your outdoor kitchen requires careful planning and execution. You'll need to design your layout, choose durable materials for your sink and faucet, and connect to your home's main water supply. Install proper supply lines and pipes, ensuring adequate drainage and water pressure. Don't forget to winterize your outdoor plumbing to prevent damage during colder months. It's essential to meet local building codes and obtain necessary permits for your project. With the right approach, you can create a functional and long-lasting outdoor kitchen that enhances your outdoor living space. The following sections will guide you through each step of the process.
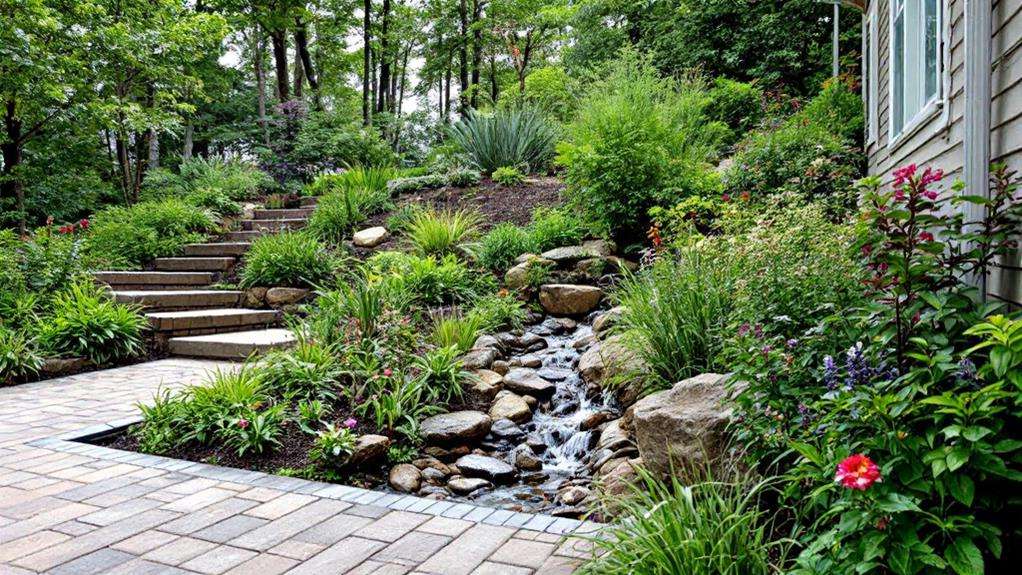
Planning Your Outdoor Kitchen Layout
When it comes to planning your outdoor kitchen layout, start by sketching out a basic design. Decide whether you want your kitchen attached to the house or as a freestanding unit. Consider the size and placement of key elements, including the sink and plumbing fixtures.
As you plan, evaluate the proximity to your main water supply. This will affect the ease of connecting your outdoor kitchen's plumbing. Guarantee the location you've chosen provides adequate drainage and runoff for your sink. You might need to install a dry well or connect to existing drainage pipes.
Think about accessibility and traffic flow when positioning your outdoor kitchen. Place the sink in a convenient spot that won't obstruct movement. Don't forget to plan for potential future expansion or modifications.
Consider the climate and weather conditions in your area when selecting a sink and faucet. Choose materials that can withstand outdoor elements, such as stainless steel or copper. Decide whether you prefer a hose connection or a fully plumbed setup for your water supply. By carefully planning your outdoor kitchen layout, you'll create a functional and enjoyable space for cooking and entertaining.
Choosing the Right Sink Material
Selecting the right sink material for your outdoor kitchen is critical for durability and aesthetics. Stainless steel is a popular choice due to its resilience and easy maintenance. It's resistant to weather conditions and can withstand frequent use, making it ideal for outdoor use.
If you're looking for more aesthetic options, consider ceramic or stone sinks. These materials offer a wide range of colors and designs, allowing you to customize your outdoor kitchen's appearance. For a unique aged appearance, copper or bronze sinks can be an excellent choice. These materials develop a beautiful patina over time, adding character to your outdoor space.
Don't overlook the possibility of repurposing an old sink for a cost-effective and eco-friendly option. This can add a rustic charm to your outdoor kitchen while saving money.
When choosing your sink, consider the sink depth. Deeper sinks (8-12 inches) provide more versatility for cooking prep, hand washing, and cleaning dishes. They're particularly useful in outdoor settings where you may need to tackle larger tasks.
Ultimately, your choice of sink material should balance practicality with your personal style preferences, ensuring your outdoor kitchen is both functional and visually appealing.
Selecting a Durable Outdoor Faucet

Choosing a durable outdoor faucet is crucial for the longevity and functionality of your outdoor kitchen. When selecting an outdoor faucet, opt for one with a physical vapor deposition (PVD) finish. This coating enhances corrosion resistance, ensuring your faucet withstands the elements. Pair your PVD-finished faucet with bronze sinks for a cohesive, durable look.
Look for a solid brass faucet body, as it's more resistant to outdoor conditions than those with plastic components. Avoid faucets with rubber buttons or seals, which can degrade from UV exposure. Instead, choose a model with ceramic disk valves for smooth, drip-free operation that holds up well outdoors.
Ensure your chosen faucet is rated and approved for outdoor use. When installing, use plumbers tape on the threads and adapters to create a watertight seal. If you're unsure about compatibility, consult a professional plumber.
Connecting to Main Water Supply
The backbone of your outdoor kitchen's plumbing system is its connection to the main water supply. To establish this critical link, you'll need to run a supply pipe designed for outdoor use from your house's main water line to your outdoor kitchen area. As you install the piping, remember to slope it slightly to aid in drainage, which will help prevent water from pooling and potentially freezing in colder months.
Install shutoff valves with drain plugs at the lowest points of your piping system. This will allow you to easily winterize your outdoor kitchen and protect it from freeze damage. Secure your supply pipes firmly using two-hole clamps placed every 4 feet or less along the run. This guarantees stability and prevents sagging or movement that could lead to leaks or damage.
When selecting pipe materials, consider options like PEX or CPVC, but be sure to check your local plumbing codes and climate conditions to determine the best choice for your area. Don't forget to insulate your hot water supply lines to maintain water temperature and prevent freezing in cold weather. This extra step will improve efficiency and protect your outdoor plumbing system year-round.
Installing Supply Lines and Pipes
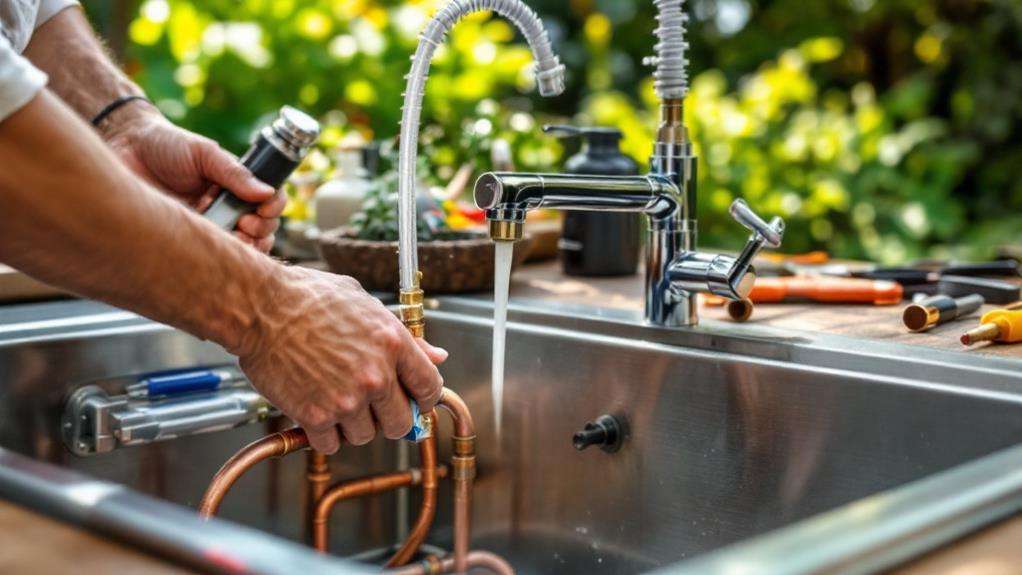
With your main water supply connection established, it's time to focus on installing the supply lines and pipes for your outdoor kitchen. Begin by running a supply pipe rated for outdoor use from inside your house to the outdoor kitchen sink. If you want hot water, guarantee the pipe is insulated. Slope the supply piping slightly for better drainage.
As you install supply pipes, use two-hole clamps every four feet or less to secure them firmly. Don't forget to include shutoff valves and drain plugs at the lowest points. When connecting the supply pipes to the sink, use thread adapters and apply plumber's tape for a tight seal.
Next, install a PVC drainpipe with an adapter to connect to the sink trap. Ensure the drain pipe has a slope of at least 1/4 inch per foot for proper drainage. To manage water runoff, dig a dry well at least 10 feet from your patio or deck. Install a perforated drain bucket in the well and fill it with coarse gravel. This setup will assist with efficient water drainage from your outdoor kitchen sink, completing your plumbing installation.
Creating Proper Drainage Systems
Effective drainage systems are crucial for any outdoor kitchen to function properly and prevent water damage. When you install an outdoor sink, you'll need to create a drainage solution that efficiently removes wastewater. The most common method is to connect the sink to a drain line that slopes slightly downward, with a recommended pitch of 1/4 inch per foot.
To create a proper drainage system, follow these steps:
- Install a sink trap to prevent odors and debris from backing up
- Connect the trap to a PVC pipe for the main drain line
- Slope the pipes slightly to ensure proper water flow
- Dig a dry well hole filled with coarse gravel for water dispersion
- Consider installing a French drain for additional drainage capacity
If local codes permit, you can direct your sink drainage into a bucket with coarse gravel, which acts as a simple dry well. This method works well for small sinks with limited use. For larger sinks or frequent use, you'll want to create a more comprehensive drainage system. Remember to check local regulations before installing any drainage system, as some areas have specific requirements for outdoor plumbing.
Winterizing Your Outdoor Plumbing
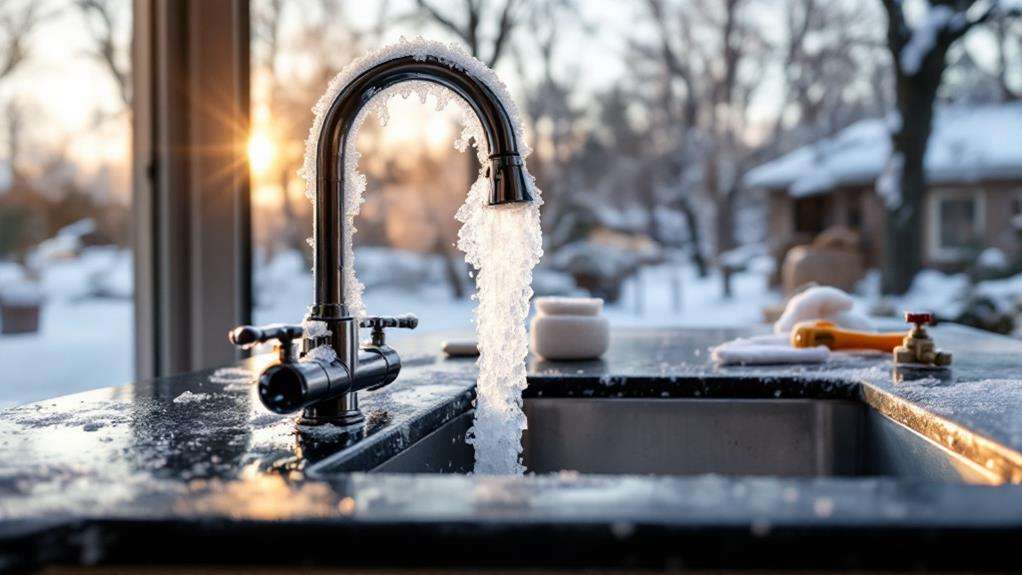
As winter approaches, it's essential to protect your outdoor kitchen plumbing from freezing temperatures and potential damage. To winterize your outdoor plumbing effectively, start by shutting off all water lines leading to your outdoor kitchen sink. This crucial step prevents water from freezing and potentially bursting your pipes.
Next, drain the sink and pipes completely. Run the faucet until no water flows, guaranteeing you've removed as much water as possible. For thorough water removal, use an air compressor to blow out any remaining water in the system. This extra step helps safeguard against freezing and potential damage.
Once you've drained the system, don't forget to cover the outdoor sink. This protective measure shields it from debris and prevents drain clogs during the off-season. A well-covered sink will be ready for use when spring arrives.
When warmer weather returns, turn the water back on and let it run for a few minutes. This flushes the pipes and prepares your outdoor kitchen plumbing for another season of use. By following these winterization steps, you'll ensure your outdoor plumbing remains in top condition year-round.
Ensuring Adequate Water Pressure
Now that you've protected your outdoor kitchen plumbing for winter, let's focus on maintaining ideal performance during the active seasons. Ensuring adequate water pressure is pivotal for your outdoor kitchen's functionality. You'll want to aim for a pressure range of 40-60 PSI to guarantee proper flow for your sink and appliances.
To achieve optimal water pressure:
- Test the pressure at your outdoor kitchen's location
- Install a pressure regulator if it exceeds 80 PSI
- Run a supply pipe from your main house line if needed
- Consult plumbers for expert advice and installation
- Consider separate hot and cold water supply pipes
If you're experiencing low pressure, it might be necessary to run a dedicated supply pipe from your house. This is especially important for larger outdoor kitchens that require more water flow. Remember, inadequate pressure can lead to poor sink performance and difficulty operating water-dependent appliances.
Don't overlook the significance of a pressure regulator. If your main water supply exceeds 80 PSI, installing one will safeguard your outdoor plumbing system from potential damage. By taking these steps, you'll ensure your outdoor kitchen's water supply performs efficiently, enhancing your outdoor cooking and entertaining experience.
Meeting Local Building Codes
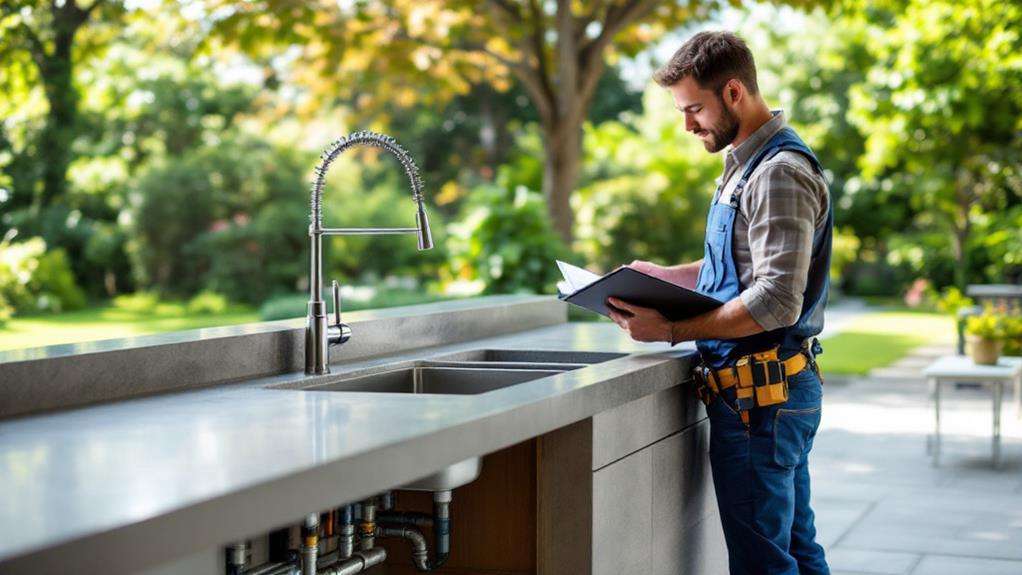
Before breaking ground on your outdoor kitchen plumbing project, it's crucial to familiarize yourself with local building codes. Your outdoor cooking space may require specific permits, especially if you're planning to move or install new plumbing. Check local regulations to guarantee your outdoor plumbing meets all necessary requirements.
If you're using existing plumbing or simply draining into a bucket, you might not need a permit. However, it's always best to confirm with your local building or safety department. They'll provide guidance on materials, drainage, and safety standards for your patio or deck installation.
When setting up hot and cold water lines, make sure you're using approved materials and threaded adapters. Some jurisdictions have strict rules about outdoor plumbing connections to your house's main water supply. Don't assume that what works indoors will suffice for your outdoor kitchen.