
Installing Plumbing Unions for Easier Maintenance and Repairs
Installing plumbing unions can substantially simplify your home's maintenance and repair tasks. These versatile fittings allow you to easily disconnect and reconnect pipes, making it simpler to replace fixtures, isolate sections for troubleshooting, or modify your plumbing system. You'll want to place unions near key fixtures, in hard-to-reach areas, and when connecting different pipe materials. Choose unions that match your pipes' size and material, and guarantee they can handle your system's pressure and temperature. Proper installation involves careful measurement, clean cuts, and the right amount of tightening. By following best practices, you'll create a more adaptable and maintainable plumbing system. The benefits of plumbing unions extend far beyond their simple appearance.
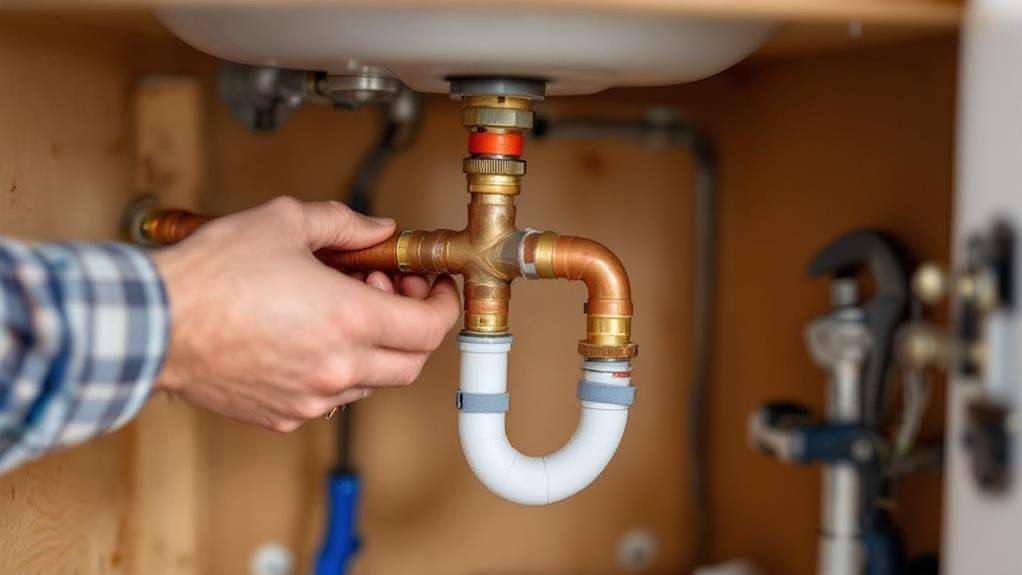
What Are Plumbing Unions?
Almost every plumber's toolkit includes plumbing unions, essential fittings that allow for easy connection and disconnection of pipes. These versatile components are designed to join two sections of pipe or tubing without the need for soldering, welding, or threading. You'll find plumbing unions particularly useful in areas where you might need to disassemble or replace parts of a plumbing system in the future.
A typical plumbing union consists of three main components: two threaded pieces (male and female) and a nut that holds them together. The plumbing union construction is straightforward yet effective. The male end has a smooth, tapered surface that fits into the female end's corresponding shape. A rubber or metal washer is often placed between these two pieces to guarantee a watertight seal. The nut, which slides over one of the threaded ends, is then tightened to compress the joint and create a secure connection.
You'll appreciate the convenience of plumbing unions when it's time for maintenance or repairs. Instead of cutting pipes or unsoldering joints, you can simply unscrew the union nut, separate the pipes, and easily access the section you need to work on.
Benefits of Using Plumbing Unions
Plumbing unions offer several key advantages that make them indispensable in modern plumbing systems. They provide flexibility in system configuration, allowing you to easily disconnect and reconnect pipes without damaging them. This feature is particularly useful when you need to perform maintenance, repairs, or replacements on specific sections of your plumbing.
By using unions, you'll increase your system's adaptability. You can modify or expand your plumbing layout with minimal disruption to existing pipes. This adaptability is especially cherished in older homes or buildings where you might need to update or relocate fixtures.
Unions also simplify the installation process of large appliances like water heaters, dishwashers, or washing machines. You can connect these appliances to your plumbing system more efficiently, saving time and effort during both installation and future maintenance.
Moreover, plumbing unions help prevent leaks by creating a secure, watertight seal between pipe sections. This reduces the risk of water damage and costly repairs down the line. You'll also find that unions make it easier to isolate specific areas of your plumbing system, allowing for targeted troubleshooting and repairs without shutting off water to your entire property.
Types of Plumbing Unions
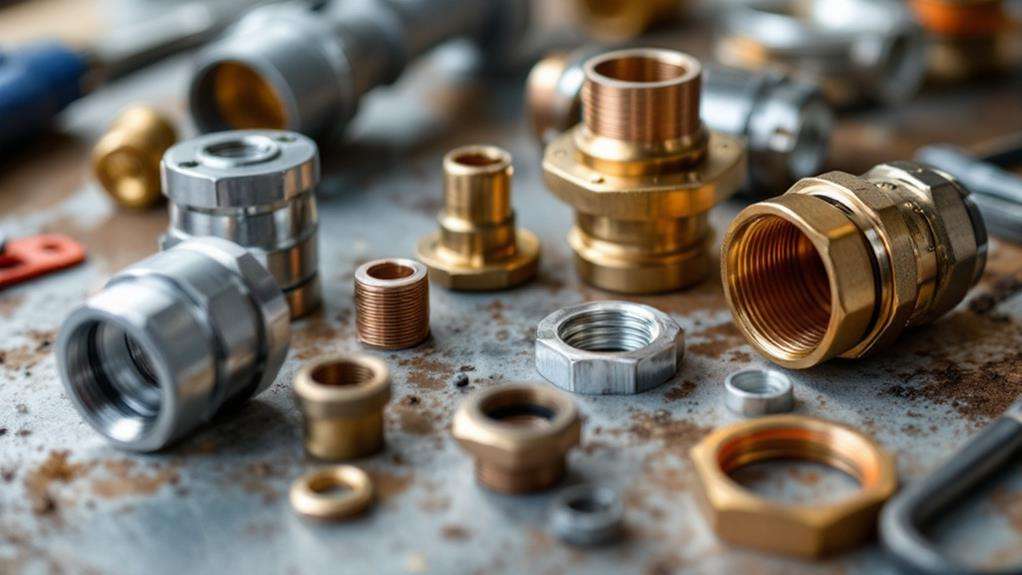
When selecting plumbing unions for your project, you'll encounter several types, each designed for specific applications and materials. Threaded unions are among the most common, featuring male and female threaded ends that screw together. They're ideal for connecting pipes of the same material and are often used in steel, brass, or PVC systems.
Compression unions, on the other hand, don't require threading. Instead, they use a compression nut and ring to create a watertight seal. These are particularly useful when joining pipes of different materials or sizes.
Other types of plumbing unions include:
- Dielectric unions: Used to connect dissimilar metals, preventing galvanic corrosion
- Flange unions: Ideal for high-pressure systems and larger pipe diameters
- Grooved unions: Common in fire sprinkler systems and industrial applications
- Sweat unions: Designed for soldered copper pipe connections
When choosing a union, consider factors such as pipe material, system pressure, and temperature requirements. Threaded unions are versatile but may require more effort to install, while compression unions offer easier installation but may not be suitable for all applications. Always guarantee the union you select is compatible with your specific plumbing system and local building codes.
When to Install Plumbing Unions
Understanding the various types of plumbing unions is just the first step. Knowing when to install plumbing unions is indispensable for efficient maintenance and repairs. You'll want to use plumbing unions in areas where you anticipate future access needs or potential replacements.
Install unions near fixtures like sinks, toilets, and water heaters to simplify removal and replacement. Place them strategically in pipe runs to allow for easier disassembly during repairs or renovations. Add unions when connecting different pipe materials or joining pipes of varying sizes.
Consider installing unions in hard-to-reach areas, such as behind walls or under floors, to facilitate future maintenance. Use them when connecting appliances like dishwashers or washing machines to water supply lines. Don't forget to include unions when installing water filtration systems or water softeners.
When to replace plumbing unions depends on their condition. If you notice leaks, corrosion, or difficulty in tightening the nut, it's time for a replacement. Regular inspections can help you identify worn-out unions before they cause major issues. Replace unions when upgrading your plumbing system or when switching to more durable materials. By strategically placing and maintaining plumbing unions, you'll save time and effort during future repairs and modifications.
Choosing the Right Union
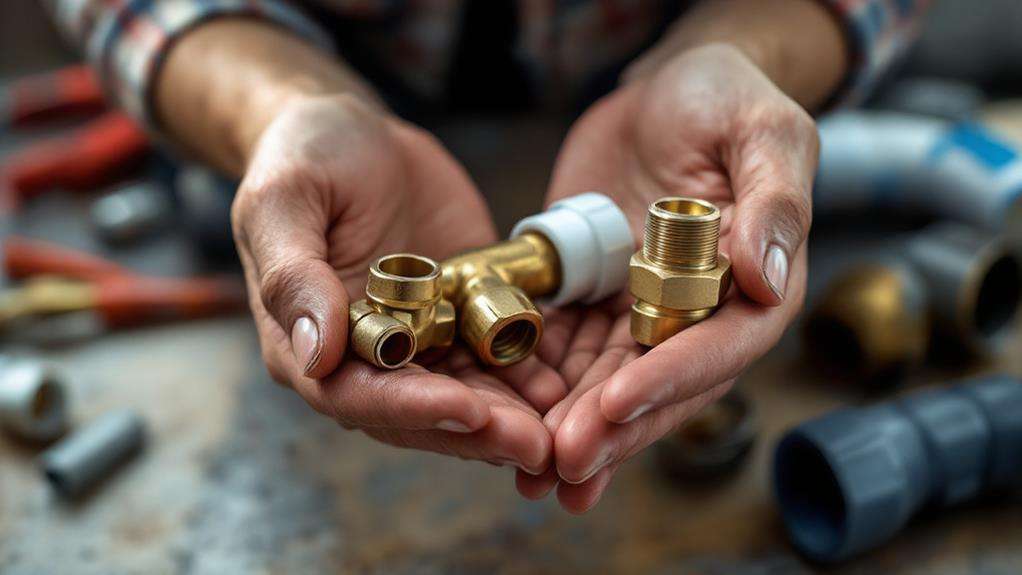
Selecting the right plumbing union is critical for guaranteeing a proper fit and long-lasting connection. When choosing a union, consider the type of pipe you're working with and the specific requirements of your plumbing system. Union materials play a pivotal role in compatibility and durability, so match them to your existing pipes and the environment they'll be exposed to.
Pay attention to union placement, as it'll affect accessibility for future maintenance. Choose unions that can withstand the pressure and temperature of your system, and make sure they're rated for the specific application, whether it's potable water, gas, or waste lines.
Consider these factors when selecting plumbing unions:
- Size and threading: Match the union's size and thread type to your pipes
- Material compatibility: Choose unions that won't cause corrosion or chemical reactions
- Pressure rating: Select unions that can handle your system's maximum pressure
- Temperature range: Ensure the union can withstand both hot and cold extremes
Tools and Materials Needed
Now that you've chosen the right union for your plumbing project, it's time to gather the necessary tools and materials. Your plumbing tool selection will depend on the specific union type and pipe material you're working with. For most union installations, you'll need adjustable wrenches, pipe wrenches, and channel-lock pliers. If you're working with threaded pipes, you'll also need a pipe threader and knowledge of proper pipe threading techniques.
Essential materials include the union itself, pipe sections, and thread sealant or pipe joint compound. For soldered unions, you'll need a propane torch, solder, and flux. If you're using push-fit unions, make sure you have a pipe cutter and deburring tool on hand.
Don't forget safety equipment like work gloves and safety glasses. For larger projects, you might need a pipe vise or stand to hold pipes securely while you work. If you're installing unions in tight spaces, consider adding a basin wrench or a set of ratcheting pipe wrenches to your toolkit. These specialized tools can make reaching difficult angles much easier, ensuring a proper and leak-free installation.
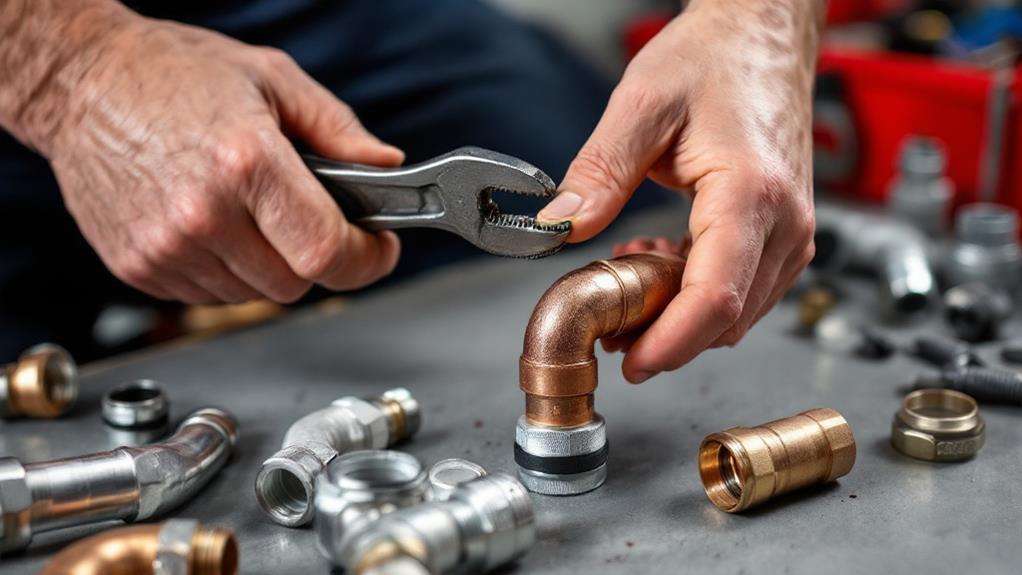
Step-by-Step Installation Guide
A successful plumbing union installation starts with proper preparation and follows a logical sequence of steps. Begin by shutting off the water supply and draining the pipes. Next, measure and mark the pipe sections where you'll install the unions. Cut the pipes cleanly using a pipe cutter, guaranteeing smooth edges for proper sealing.
Now, it's time to assemble the union components:
- Apply pipe thread sealant to the male threads of the union nuts
- Attach the union nuts to the pipe ends, tightening them securely
- Insert the union seal into the female end of the union
- Align the pipe sections and connect the union halves
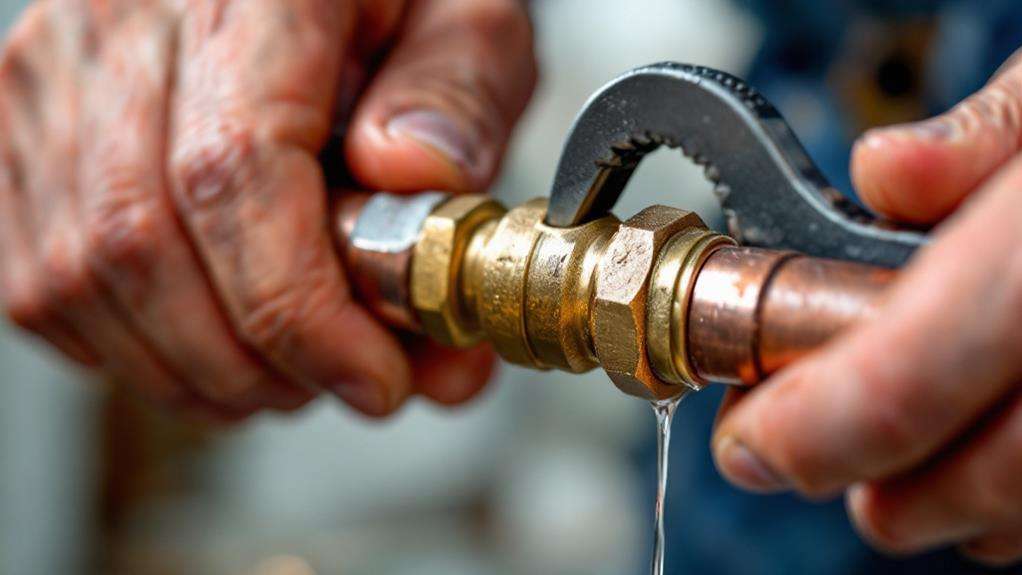
As you tighten the union, maintain proper pipe alignment to prevent leaks and secure a reliable connection. Use a wrench to tighten the union nut, but be careful not to over-tighten, which can damage the seal or threads. Once assembled, slowly turn on the water supply and check for any leaks around the union. If you notice any drips, tighten the union slightly or reassemble if necessary. With proper installation, your plumbing union will facilitate future maintenance and repairs while providing trustworthy leak prevention.
Common Mistakes to Avoid
During plumbing union installations, even experienced DIYers can make mistakes that compromise the effectiveness of the union. One common error is overlooking solvent compatibility when joining different materials. Always guarantee you're using the appropriate solvent for the specific pipe materials you're connecting, as incompatible solvents can lead to leaks or joint failures.
Ignoring pipe misalignment is another critical mistake. You must properly align the pipes before tightening the union, as even slight misalignment can cause stress on the joint and lead to leaks. Take the time to carefully measure and adjust the pipes to guarantee a perfect fit.
Don't forget to clean and prepare the pipe surfaces before applying solvents or joining the union. Skipping this step can result in weak connections and potential leaks. Also, avoid overtightening the union, as this can damage the threads or crush the gasket, compromising the seal.
Be cautious not to use excessive force when assembling the union, as this can crack or damage the components. Finally, always pressure test your installation before considering the job complete, verifying there are no leaks or weak points in the system.
Maintenance Tips for Plumbing Unions
With proper installation complete, maintaining your plumbing unions is key to their longevity and effectiveness. Regular union maintenance procedures will guarantee your plumbing system operates smoothly and prevents costly repairs. Start by inspecting your unions periodically for signs of wear, corrosion, or leaks. If you notice any issues, address them promptly to avoid further damage.
Proper union lubrication is essential to prevent seizing and make future disassembly easier. Apply a thin layer of pipe joint compound or plumber's grease to the threads and mating surfaces before reassembly. Be careful not to over-tighten the union, as this can damage the components or cause leaks.
To maintain your plumbing unions effectively:
- Clean the union surfaces regularly to remove debris and mineral buildup
- Check for proper alignment and adjust if necessary
- Tighten loose connections gently to avoid damage
- Replace worn-out gaskets or O-rings to prevent leaks
Remember to keep a record of your maintenance activities and any repairs you perform. This will help you track the performance of your plumbing unions over time and identify any recurring issues. By following these maintenance tips, you'll extend the life of your plumbing unions and safeguard your system remains in top condition.
Troubleshooting Union-Related Issues
Three common issues often plague plumbing unions: leaks, difficulty in disassembly, and misalignment. When troubleshooting union-related problems, start by identifying potential union malfunctions. Check for visible signs of damage, corrosion, or wear on the union's components.
If you're dealing with leaks, inspect the union's seal and threads. Tighten the nut if it's loose, but be careful not to overtighten. Replace the O-ring or gasket if it's damaged or worn. For persistent leaks, apply pipe thread tape or sealant to the male threads before reassembling.
When facing difficulty in disassembly, don't force the union apart. Apply penetrating oil to the threads and let it sit for a few hours. Use a union wrench or pipe wrench to carefully loosen the nut. If it's still stuck, apply gentle heat with a hairdryer or heat gun to expand the metal.
For misalignment issues, guarantee the pipes are properly supported on both sides of the union. Use pipe hangers or brackets to adjust the alignment. If necessary, cut and re-thread the pipes to achieve proper alignment before reinstalling the union.