
How to Use Plumbing Fittings to Connect Old and New Pipes
To connect old and new pipes, you'll need to identify the materials and sizes of both pipes, then choose the appropriate adapter or fitting. Clean the pipe ends thoroughly and measure them accurately. For different materials, use conversion fittings or flexible couplings. Compression fittings work well for many connections, while soldering is ideal for copper pipes. Apply PVC cement for plastic pipes, and use threaded fittings with pipe compound for metal pipes. Always test your connections for leaks by running water through the system at full pressure. With the right tools and techniques, you can successfully join pipes of various ages and materials.
Understanding Common Pipe Materials
When you're connecting old and new pipes, it's indispensable to understand the materials you're working with. Plumbing systems often incorporate a variety of pipe materials, each with unique properties and applications. Common materials include copper, PVC, PEX, galvanized steel, and cast iron.
Copper pipes are durable and corrosion-resistant, making them ideal for both water supply and drainage. PVC, a lightweight plastic, is commonly used for drain lines and venting. PEX, a flexible plastic, has gained popularity for water supply lines due to its ease of installation and resistance to freezing. Galvanized steel pipes, once widely used for water supply, are now less common due to corrosion issues. Cast iron pipes, known for their strength and sound-dampening properties, are typically found in older homes' drain systems.
Understanding pipe composition and material variations is indispensable when selecting appropriate fittings for connections. Each material requires specific fitting types and joining methods. For example, copper pipes are often joined using soldered fittings, while PVC connections rely on solvent welding. PEX pipes use compression or crimp fittings, and cast iron typically employs no-hub couplings or lead and oakum joints.
Types of Plumbing Fittings
Now that you're familiar with pipe materials, let's plunge into the various types of plumbing fittings you'll encounter. The most common fittings include couplings, elbows, tees, and adapters. Couplings join two pipes of the same size and material, while elbows change the direction of pipe flow. Tees create branch lines, and adapters connect pipes of different sizes or materials.
When connecting old and new pipes, you'll often use flexible couplings or intermediary fittings. Flexible couplings allow for slight misalignments and can join pipes of different materials. They're especially useful when working with rigid pipes like cast iron or clay. Intermediary fittings, on the other hand, are designed specifically to connect pipes of different materials, such as copper to PVC.
Other essential fittings include unions, which allow for easy disassembly of pipe sections, and nipples, short pipe segments used to extend connections. Caps and plugs seal off pipe ends, while reducers change pipe diameters. You'll also find specialized fittings like compression fittings for joining pipes without soldering, and push-fit fittings for quick, tool-free connections. Understanding these various types of fittings will help you tackle any plumbing project confidently.
Measuring Pipes for Proper Fit
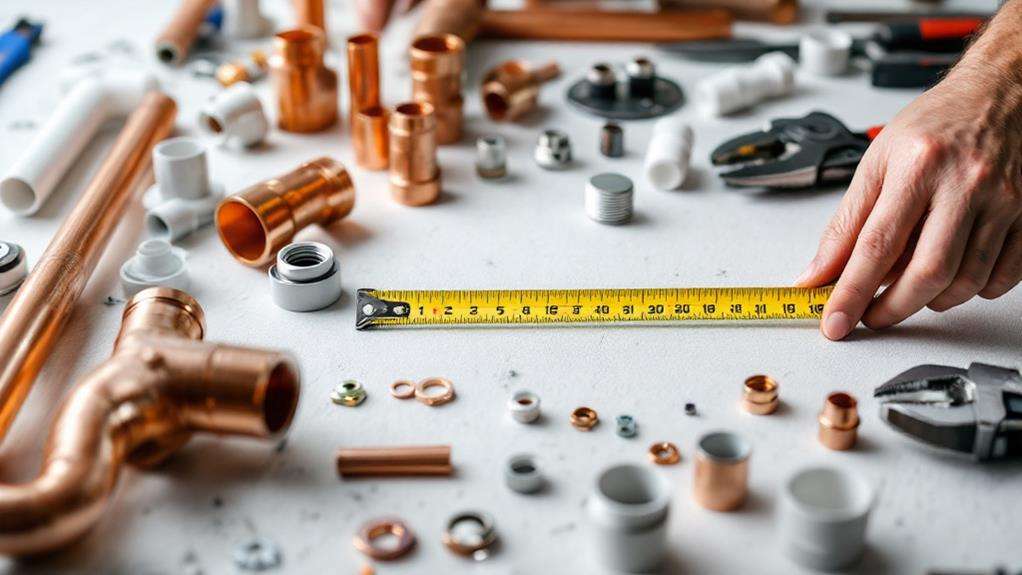
Before you can select the right fittings, you'll need to accurately measure your pipes. Proper measuring techniques are imperative for ensuring a secure connection between old and new pipes. Start by cleaning the pipe ends to remove any debris or corrosion that might affect your measurements.
To measure the pipe's diameter, use a caliper or pipe gauge. Place the tool around the pipe's circumference and note the reading. Remember that pipe diameter variations can occur, especially in older systems, so take multiple measurements along the pipe's length. For the most accurate results, measure both the inside and outside diameters.
Next, determine the pipe's length. Use a flexible tape measure to account for any bends or curves. When measuring threaded pipes, include the entire threaded portion in your measurement. For compression fittings, measure from the end of the pipe to where you want the fitting to sit.
Don't forget to consider the pipe's material, as different materials may have slight size variations. If you're unsure about your measurements, it's always best to consult a professional plumber or bring a sample of your pipe to a hardware store for comparison.
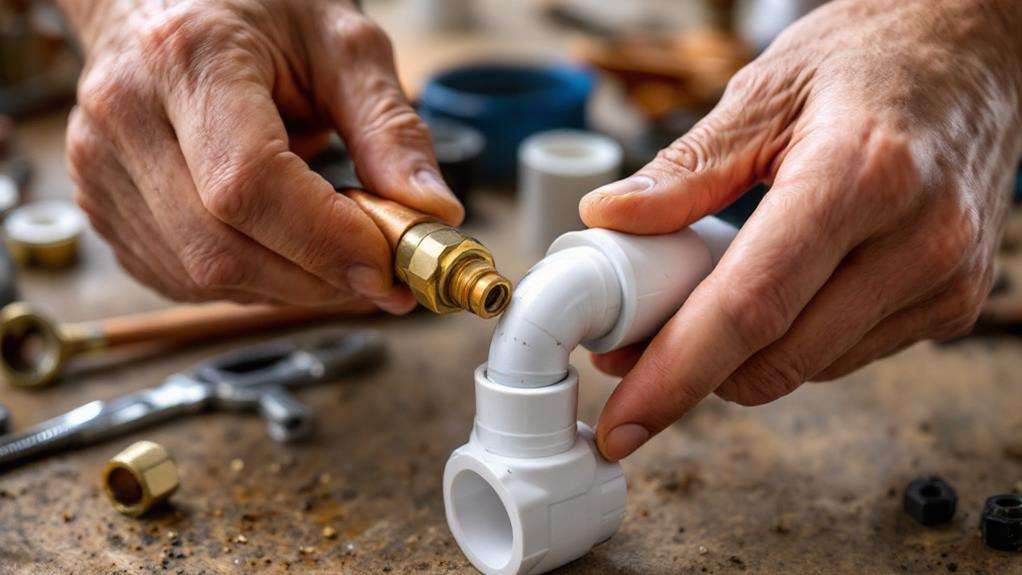
Choosing the Right Adapter
The key to a successful pipe connection lies in selecting the appropriate adapter. When choosing the right adapter, you'll need to ponder pipe material compatibility and fitting selection criteria. First, identify the materials of both the old and new pipes you're connecting. Common materials include copper, PVC, PEX, and galvanized steel. Each material requires specific adapters to guarantee a proper seal and prevent leaks.
Next, determine the size and threading of your pipes. Measure the diameter and check if the pipes have male or female threads. This information is pivotal for selecting the correct adapter type, such as compression fittings, push-to-connect fittings, or threaded adapters. Don't forget to consider the water pressure and temperature the connection will need to withstand.
For connecting dissimilar materials, look for conversion fittings designed specifically for that purpose. These adapters often feature different ends to accommodate each pipe material. When in doubt, consult a plumbing professional or refer to local building codes to validate you're using approved fittings. Remember, choosing the right adapter is indispensable for creating a lasting, leak-free connection between your old and new pipes.
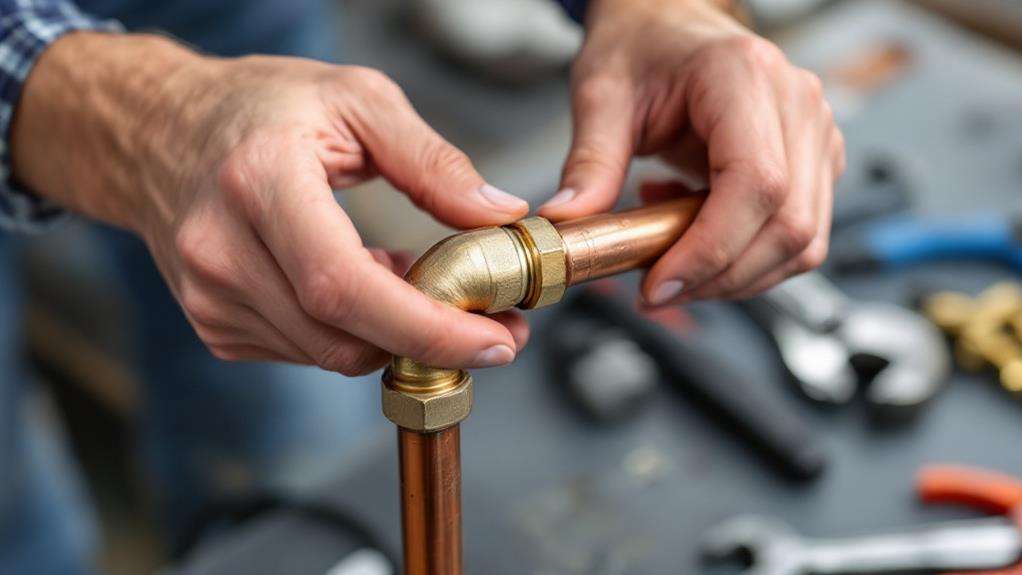
Working With Compression Fittings
Once you've selected the right adapter, it's time to work with compression fittings. These versatile connectors are excellent for joining pipes of different materials or sizes. To begin your compression fitting installation, guarantee you have the correct size fitting for your pipes. Clean the pipe ends thoroughly and cut them straight if necessary.
Slide the compression nut onto the pipe, followed by the ferrule or olive. Insert the pipe into the fitting body until it stops. Tighten the nut by hand, then use a wrench to give it an additional 1 to 1.5 turns. Be careful not to overtighten, as this can damage the fitting or pipe.
For compression fitting maintenance, regularly check for leaks by inspecting the area around the fitting. If you notice any moisture, try tightening the nut slightly. If leaks persist, you may need to replace the ferrule or the entire fitting.
When working with older pipes, be extra cautious as they may be more brittle. Apply a pipe joint compound or Teflon tape to the threads to confirm a watertight seal. Remember, proper installation and maintenance of compression fittings will help prevent leaks and extend the life of your plumbing system.
Soldering Techniques for Copper Pipes
Proficiency of soldering techniques is essential when connecting copper pipes in your plumbing system. To begin, guarantee you have the necessary tools: a propane torch, solder, flux, and a cleaning brush. Start by cleaning the pipe ends and fittings with the brush, removing any dirt or oxidation. This joint preparation is indispensable for a strong bond.
Next, apply flux to both the pipe end and the inside of the fitting. The flux application helps the solder flow smoothly and creates a watertight seal. Slide the fitting onto the pipe, ensuring it's fully seated.
Heat the joint evenly with the torch, moving it around to distribute the heat. Once the flux begins to bubble, touch the solder to the joint opposite the flame. If the joint is hot enough, the solder will melt and be drawn into the connection. Continue adding solder until it appears at the end of the fitting.
Remove the heat and allow the joint to cool naturally. Avoid disturbing the pipe until it's completely cooled. Once set, wipe away any excess flux with a damp cloth. Test the connection for leaks before restoring water flow to your plumbing system.
PVC Connections and Cement Application
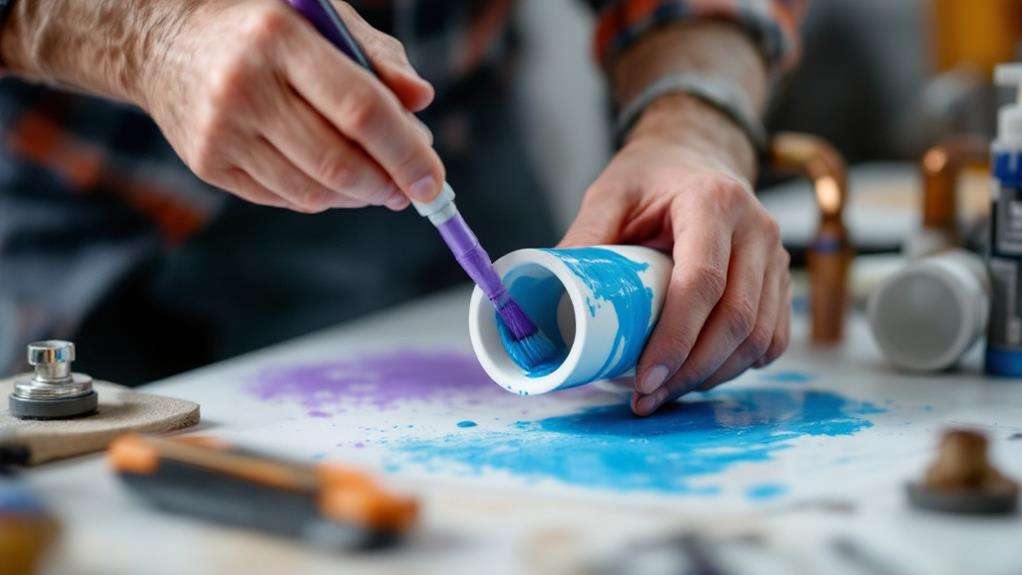
When connecting PVC pipes, proper cement application is crucial for a lasting, leak-free joint. To guarantee airtight PVC connections, you'll need to follow a specific process. First, clean both the pipe and fitting with a clean cloth and PVC primer. This step removes any dirt or debris that could compromise the bond.
Next, apply an even coat of PVC cement to both the pipe and fitting. Work quickly, as the cement dries fast. Insert the pipe into the fitting with a quarter-turn motion to distribute the cement evenly. Hold the joint in place for about 30 seconds to allow the initial bond to form.
For proper PVC cement application, remember these tips: Use the right size applicator for your pipe diameter, don't apply too much cement, and work in a well-ventilated area. Always check local building codes for specific requirements on PVC connections.
Allow the joint to cure for at least 15 minutes before handling and 24 hours before pressurizing the system. With these steps, you'll create strong, reliable PVC connections that'll stand the test of time.
Threaded Fittings for Metal Pipes
For connecting metal pipes, threaded fittings are indispensable. These fittings come in various materials, including brass, steel, and galvanized iron. When working with galvanized pipe threading, it's imperative to use compatible fittings to prevent corrosion and ensure a secure connection.
To use threaded fittings, you'll need to prepare the pipe ends by cleaning them and applying pipe thread compound or Teflon tape. This helps create a watertight seal and prevents leaks. When connecting different types of metal pipes, consider brass fittings compatibility, as brass is often suitable for joining dissimilar metals.
When tightening threaded connections, use two wrenches: one to hold the fitting in place and another to turn the pipe. Be careful not to overtighten, as this can damage the threads or cause the fitting to crack. For a proper seal, aim for one to two turns past hand-tight.
Remember that threaded connections can be prone to leaks over time due to temperature changes and vibrations. Periodically inspect your plumbing system and retighten fittings as needed. If you're unsure about the compatibility of different metals or fittings, consult a professional plumber to avoid potential issues.
Testing and Troubleshooting Connections
After connecting your pipes with the appropriate fittings, it's time to ascertain everything is working correctly. Start by turning on the water supply and carefully checking for leaks at each connection point. Pay close attention to the joints where you've used fittings to connect old and new pipes, as these areas are most susceptible to issues.
While inspecting joints for stability, gently apply pressure to confirm they're secure. If you notice any movement or water seepage, you'll need to tighten the connections or replace the fittings. Don't overlook small drips, as they can lead to significant problems over time.
To thoroughly test your connections, follow these steps:
- Run water through the system at full pressure for several minutes
- Check all visible pipes and fittings for moisture or drips
- Listen for any unusual sounds, like hissing or gurgling, which may indicate leaks
If you uncover any issues during testing, address them immediately. This might involve re-tightening fittings, applying additional sealant, or replacing faulty components. Remember, a properly connected and leak-free plumbing system is essential for preventing water damage and securing the longevity of your pipes.