How to Use a Basin Wrench for Tight Spaces
To use a basin wrench in tight spaces, first adjust the wrench's jaw size to match the nut you're working on. Position the wrench's swiveling head at the right angle to grip the nut securely. Extend the handle for better command and clearance. For loosening, turn counterclockwise while applying steady pressure. If the nut is stubborn, try tapping the handle with a rubber mallet or using penetrating oil. When tightening, turn clockwise slowly and avoid over-tightening. In cramped areas, adjust the wrench's length and angle as needed. With practice, you'll become proficient with this versatile tool for tricky plumbing tasks.
Understanding the Basin Wrench
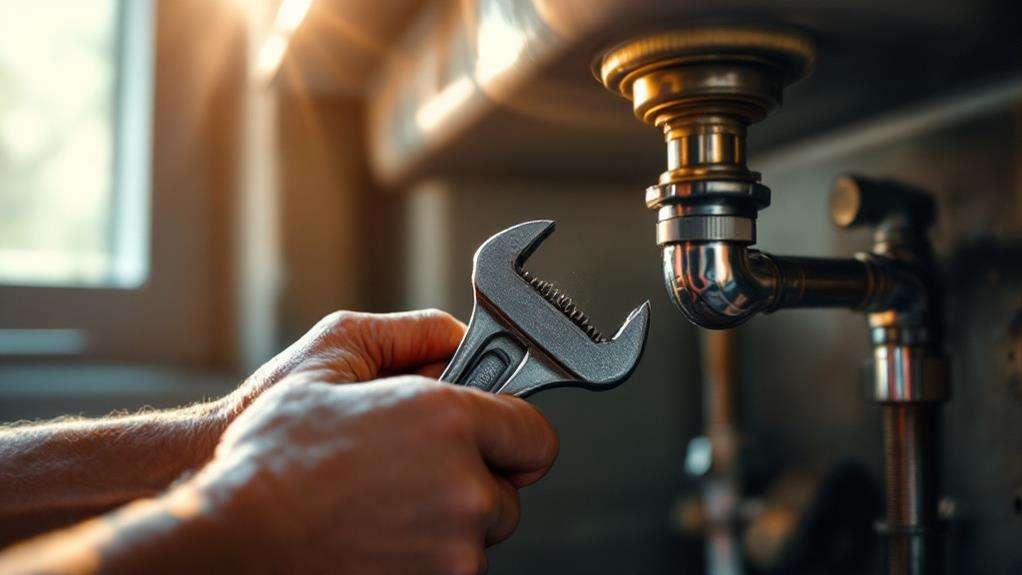
Designed for tackling hard-to-reach nuts, a basin wrench is an essential tool for plumbing tasks in tight spaces. Unlike a standard adjustable wrench, this specialized tool features a long handle and a unique swiveling end that allows you to grip and turn nuts at various angles.
The key to understanding a basin wrench lies in its versatility. Many models come with adjustable features, letting you modify the handle length and jaw position to accommodate different nut sizes and configurations. This adaptability makes it ideal for working in cramped areas, such as under sinks or behind faucets.
The basin wrench's spring-loaded jaws are another fundamental component. They're designed to grip the nut firmly, even in awkward positions where you can't see what you're doing. To enhance the tool's effectiveness, you can improve its grip by applying sandpaper or other abrasive materials to the jaws. This simple trick can prevent slippage when loosening or tightening nuts.
Preparing for Wrench Use
Before you start using your basin wrench, proper preparation is key to guaranteeing a successful plumbing task. First, gather all the necessary tools and materials you'll need alongside your basin wrench. This may include plumbers tape, replacement parts, and a bucket to catch any water.
Clear the area around your bathroom sink, removing any items that might obstruct your movement or view. Verify you have adequate lighting to see into the tight spaces you'll be working in. If possible, place a small work light or headlamp nearby for better visibility.
Turn off the water supply to the sink by locating the shut-off valves typically found beneath it. Open the faucet to release any remaining water pressure. Place a towel or small container under the work area to catch any drips.
Familiarize yourself with the specific components you'll be working on, such as the faucet nuts or supply line connections. Take a moment to visualize how you'll position the basin wrench to access these parts effectively. If necessary, adjust the wrench's jaw size to match the nut you'll be loosening or tightening.
Positioning the Basin Wrench
With the preparation complete, it's time to position your basin wrench correctly. As you approach the sink, remember that proper placement is essential for effective use in tight spaces.
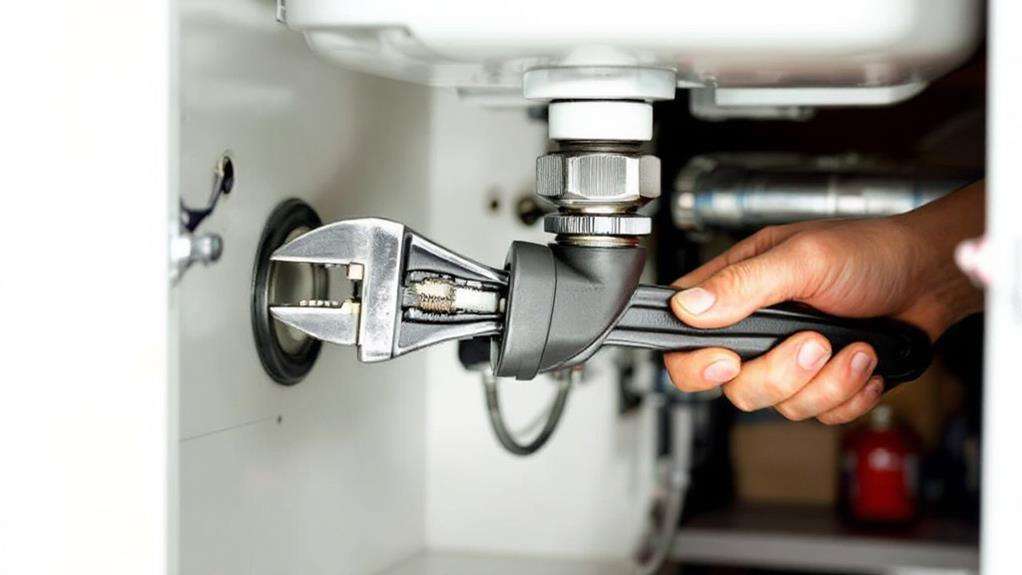
First, position the basin wrench with its jaws facing the nut or fitting you need to loosen or tighten. Align the swiveling end of the wrench at the angle required to fully engage the nut. This flexibility allows you to work around obstacles commonly found under sinks.
Ensure the basin wrench is centered and securely gripping the nut to prevent slippage, which could damage the fitting or cause injury. Adjust the length of the wrench handle to provide the necessary power within the confined space. This adaptability is what makes the basin wrench ideal for working in cramped areas beneath sinks.
Once you've positioned the wrench correctly, you're ready to apply force. Rotate the handle counterclockwise to loosen the nut or clockwise to tighten it. The long handle of the basin wrench allows you to generate significant torque, even in tight spaces where traditional wrenches can't reach. With proper positioning, you'll be able to tackle those hard-to-reach nuts and fittings under your sink efficiently.
Loosening Stubborn Nuts
Now that you've positioned the basin wrench correctly, you might encounter stubborn nuts that refuse to budge. Don't panic; there are several techniques you can try to loosen them. First, apply steady pressure while turning the wrench counterclockwise. If it doesn't move, try tapping the wrench handle gently with a rubber mallet to break the seal.
For extremely stubborn nuts, you can use penetrating oil. Spray it around the nut and let it sit for a few minutes before trying again. If you're still struggling, consider using heat. A hairdryer or heat gun can expand the metal, making it easier to loosen. Be cautious not to overheat plastic components.
If all else fails, you might need to cut the nut off. This should be a last resort, as it can damage the sink or surrounding area. When you finally manage to loosen the nut, continue turning it until you can remove the sink. Remember to work slowly and carefully to avoid damaging the sink or injuring yourself. With patience and persistence, you'll be able to tackle even the most stubborn nuts using your basin wrench.
Tightening With Precision
Once you've successfully loosened the old nut, it's time to focus on tightening the new one with precision. To achieve this, you'll need to use your basin wrench effectively.
Start by adjusting the handle of your basin wrench to provide the power you need in tight spaces. Rotate the swiveling end to find the ideal angle for grasping the nut and applying torque. Engage the spring-loaded jaws firmly around the nut to maintain a secure grip.
For enhanced grip and to prevent slipping, you may want to apply a small amount of sandpaper to the wrench's jaws. This can be particularly helpful when working with stubborn or slippery nuts.
When you're ready to tighten, turn the basin wrench clockwise slowly and steadily. Be cautious not to overtighten, especially when working with plastic fittings. The adjustable handle allows you to increase or decrease power as needed during the tightening process.