How to Set Up a DIY Drip Irrigation System for Your Plants
To set up a DIY drip irrigation system, start by gathering materials like a 5-gallon bucket, PVC pipes, and 1/4-inch drip tubing with emitters. Plan your garden layout, measuring beds and identifying plant locations. Install the main water line using PVC or polyethylene pipe, connecting it to your water source. Attach drip emitters to the tubing and position them near plant bases. Add a digital timer for automated watering and configure it based on your plants' needs. Perform regular maintenance, checking for clogs and leaks. With these steps, you'll create an efficient watering system that saves time and promotes healthy plant growth. Explore further to delve into the intricacies of DIY drip irrigation.
Understanding Drip Irrigation Basics
If you're looking to improve your gardening effort, drip irrigation is a transformative solution. This efficient watering method delivers water slowly and directly to your plants' root zones, promoting healthier growth while reducing water waste. By understanding the basics of a drip irrigation system, you'll be well-equipped to set up your own.
A typical drip irrigation system consists of several key components. You'll need a pressure regulator to ensure consistent water flow, a backflow valve to prevent contamination, and a network of PVC pipes for distribution. The heart of the system is the 1/4-inch drip tubing, which connects to the PVC pipes and delivers water to your plants through emitters.
To automate the watering process, you can add a timer to your system, allowing you to set specific watering schedules. This not only saves you time but also ensures your plants receive consistent hydration, even when you're away. By implementing a drip irrigation system, you'll enjoy benefits such as water conservation, improved plant health, and the convenience of automated watering. With regular maintenance, including checking for clogs and adjusting schedules based on weather conditions, your drip irrigation system will keep your garden thriving with minimal effort.
Gathering Necessary Materials
Now that you understand the basics of drip irrigation, it's time to gather the materials for your DIY system. Start with a standard 5-gallon bucket as your water supply container. You'll need a 1-inch spade bit to create a hole for the brass garden hose fitting, which will connect to your irrigation lines. Don't forget to include a garden hose o-ring for a watertight seal and a tapered fitting to connect to the 1/4-inch drip irrigation tube.
For the irrigation system itself, you'll need:
- An inline shut-off valve
- 1/2 gallon per hour drippers
- An additional shut-off valve for drainage
Consider adding a digital irrigation timer for automated scheduling and liquid plant food to enhance plant growth. You'll also need materials to construct an elevation structure, such as a pulley system or built-in stand, to position the bucket for proper water flow.
Planning Your Garden Layout
Before diving into your DIY drip irrigation project, you'll need to carefully plan your garden layout. Start by considering the arrangement of your raised beds, in-ground beds, and rows. This will help you determine the ideal design for your drip irrigation system, ensuring efficient watering for all your plants.
Measure your garden's dimensions, including the length and width of beds and the spacing between them. This information is pivotal for selecting the right components that'll fit your available space. Next, identify the locations of your plants and their specific water needs. This will guide you in strategically positioning drip emitters and tubing for targeted watering.
Determine the number of water zones you'll need based on your garden layout and plant types. You'll also need to make decisions about the garden's access points and water source location to plan the most efficient routing of your distribution network. Consider how the water coming from your source will reach all areas of your garden. By taking the time to plan your layout carefully, you'll create a customized drip irrigation system that meets your garden's unique needs.
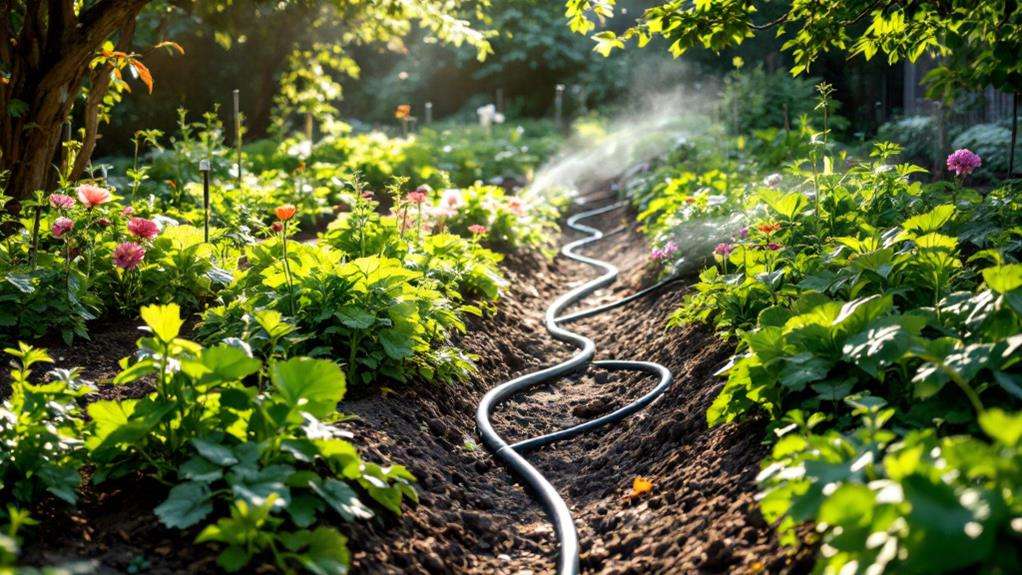
Installing the Main Water Line
The foundation of your DIY drip irrigation system rests on properly installing the main water line. Begin by laying out the 1/2-inch PVC or polyethylene pipe, securing it with stakes to create your distribution network. Connect this main pipe to your water source, such as an outdoor faucet, using appropriate fittings and a shut-off valve. It's indispensable to install a backflow preventer and pressure regulator inline to guarantee proper water pressure and prevent contamination of your main water supply.
When setting up your drip system, keep these key points in mind:
- Position the main line for efficient coverage and easy access
- Regularly inspect for leaks or damage
- Make necessary repairs promptly to maintain system integrity
Your Watering System's effectiveness depends on the main line's placement. Ensure it's positioned to provide optimal coverage and accessibility for connecting individual drip lines to your garden beds or plant locations. By taking care to install the main water line correctly, you're laying the groundwork for a successful DIY drip irrigation system that'll keep your plants healthy and hydrated with minimal effort on your part.
Setting Up Drip Emitters
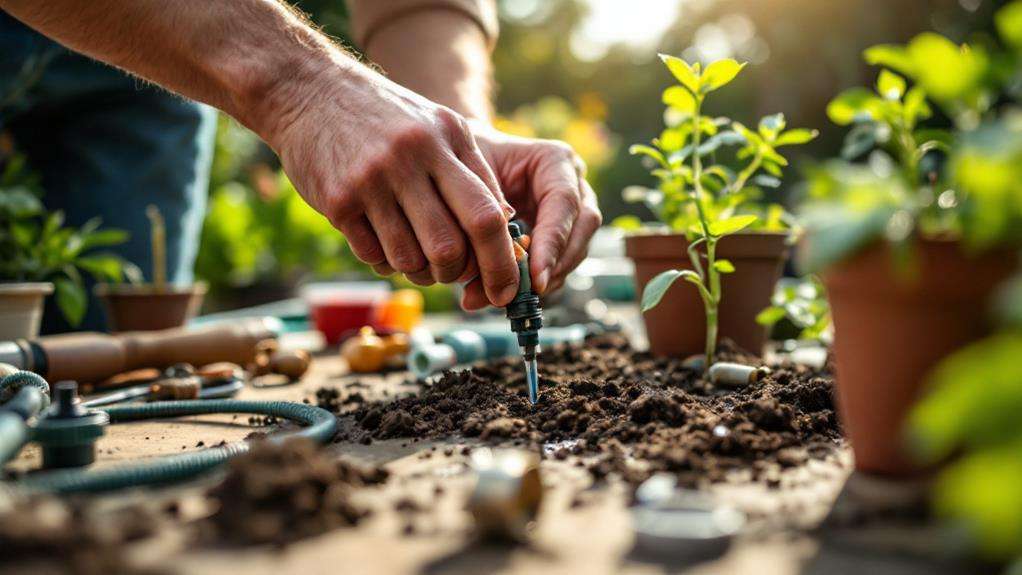
With your main water line in place, it's time to focus on setting up drip emitters. These devices are essential for delivering water directly to your plants' roots, minimizing waste and encouraging optimal growth. To Install a Drip system effectively, you'll need to choose emitters with appropriate flow rates for your plants' needs, ranging from 0.5 to 4 gallons per hour.
Attach the emitters to 1/4-inch drip tubing and position them next to the plants, about 12-18 inches apart along the line. This spacing ensures uniform water distribution throughout your garden. Make sure to place each emitter at the base of a plant for targeted watering.
Consider using adjustable emitters to fine-tune water output as your plants' needs change or environmental conditions shift. This flexibility allows you to adapt your irrigation system throughout the growing season.
When setting up your emitters, pay attention to the specific water requirements of different plants in your garden. You can mix and match emitter flow rates to accommodate varying needs. By carefully positioning and adjusting your drip emitters, you'll create an efficient, water-saving irrigation system that promotes healthy plant growth.
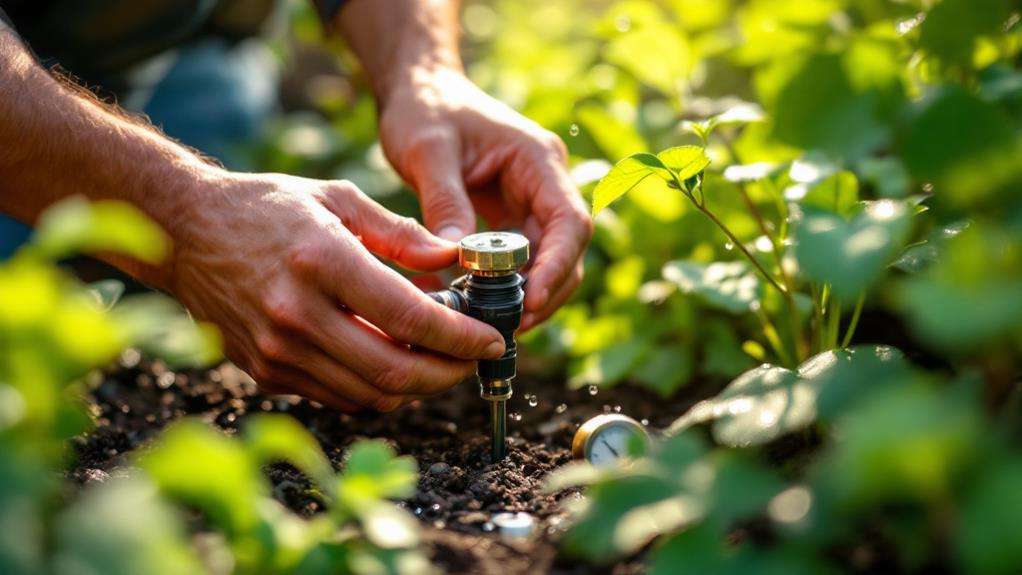
Configuring Timers and Controls
Automation is key to maintaining a consistent and efficient drip irrigation system. To achieve this, install a digital irrigation timer to control your watering schedule and duration automatically. Connect the timer to a solenoid valve, integrating it with your drip system for hands-free operation. This setup will save you time and guarantee your plants receive consistent care, even when you're away.
To optimize water usage, consider adding a soil moisture sensor to your timer. This smart combination will only activate watering when the soil truly needs it, preventing overwatering and conserving resources. As the growing season progresses, you'll need to adjust your timer settings to adapt to changing plant needs and weather conditions.
For best results:
- Configure multiple watering cycles per day to maintain consistent soil moisture
- Fine-tune your settings based on plant types and sun exposure
- Regularly check and clean your system to prevent clogs
Maintenance and Troubleshooting Tips
Regular maintenance is crucial for keeping your DIY drip irrigation system running smoothly. To guarantee efficient and consistent watering, you'll need to perform routine checks and address any issues promptly. Use a regular schedule to inspect your system for clogs or leaks, and fix them as soon as you spot them.
To prevent mineral buildup that can clog emitters and reduce water flow, flush the system periodically with clean water. This simple step can save you from more significant problems down the line. As weather conditions and plant needs change, adjust your watering schedule and run times accordingly. This optimization will help you use water more effectively and keep your plants healthy.
Don't forget to replace worn-out components like soaker hoses or emitters to maintain your system's performance and longevity. If you redesign your garden or move plants around, modify the system layout to make sure it continues to target the roots effectively. By following these maintenance and troubleshooting tips, you'll keep your DIY drip irrigation system running pretty much flawlessly. This post may contain affiliate links to help you find the right replacement parts when needed.