
How to Replace a Bathroom Faucet in 6 Simple Steps
To replace your bathroom faucet in 6 simple steps, start by gathering the necessary tools and materials. Next, turn off the water supply to prevent any leaks. Remove the old faucet carefully, making sure to clean the sink surface thoroughly. Prepare the sink for installation by clearing the area and ensuring the mounting holes align with your new faucet. Install the new faucet according to the manufacturer's instructions, connecting the water supply lines securely. Finally, test the installation by turning on the water supply and checking for leaks. With these steps, you'll have a fresh new faucet in no time. For a detailed walkthrough of each step, keep exploring.
Gather Tools and Materials
Before diving into the project, gather all the necessary tools and materials. You'll need an adjustable wrench, pliers, a basin wrench, screwdrivers, plumber's tape, and a bucket. Don't forget safety gear like gloves and eye protection. Purchase your new faucet, confirming it's compatible with your sink's configuration. Check the plumbing components beneath your sink to identify any additional parts you might need, such as supply lines or shut-off valves.
Inspect the sink's condition before starting. Look for signs of damage or wear that could complicate the installation process. If you notice any issues, address them before proceeding. Prepare your work area by clearing out the space under the sink and laying down a towel to catch any water spills.
Before purchasing materials, measure the distance between the outer holes on your sink to guarantee you get the right size faucet. If you're unsure about any aspect of the project, consult the manufacturer's instructions or seek advice from a hardware store professional. Having all the necessary tools and materials ready will make the replacement process smoother and more efficient.
Turn Off Water Supply
The water-shutoff step is essential before you begin replacing your bathroom faucet. First, locate the main water shutoff valve for your home. It's typically found near the water meter, in the basement, or outside near the foundation. Once you've found it, turn it clockwise to shut off the water supply to your entire house.
If you can't locate the main shutoff valve or prefer to isolate the bathroom, look for individual shutoff valves beneath the sink. These are usually small, oval-shaped handles attached to the water supply lines. Turn them clockwise until they're fully closed.
After shutting off the water, turn on the faucet to release any remaining pressure and drain the lines. Let the water run until it stops completely. This process helps prevent unexpected leaks when you disconnect the old faucet.
While the water is off, take a moment to check for any leaks around the shutoff valves or supply lines. If you notice any drips or moisture, make a note to address these issues later or consider replacing the valves along with your faucet.
Remove Old Faucet
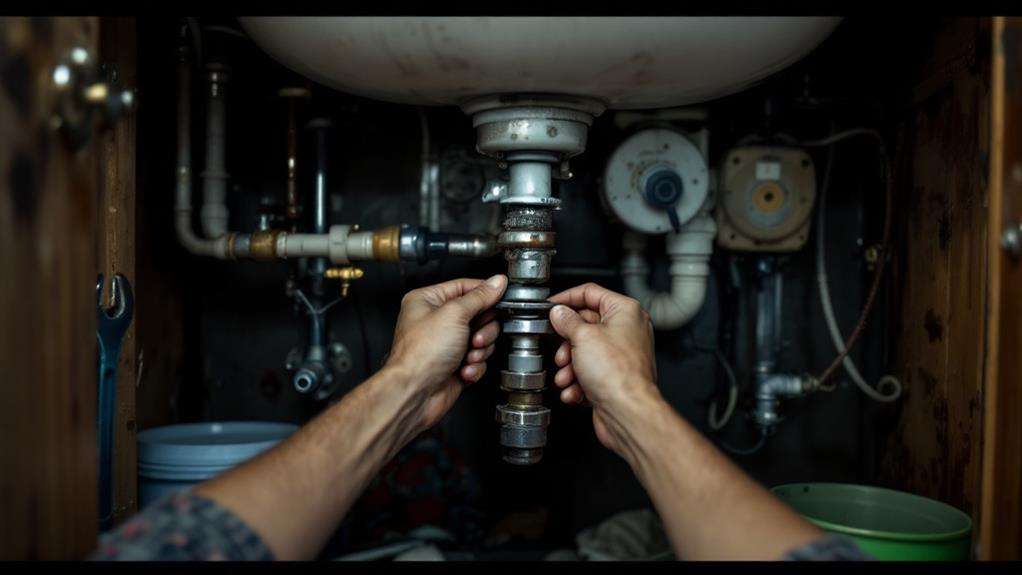
With the water supply shut off and the lines drained, you're ready to tackle the old faucet removal. Begin by locating the water supply lines beneath the sink. Use an adjustable wrench to disconnect water lines from the faucet base. Place a small bucket underneath to catch any residual water.
Next, focus on removing the mounting hardware. Look for nuts or screws securing the faucet to the sink or countertop. These are typically located underneath the sink. If they're difficult to reach, you might need a basin wrench for better access. Loosen and remove these nuts or screws carefully.
Once the mounting hardware is removed, gently lift the old faucet from above. It might be stuck due to old caulk or mineral buildup. If so, use a putty knife to break the seal around the base. With the faucet removed, clean the sink surface thoroughly. Remove any old caulk, mineral deposits, or debris to guarantee a clean installation for your new faucet.
If your sink has additional holes that won't be used by the new faucet, consider using hole covers for a polished look. You're now ready to install the new faucet.
Prepare Sink for Installation
Preparing the sink surface is critical for a successful faucet installation. Start by clearing the sink area of any items that might obstruct your work. Remove toiletries, soap dispensers, and other accessories to create a clean workspace. Next, safeguard surrounding surfaces from potential damage. Place a drop cloth or old towels around the sink to catch any water or debris that may fall during the installation process.
Thoroughly clean the sink surface where the new faucet will be installed. Use a mild cleaner and scrub brush to remove any dirt, grime, or old caulk residue. Dry the area completely with a clean cloth. Inspect the sink for any damage or irregularities that might affect the new faucet's fit. If you notice any cracks or chips, address these issues before proceeding.
Check the mounting holes to confirm they're clear of debris and match the configuration of your new faucet. If necessary, use a putty knife to scrape away any old plumber's putty or sealant from around the holes. Finally, measure the distance between the mounting holes to verify they align with your new faucet's specifications. With the sink area prepared, you're ready to move on to the next step in your faucet replacement project.
Install New Faucet
Now that your sink surface is prepped, it's time to install the new faucet. Begin by carefully reading the manufacturer's instructions, as installation methods can vary between models. Before you start, select faucet finishes that complement your bathroom's aesthetic and consider water pressure requirements to guarantee compatibility with your plumbing system.
Place the rubber gasket or trim ring over the faucet holes in the sink. Carefully feed the faucet's supply lines and mounting hardware through these holes. From underneath the sink, secure the faucet by tightening the mounting nuts. Be cautious not to over-tighten, as this could damage the sink or faucet.
Next, connect the water supply lines to the faucet's hot and cold inlets. Use an adjustable wrench to tighten the connections, verifying they're snug but not overly tight. If your faucet includes a drain assembly, install it according to the manufacturer's instructions. This typically involves inserting the pop-up rod through the faucet and connecting it to the drain stopper underneath the sink.
Test and Finalize Installation
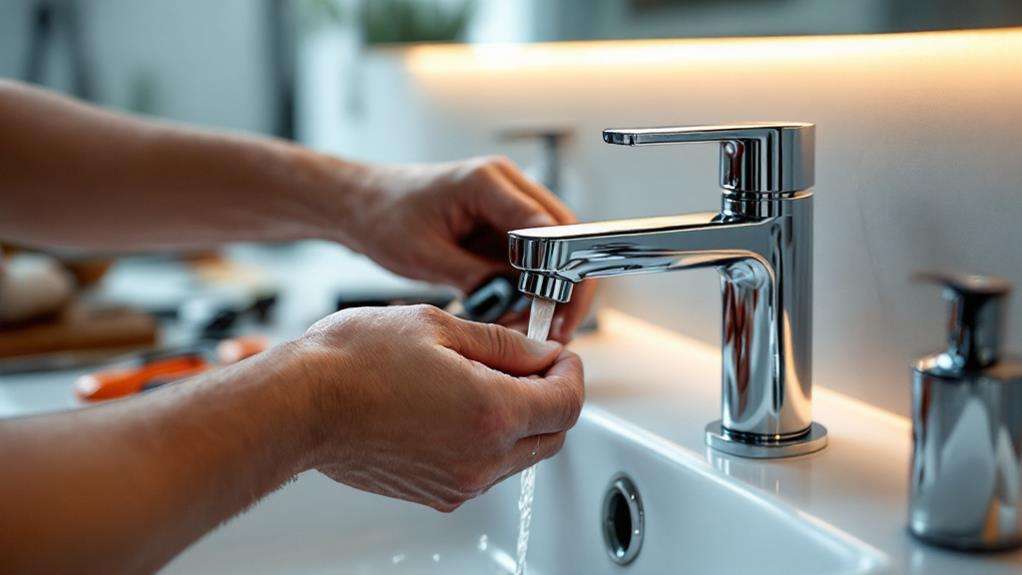
Three essential steps remain to complete your faucet installation. First, turn on the water supply valves under the sink gradually. Watch for any leaks around the connections. If you spot any, tighten the nuts or fittings as required. Don't overlook the drain assembly, as it's also prone to leaks.
Next, conduct a thorough leak detection process. Remove the aerator from the faucet spout and run both hot and cold water for several minutes. Check all visible connections, including the supply lines and valve stems. Look for any drips or moisture accumulation. If you find leaks, turn off the water and address the issue before continuing.
Finally, perform water pressure testing. Replace the aerator and turn on the faucet to its full capacity. Observe the water flow and pressure. If it's weak or inconsistent, there might be debris in the lines or aerator. Clean these components if necessary. Also, test the temperature control to guarantee proper hot and cold water mixing.
Once you're satisfied with the installation, wipe down the faucet and surrounding area. Dispose of any packaging materials and old parts. Your new bathroom faucet is now ready for use.