How to Remove and Replace a Toilet Flapper
To replace a toilet flapper, start by turning off the water supply and flushing the toilet to drain the tank. Locate the flapper at the bottom of the tank, attached to the flush valve. Disconnect the chain from the flush lever and unhook the flapper from the pegs on the flush valve. Clean the area, then attach the new flapper to the pegs and reconnect the chain. Adjust the chain length for proper slack, turn the water back on, and test the flush. Make sure the water level is correct and the flapper seals properly. With these steps, you'll be well on your way to a leak-free toilet.
Key Takeaways
- Turn off the water supply and flush the toilet to drain the tank.
- Disconnect the chain from the flush lever and remove the old flapper.
- Clean the flush valve seat for a smooth surface.
- Attach the new flapper to the pegs on the flush valve.
- Connect the chain to the flush lever, adjust its length, and test the installation.
Understanding the Toilet Flapper
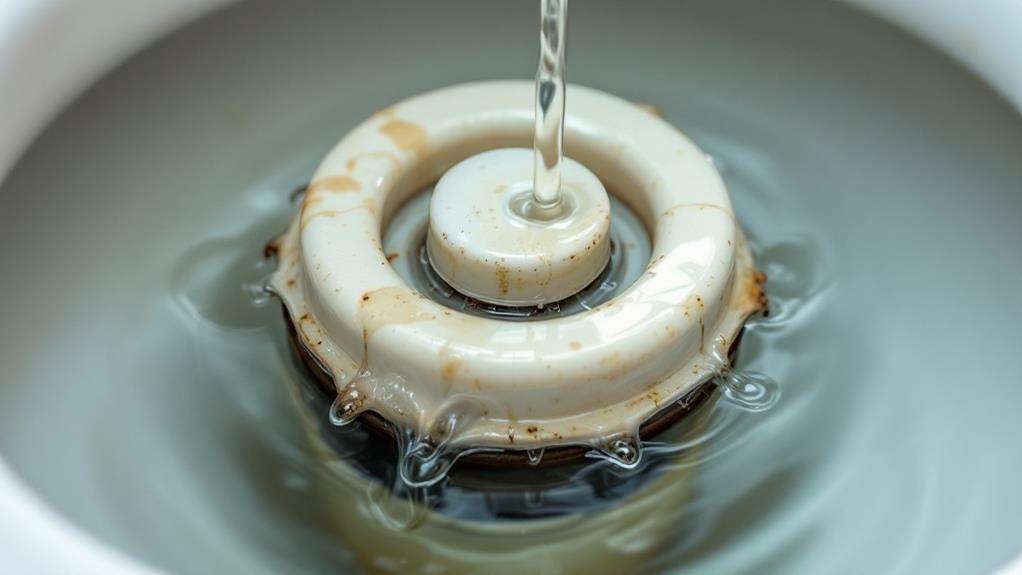
Your toilet's flapper is a crucial component that controls water flow from the tank to the bowl. It's a rubber seal that sits at the bottom of the toilet tank, covering the flush valve opening. When you press the flush lever, it lifts the flapper, allowing water to rush into the bowl and create the flushing action.
The flapper is connected to the flush lever by a chain, known as the flapper chain. This chain should have just enough slack to allow the flapper to seal properly but not so much that it gets caught under the flapper. The flapper's position is often adjacent to the overflow tube, which prevents the tank from overfilling.
Over time, flappers can deteriorate, warp, or accumulate mineral deposits, leading to leaks or incomplete flushes. You'll know your flapper needs replacing if you hear your toilet running constantly or if it flushes on its own. This problem, called "phantom flushing," occurs when the flapper doesn't create a proper seal, allowing water to slowly leak into the bowl. Replacing a faulty flapper is a simple DIY task that can save water and reduce your utility bills.
Locating the Flapper
To locate the flapper, you'll need to remove the toilet tank lid and peer inside. The flapper is typically a rubber or plastic disc attached to a chain, situated at the bottom of the tank. It's responsible for sealing the flush valve opening, which leads to the toilet bowl.
Look for the chain connected to the flush handle lever. This chain links the flush mechanism to the flapper. Follow the chain down to its connection point, and you'll find the flapper at the end. It's usually made of red or black rubber and covers a circular opening at the tank's base.
If you're having trouble spotting the flapper, flush the toilet and watch the mechanism in action. You'll see the flapper lift when you press the flush handle, allowing water to flow into the toilet bowl. As the tank empties, the flapper will drop back down to seal the opening.
Before you remove the flapper, it's essential to turn off the water supply to the toilet and flush to empty the tank. This will make it easier and less messy to remove the old flapper and install a new one.
Signs of a Faulty Flapper
Recognizing the signs of a faulty flapper can save you water and money. A faulty flapper is a common cause of toilet problems and can waste gallons of water if left unaddressed. The most obvious sign is when your toilet keeps running long after you've flushed it. You'll hear water continuously flowing into the bowl, which indicates that the flapper isn't sealing properly.
Another telltale sign is water leaking from the tank into the bowl between flushes. You can check for this by adding a few drops of food coloring to the tank water. If you see the color in the bowl without flushing, you've got a leak. You might also notice a decrease in flushing power or that you need to hold down the handle longer for a complete flush. These issues often stem from a worn or misaligned flapper.
Pay attention to your water bill, too. An unexplained increase could point to a faulty flapper silently wasting water. If you suspect your flapper is failing, it's best to replace it promptly to prevent further water waste and potential damage to your toilet.
Necessary Tools and Materials
Replacing a toilet flapper is a straightforward DIY task that requires minimal tools and materials. To get started, you'll need a few essential items to ensure a successful replacement.
First, gather your tools. You'll want to have heavy-duty scissors or snips on hand, as you may need to cut the ring on the back of the new flapper for proper installation. While optional, rubber gloves can be helpful to keep your hands clean during the process.
As for materials, you'll need a replacement toilet flapper with a lift chain. When selecting a new flapper, make sure it's compatible with your toilet model. Once you have your new flapper, you may need to prepare it by cutting off the ring on the back if necessary.
When you're ready to install the new flapper, you'll hook its ears onto the pegs inside the toilet tank and reconnect the lift chain. After installation, don't forget to turn the water supply back on and test the new flapper by flushing the toilet. This will ensure it's operating correctly and sealing properly to prevent water waste.
Selecting the Right Replacement
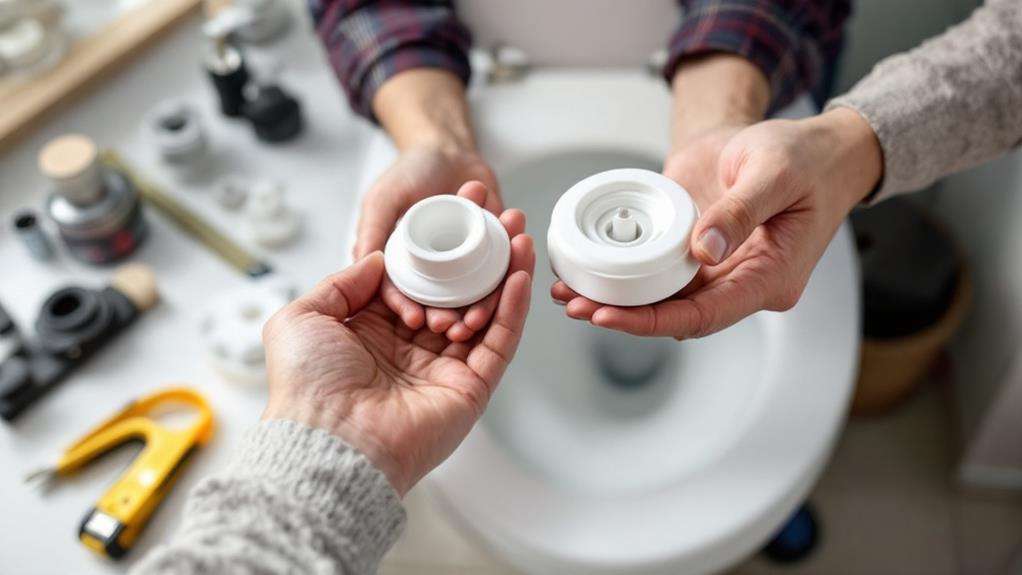
Choosing the correct replacement flapper is crucial for your toilet's proper functioning and water efficiency. To select the right flapper, first determine your toilet's gallons per flush (GPF). For older 3.5 GPF toilets, use a Fluidmaster 501, while newer 1.6 or 1.28 GPF models require a Fluidmaster 502. Look for flappers with Microban technology to prevent bacterial breakdown and adjustable flush capacity to customize water usage.
Consider an adjustable flapper model to optimize flush volume, which can help conserve water and reduce your water bill. Measure your existing flapper's dimensions to ensure the new one fits the flush valve opening properly and creates a tight seal. This is essential for maintaining the correct water level in the tank.
When you replace the flapper, choose a high-quality option made of durable materials like rubber or plastic. These will last longer and provide a more reliable seal, preventing a running toilet. By selecting the right replacement flapper, you'll ensure optimal performance, water efficiency, and longevity for your toilet's fill valve system.
Removing the Old Flapper
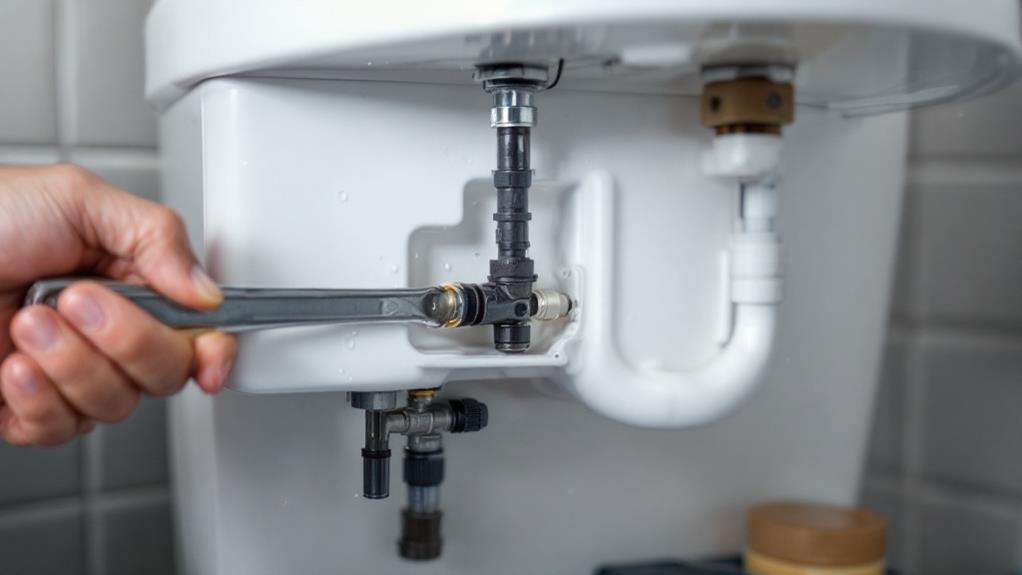
With just a few simple steps, you can safely remove the old flapper from your toilet. Begin by locating the shutoff valve, typically found near the base of the toilet. Turn it clockwise to stop the water supply to the tank. Once the water flow is cut off, flush the toilet to drain most of the water from the tank.
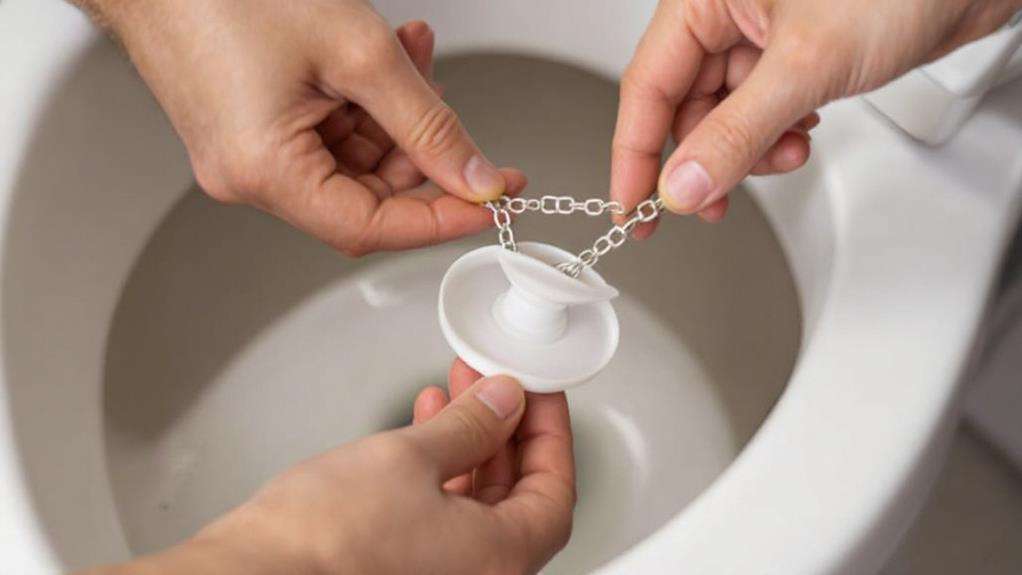
Next, you'll need to disconnect the flapper from the toilet handle mechanism. Locate the chain connecting the flapper to the flush handle lever and unhook it. This will free the flapper from the flushing mechanism. Now, you can focus on removing the flapper itself.
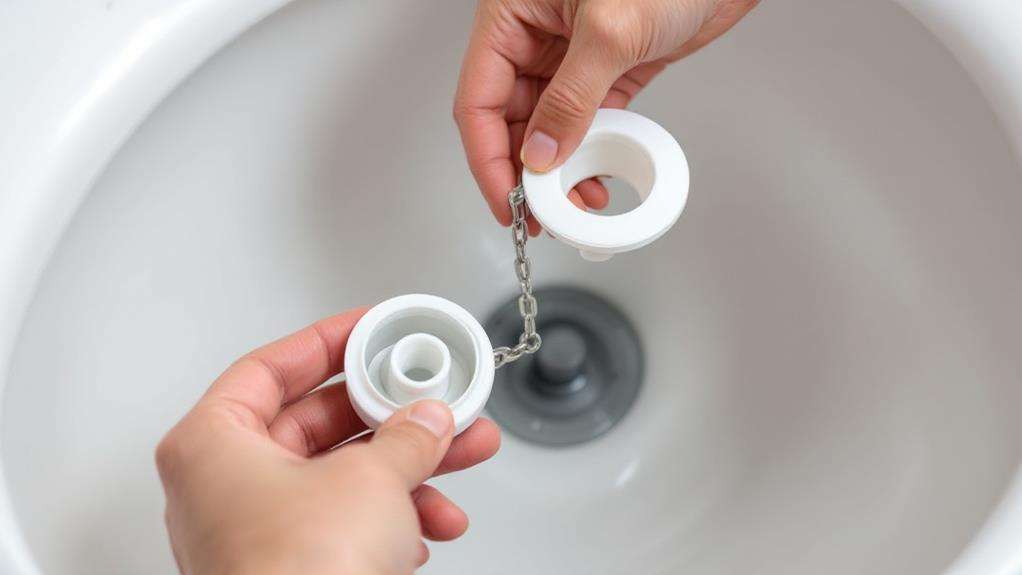
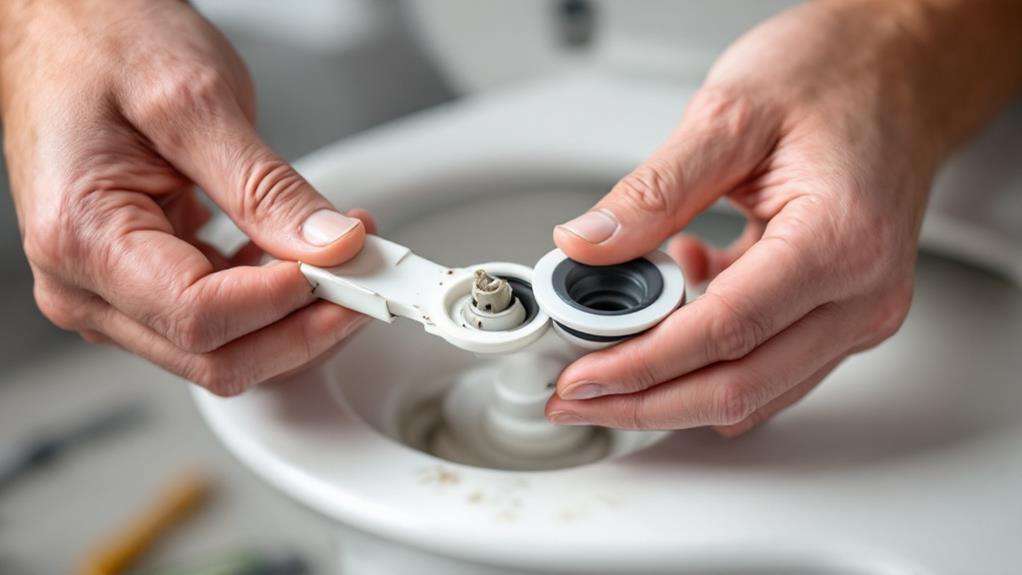
Look for the side ears of the flapper, which are usually attached to pegs on either side of the flush valve. Carefully slip these ears off the pegs to detach the flapper completely. As you remove the old flapper, take a moment to clean the flush valve seat. This ensures a smooth surface for the new flapper to seal against, preventing leaks and improving flushing efficiency.
Installing the New Flapper
The installation of a new flapper involves three key steps. First, you'll need to flush the toilet to drain the tank completely. Once empty, wipe the area around the flush valve to ensure a clean surface for the new flapper.
Next, take your new flapper and attach it to the flush valve. Most flappers have two ears that slide onto the pegs on either side of the valve. Ensure it's centered and properly aligned. Then, connect the chain to the flush lever arm. Adjust the chain length so there's a slight slack when the flapper is closed but enough tension to lift it when you flush.
Adjusting and Testing
Once you've installed the new flapper, it's crucial to adjust and test it for proper functionality. Start by ensuring the chain connecting the flush lever to the flapper has the right amount of slack. You'll want about 1/2 inch of slack when the lever is at rest. If there's excess chain, trim it to prevent it from getting caught under the flapper.
Next, check the refill tube's position. Make sure it's not submerged in the overflow pipe, as this can cause continuous water flow. Adjust it so that it's above the waterline but still directing water into the overflow pipe.
Turn the water to the toilet back on and let the tank fill. Observe the water level, which should be about an inch below the top of the overflow pipe. If it's too high or low, adjust the float arm or cup.
Now, test the flush. The flapper should rise completely when you push the lever and then drop back into place when the tank empties. If it closes too quickly or stays open too long, adjust the chain length accordingly. Flush several times to ensure consistent performance and check for any leaks around the flapper seal.
Troubleshooting Common Issues
After testing your newly installed flapper, you might encounter some issues that require troubleshooting. If you're still experiencing a running toilet, check the chain from the flush lever to ensure it's not too long or too short. Adjust it so there's a slight slack when the flapper is closed. If the chain is catching on something, it may prevent the flapper from sealing properly.
Inspect the flapper itself to ensure it's creating a proper seal. If water continues to seep into the bowl, the flapper may not be the correct size or type for your toilet. Double-check your toilet's gallons per flush (GPF) and replace the flapper with the appropriate model, such as a Fluidmaster 501 for 3.5 GPF or a Fluidmaster 502 for 1.6/1.28 GPF toilets.
If you notice water backing up into the tank through the overflow tube, adjust the water level in the tank. Ensure it's about an inch below the top of the overflow tube. If you've tried these steps and still can't resolve the issue, it may be time to call a licensed plumber. Remember, fixing a running toilet can lead to significant water bill savings in the long run.