
How to Properly Seal Plumbing Connections for Leak Prevention
To properly seal plumbing connections and prevent leaks, start by identifying the connection type and selecting the appropriate sealant. Clean and prepare surfaces thoroughly, removing debris and corrosion. For threaded connections, apply pipe dope or wrap PTFE tape clockwise on male threads. With compression fittings, guarantee proper alignment and tightening to specifications. Use pipe clamps and flexible connectors where needed to accommodate movement. Always follow manufacturer guidelines for specific fittings and materials. Regularly inspect connections for signs of wear or leakage. By conquering these techniques, you'll drastically reduce the risk of plumbing disasters and costly water damage. The devil's in the details when it comes to leak-free connections.
Understanding Plumbing Connection Types
Plumbing connections are the unsung heroes of any water system. They're responsible for maintaining a watertight seal between pipes, fixtures, and appliances. To properly seal these connections, you'll need to understand the different types and how they function.
The most common plumbing connections include threaded, soldered, compression, and push-fit joints. Each type has unique characteristics and is suited for specific applications. Threaded connections use male and female threads to create a seal, while soldered joints rely on heat and solder to bond metal surfaces. Compression fittings use nuts and ferrules to compress against the pipe, and push-fit connections employ internal gripping teeth and O-rings for a secure seal.
Identifying joint components is essential for proper installation and maintenance. For threaded connections, you'll need to recognize the pipe threads and corresponding fittings. Soldered joints require familiarity with flux, solder, and heating techniques. Compression fittings involve nuts, ferrules, and pipe inserts, while push-fit connections use specialized fittings with internal components.
Recognizing fitting materials is equally important. Common materials include brass, copper, PVC, and PEX. Each material has specific properties and compatibility requirements that affect their use in different plumbing scenarios.
Essential Tools and Materials
A well-stocked toolbox is your first line of defense against leaks. When selecting appropriate tools, prioritize quality over cost. You'll need adjustable wrenches, pipe wrenches, and channel-lock pliers to handle various connection types. Don't forget a hacksaw for cutting pipes and a tape measure for precise measurements.
When purchasing sealant types, consider the specific application. Teflon tape is essential for threaded connections, while pipe dope works well for larger fittings. Silicone caulk is ideal for sealing around fixtures. For joining PVC pipes, you'll need PVC primer and cement.
Other necessary materials include pipe clamps, rubber washers, and plumber's putty. Keep spare fittings, couplings, and pipe sections on hand for emergency repairs. A drain snake and plunger are indispensable for clearing blockages.
Safety shouldn't be overlooked. Invest in protective gear like gloves, safety glasses, and knee pads. A flashlight or headlamp will help you see in tight spaces. Finally, keep a bucket and towels nearby to manage any water spills during your plumbing work.
Preparing Surfaces for Sealing
Properly preparing surfaces is consistently the key to achieving watertight seals in plumbing connections. Before you begin sealing, make certain all surfaces are clean, dry, and free from debris. Start by cleaning plumbing surfaces thoroughly using a wire brush or sandpaper to remove any rust, old sealant, or corrosion. Pay special attention to the pipe threads, as these are critical for creating a tight seal.
Next, focus on degreasing pipe threads. Use a solvent-based degreaser or rubbing alcohol to remove any oils or residues that may interfere with the sealant's adhesion. Apply the degreaser to a clean cloth and wipe down the threads, ensuring you cover the entire surface. Allow the pipes to air dry completely before proceeding.
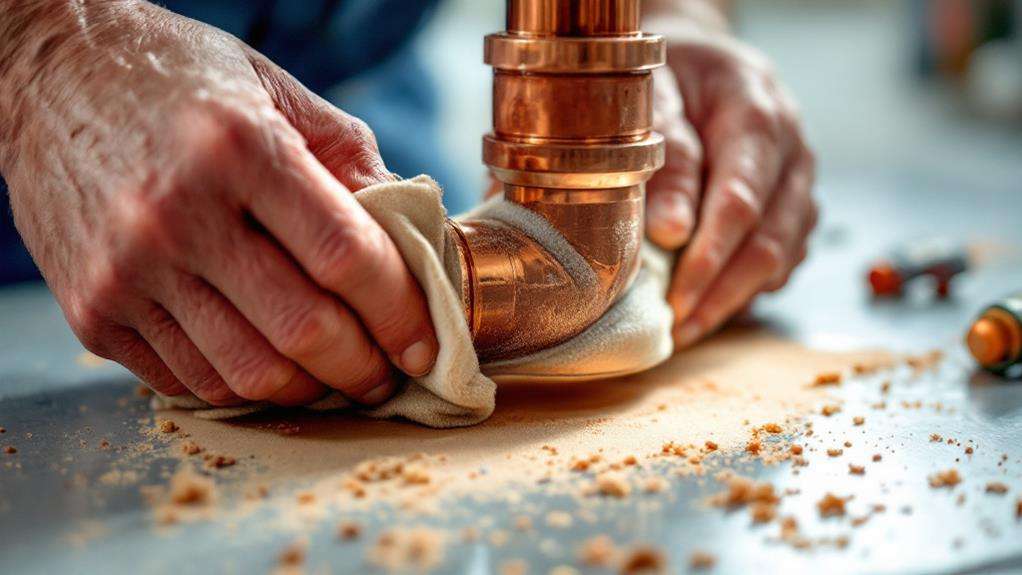
For plastic pipes, use a clean, dry cloth to wipe away any dust or debris. Avoid using harsh chemicals on plastic surfaces, as they may damage the material. If you're working with copper pipes, use fine-grit sandpaper to lightly scuff the surface, creating a better bonding area for the sealant. Remember, proper surface preparation tremendously increases the effectiveness of your plumbing seals and helps prevent future leaks.
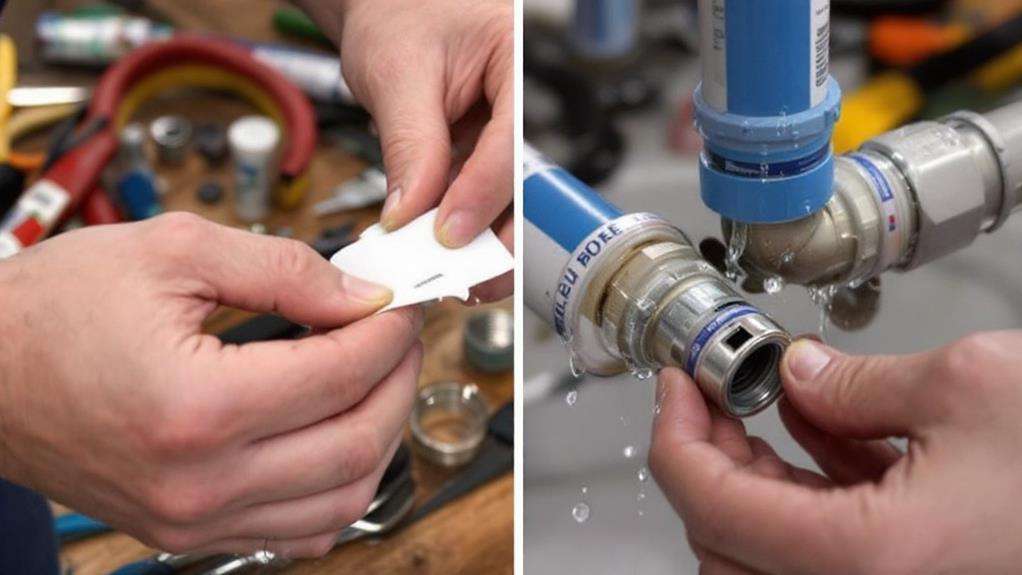
Applying Thread Sealants Correctly
When it comes to applying thread sealants, you'll need to choose the right product for your specific plumbing application. Start by selecting appropriate sealants based on the type of pipes and fittings you're working with. For metal pipes, you can use pipe dope or PTFE tape, while plastic pipes often require specialized thread sealants.
Before applying any sealant, verify thread compatibility to guarantee a proper fit. Clean the threads thoroughly and check for any damage or debris. When using pipe dope, apply a thin, even layer to the male threads using a brush or your finger. Don't overdo it, as excess sealant can clog pipes or fittings.
If you're using PTFE tape, wrap it clockwise around the male threads, overlapping each turn by about half the tape's width. Use 3-4 wraps for most applications, but consult the manufacturer's instructions for specific recommendations. After applying the sealant, carefully thread the fitting into place, taking care not to cross-thread or overtighten. Wipe away any excess sealant that squeezes out during assembly. Allow the sealant to cure according to the product instructions before testing the connection for leaks.
Using Pipe Dope Effectively
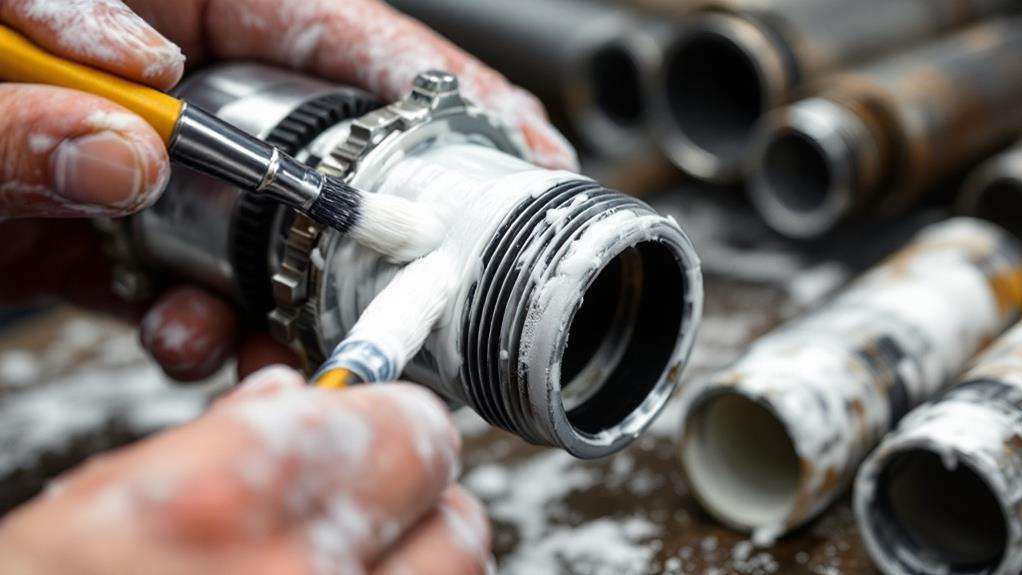
Pipe dope, also known as thread sealant paste, is a crucial tool for creating watertight connections in plumbing systems. When using pipe dope effectively, you'll need to start by selecting appropriate pipe dope for your specific application. Consider factors like temperature range, chemical compatibility, and pressure ratings when choosing a product.
To apply pipe dope, clean the threads thoroughly and remove any debris or old sealant. Use a brush or applicator to spread a thin, even layer of pipe dope on the male threads, covering all grooves. Don't apply it to the first two threads, as this can contaminate the system. For plastic pipes, use a non-hardening pipe dope to prevent cracking.
When assembling the connection, hand-tighten the fitting first, then use a wrench to tighten it further. Be cautious about avoiding overtightening fittings, as this can damage the threads or crack the pipe. Aim for one to two turns past hand-tight for most connections. Wipe away any excess pipe dope that squeezes out of the joint. Allow the sealant to cure according to the manufacturer's instructions before pressurizing the system.
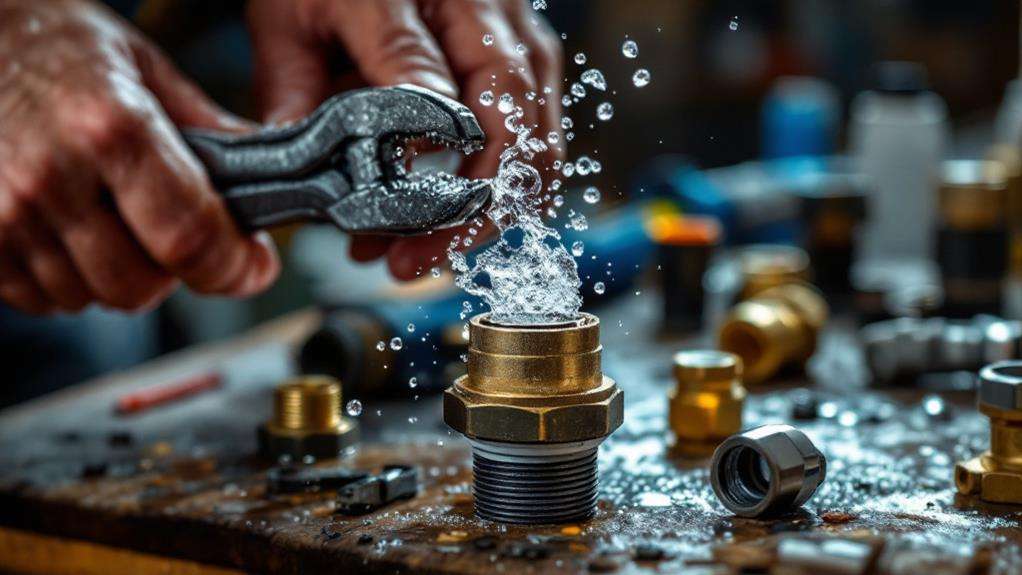
Mastering Compression Fittings
Compression fittings offer another reliable method for creating leak-free connections in plumbing systems. These fittings use pressure to create a watertight seal between pipes and components. To achieve compression fittings, you'll need to focus on proper fitting selection and compression seal quality.
Start by choosing the right fitting for your specific application. Ensure the fitting's size matches your pipe's diameter and material. Brass fittings work well with copper pipes, while plastic fittings are ideal for PVC or PEX pipes. Clean the pipe end thoroughly and cut it squarely to guarantee a proper fit.
Slide the compression nut onto the pipe, followed by the ferrule. Insert the pipe into the fitting body until it stops. Hand-tighten the nut, then use a wrench to tighten it further. For metal pipes, tighten the nut about 3/4 of a turn past hand-tight. For plastic pipes, tighten only 1/2 turn to avoid damaging the material.
To check the compression seal quality, perform a pressure test. If you notice any leaks, carefully tighten the nut a bit more. Don't overtighten, as this can damage the fitting or pipe. With practice, you'll develop a feel for achieving the perfect seal.
Troubleshooting Common Sealing Issues
Identifying and resolving common sealing issues can save you time and frustration in your plumbing projects. When troubleshooting, focus on identifying root causes to minimize future leaks. Start by inspecting the connection visually, looking for signs of damage, misalignment, or improper installation. Check for overtightened fittings, which can crush washers or damage threads. Conversely, under-tightened connections may not create a proper seal.
If you're dealing with threaded connections, guarantee you've used the right type and amount of thread sealant. Too little won't create a proper seal, while too much can interfere with the fitting's ability to tighten correctly. For compression fittings, verify that the ferrule is properly seated and the nut is tightened to the manufacturer's specifications.
Temperature fluctuations can cause materials to expand and contract, leading to leaks. Consider using flexible connectors in areas prone to movement. If you're working with dissimilar metals, use dielectric unions to prevent galvanic corrosion. Ultimately, don't overlook the importance of proper pipe support. Sagging pipes can put stress on connections, causing leaks over time. By addressing these common issues, you'll drastically improve your plumbing connections' longevity and reliability.