
How to Prevent Pipe Freezing During Winter
To prevent pipe freezing during winter, start by insulating exposed pipes, especially in unheated areas. Maintain a consistent indoor temperature of at least 55°F (13°C), even when you're away. Allow faucets to drip slightly to keep water moving and relieve pressure. Seal any cracks or openings where cold air can enter your home. Open cabinet doors to expose plumbing to warmer air. Use heat tape on vulnerable pipes and disconnect outdoor hoses. Know the location of your main water valve in case of emergencies. By taking these precautions, you'll greatly reduce the risk of frozen pipes and potential water damage. There's more you can do to protect your home from winter's chill.
Insulate Exposed Pipes
During winter, insulating exposed pipes is critical to prevent freezing. Start by identifying pipes in unheated areas like attics, crawl spaces, and exterior walls. These are most susceptible to freezing and should be your priority. Use foam pipe insulation sleeves, which are easy to install and provide excellent protection. Simply cut the sleeve to size and slip it over the pipe.
For added protection, consider heat reflective insulation. This type of insulation has a reflective outer layer that bounces heat back towards the pipe, keeping it warmer. It's particularly effective in areas with extreme cold.
Don't forget about outdoor faucets and pipes. Use faucet covers and wrap exposed pipes with insulating tape or heat cables. If you're not confident in your DIY skills, consider professional insulation installation. Experts can guarantee thorough coverage and might spot potential issues you've missed.
For pipes in exterior walls, you may need to open the wall to add insulation. While this is a more extensive project, it's often worth the effort to prevent costly damage from frozen pipes.
Maintain Consistent Indoor Temperature
Keeping your home's temperature steady is essential for preventing pipe freezing. During winter, maintain a consistent indoor temperature of at least 55°F (13°C), even when you're away or sleeping. This helps guarantee that the water in your pipes stays above freezing point. If you're planning to be away for an extended period, don't turn off your heating system completely. Instead, lower the thermostat to a temperature that will keep your pipes safe.
Monitor your thermostat settings regularly and consider installing a programmable or smart thermostat to maintain consistent temperatures automatically. These devices allow you to set different temperatures for various times of the day, verifying your home stays warm enough to prevent freezing pipes while potentially saving on energy costs.
In addition to maintaining temperature, you should also humidify the air in your home. Dry air can make your house feel colder, tempting you to raise the thermostat. By adding moisture to the air, you'll feel warmer at lower temperatures, which can help you save on heating costs while still protecting your pipes. Use a humidifier or place water-filled containers near heat sources to increase indoor humidity levels naturally.
Allow Faucets to Drip
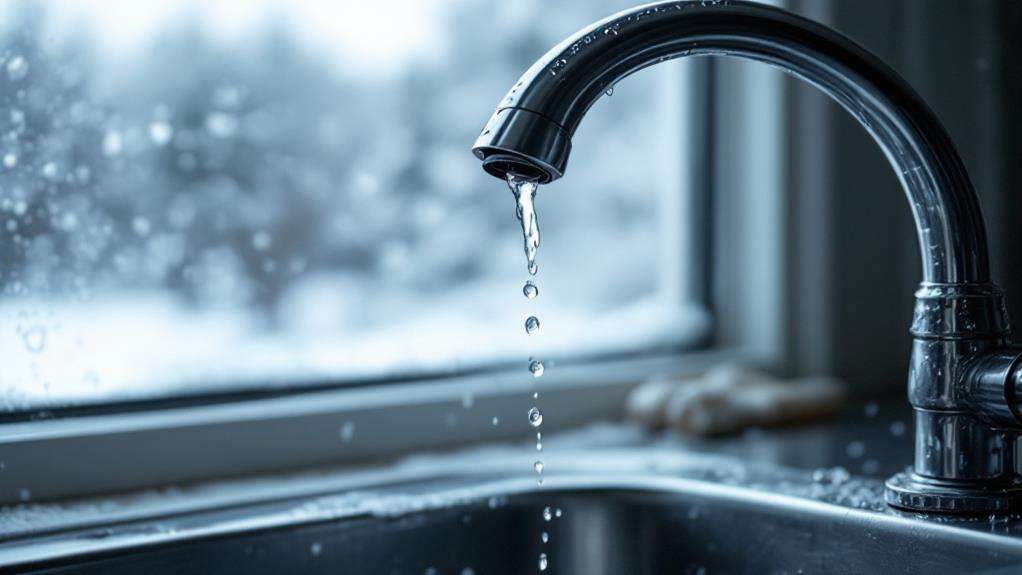
Allowing faucets to drip is a simple yet effective method to prevent pipes from freezing. When temperatures plummet, letting water flow through your pipes continuously can substantially reduce the risk of freezing. You should focus on faucets connected to pipes that run along exterior walls or in unheated areas of your home.
To implement this strategy, turn on both hot and cold taps to create a small, steady stream of water. This constant movement helps relieve pressure in the system and prevents ice blockages from forming. It's vital to run water regularly through all your faucets, not just one or two.
As you allow your faucets to drip, monitor water pressure closely. A sudden drop in pressure could indicate a frozen pipe elsewhere in your system. If you notice this, act quickly to thaw the affected area.
Seal Cracks and Openings
To effectively protect your pipes from freezing, sealing cracks and openings is essential. Cold air can infiltrate your home through even the tiniest gaps, putting your pipes at risk. Start by inspecting your home's exterior for any visible cracks or holes, paying close attention to areas where pipes enter or exit the building.
Use caulk or foam insulation to seal these entry points, ensuring a tight barrier against the cold. Don't forget to check around windows and doors, as these are common areas for drafts. Apply weatherstripping to create a secure seal and prevent cold air from seeping in.
In your basement or crawl space, look for gaps around pipes that lead to the outdoors. Seal these openings with expanding foam insulation to keep the cold at bay. Also, inspect your home's foundation for cracks and seal them with hydraulic cement or masonry caulk.
Remember to check your attic and seal any gaps in the roof or walls. This not only protects your pipes but also improves your home's overall energy efficiency. By taking the time to seal cracks and openings, you'll create a more secure barrier against freezing temperatures and reduce the risk of pipe damage.
Open Cabinet Doors
During frigid weather, opening cabinet doors under sinks and in bathrooms can be a simple yet effective strategy to prevent pipe freezing. By doing this, you'll expose plumbing to the warmer air circulating in your home. This technique is particularly useful for pipes located along exterior walls, which are more susceptible to freezing.
When you open cabinet doors, you're allowing heated air to reach the pipes, helping to conserve heat and maintain a temperature above freezing. This is especially important at night when temperatures often drop to their lowest. Make sure to keep these doors open throughout the cold spell, not just for a few hours.
Remember to remove any items stored in these cabinets that might block the warm air from reaching the pipes. Also, consider using a fan to circulate the warm air more effectively around the exposed plumbing. While this method can slightly increase your heating costs, it's far less expensive than dealing with burst pipes. Combine this technique with other preventive measures, such as insulating pipes and maintaining a consistent indoor temperature, to maximize protection against freezing pipes during winter's harshest conditions.
Use Heat Tape
Have you considered using heat tape to protect your pipes from freezing? This innovative solution can be a transformative factor in preventing costly damage to your plumbing system during harsh winter months. Electric heat tape is a flexible, ribbon-like heating element that you can wrap around vulnerable pipes to keep them warm and prevent freezing.
To use heat tape effectively, follow these steps:
- Measure the length of pipe you need to protect
- Purchase the appropriate amount of heat tape
- Follow the manufacturer's instructions for proper tape installation
When installing heat tape, it's vital to guarantee it's properly applied and secured to the pipe. Don't overlap the tape, as this can cause overheating. Instead, wrap it in a spiral pattern along the pipe's length. Be sure to plug the heat tape into a ground fault circuit interrupter (GFCI) outlet for safety.
Disconnect Outdoor Hoses
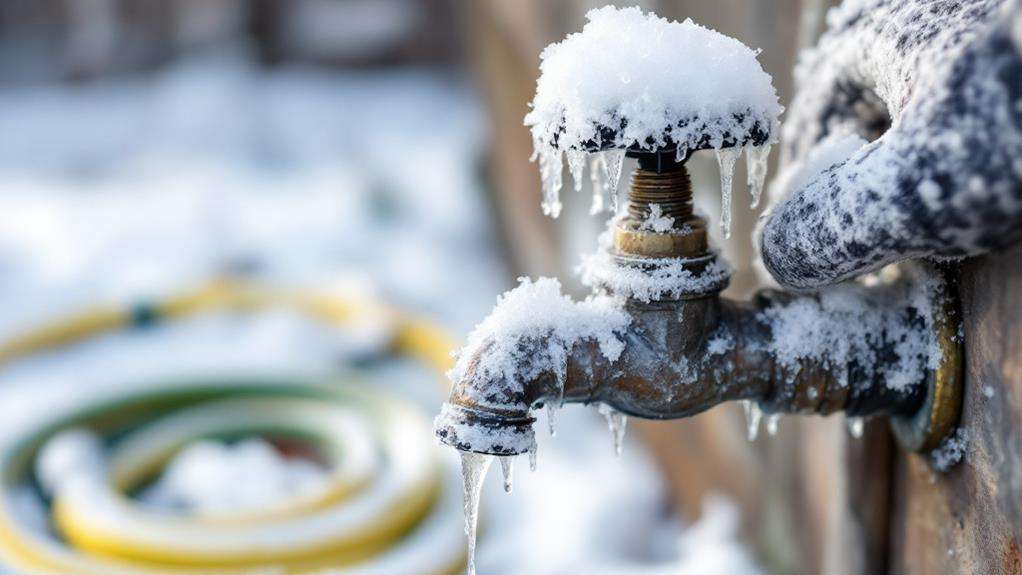
Before winter's icy grip takes hold, you'll need to disconnect your outdoor hoses. This simple task is pivotal in preventing frozen pipes and potential water damage to your home. Start by turning off the water supply to your outdoor faucets. Once the water is off, open the faucets to allow any remaining water to drain out.
Next, remove the hoses from the spigots. It is vital to drain the hose completely before storing it. To do this, stretch the hose out on a slight incline and allow gravity to help remove all the water. Once drained, coil the hose neatly and store it indoors, away from freezing temperatures. A garage or basement is an ideal location.
After disconnecting and storing your hoses, don't forget to protect your outdoor faucets. Install insulated faucet covers over each spigot to provide an extra layer of protection against freezing temperatures. If you don't have covers, wrap the faucets with towels or newspaper and secure them with duct tape.
Know Your Main Water Valve
While protecting your outdoor plumbing is important, it's equally indispensable to be prepared for potential indoor pipe issues. Knowing the location of your main water valve is essential for preventing extensive damage in case of a pipe freeze or burst. You'll want to locate this valve before an emergency occurs, as it'll allow you to quickly shut off the water supply to your entire home if needed.
To identify and familiarize yourself with your main water valve:
- Locate main valve: It's typically found near where the main water line enters your home, often in the basement, crawl space, or near the water heater.
- Identify shut off valve type: Most valves are either gate valves (which turn like a wheel) or ball valves (which have a lever handle).
- Test the valve: Ensure it's functioning properly by turning it off and on once a year.
Once you've located the valve, mark it clearly and inform all household members of its location. You may want to attach a tag with instructions for shutting it off. This knowledge can save you precious time and potentially thousands of dollars in water damage during a winter emergency.