
How to Prepare Your Water Heater for Winter
As the cold weather approaches, it's important to prepare your water heater for winter. First, check the tank's temperature and adjust the thermostat to 120-125°F for optimal efficiency. Inspect the pressure relief valve and flush the tank to remove sediment. Insulate the tank and exposed pipes to prevent freezing. Monitor for any leaks or corrosion, and schedule a professional maintenance check-up. Conserve hot water by using cold water for lightly soiled tasks. Following these steps will help ensure your water heater runs smoothly all winter long. To learn more about maintaining your water heater, continue reading.
Key Takeaways
- Adjust the water heater thermostat to 120-125°F for optimal efficiency and to prevent temperature fluctuations during winter.
- Insulate the water heater tank and exposed pipes to improve efficiency and protect against freezing.
- Flush the water heater tank to remove mineral and sediment buildup, which can reduce heating capacity.
- Inspect and replace the anode rod to extend the tank's useful life.
- Schedule a professional maintenance check-up before winter to ensure the water heater is in optimal condition.
Check the Tank's Temperature
Before beginning any maintenance, it's crucial to check the temperature of your water heater tank. Use a thermometer to monitor the tank's condition. The ideal temperature range is between 120-140°F. If the temperature exceeds 140°F, it's time to adjust the thermostat. This not only ensures your water is at a comfortable and safe temperature but also helps conserve energy.
Carefully locate the thermostat, usually on the side or top of the tank. Refer to the manufacturer's instructions to adjust the temperature setting. Keep in mind that lowering the temperature by even a few degrees can result in significant energy savings. Once you've set the ideal temperature, periodically check the thermostat to ensure it's functioning properly and maintain the desired water temperature. This simple step helps prepare your water heater for the winter months ahead, when energy usage and demand typically increase.
Inspect the Pressure Relief Valve
The pressure relief valve is a critical safety component on your water heater. This valve is designed to automatically release excess pressure, preventing your tank from exploding. To ensure it's working correctly, you'll want to inspect it annually.
First, locate the pressure relief valve, usually found at the top or side of the tank. Next:
- Check for blockages by gently lifting the valve's lever. This should allow a small amount of water to flow out, indicating the valve is not obstructed.
- Test the valve's functionality by fully lifting the lever and ensuring water flows freely.
- If the valve is stuck or no water comes out, it may need to be replaced.
- Lastly, listen for any hissing or dripping, as these could signal a problem with the valve.
Properly maintaining your pressure relief valve is essential for the safe operation of your water heater during the winter months.
Flush the Water Heater Tank
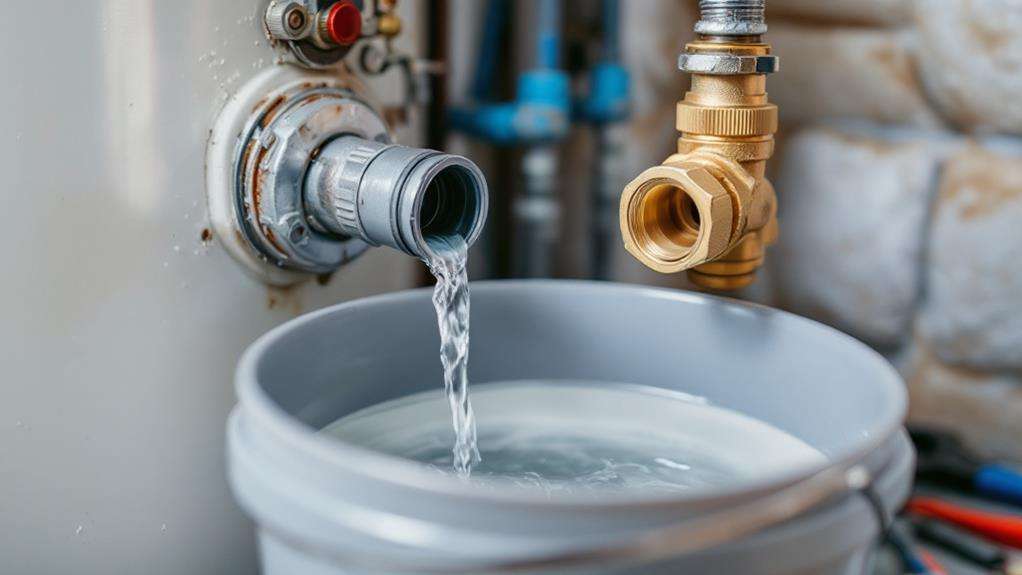
Flushing the water heater tank is a vital maintenance task that helps prolong its lifespan and maintain optimal efficiency. Over time, minerals and sediment can accumulate at the bottom of the tank, reducing its heating capacity and potentially leading to corrosion. To flush the tank, start by turning off the power or fuel supply to the heater. Attach a garden hose to the drain valve at the bottom of the tank and direct the hose to a suitable drainage area. Open the drain valve and let the water flow until it runs clear, indicating the tank has been flushed.
While the tank is draining, inspect the anode rod, which helps prevent corrosion. If the rod is heavily depleted, consider replacing it to extend the tank's useful life. Once the tank is fully drained, close the drain valve and restore power or fuel to the heater. Flushing the tank every year or two is a simple yet effective way to keep your water heater running at its best throughout the winter months.
Insulate the Water Heater Tank
After flushing the water heater tank, insulating it can help improve its efficiency and reduce energy costs. Consider energy-efficient insulation to wrap around the tank, as this can significantly enhance its thermal performance. When researching the best insulation materials, look for options with high R-values, which measure the resistance to heat flow.
Here are four steps to insulate your water heater tank:
- Measure the tank's dimensions to ensure you purchase the correct size of insulation.
- Clean the tank's surface to enable the insulation to adhere properly.
- Carefully wrap the insulation around the tank, following the manufacturer's instructions.
- Secure the insulation in place with tape or straps, being mindful not to cover the tank's thermostat or other essential components.
Protect Exposed Pipes
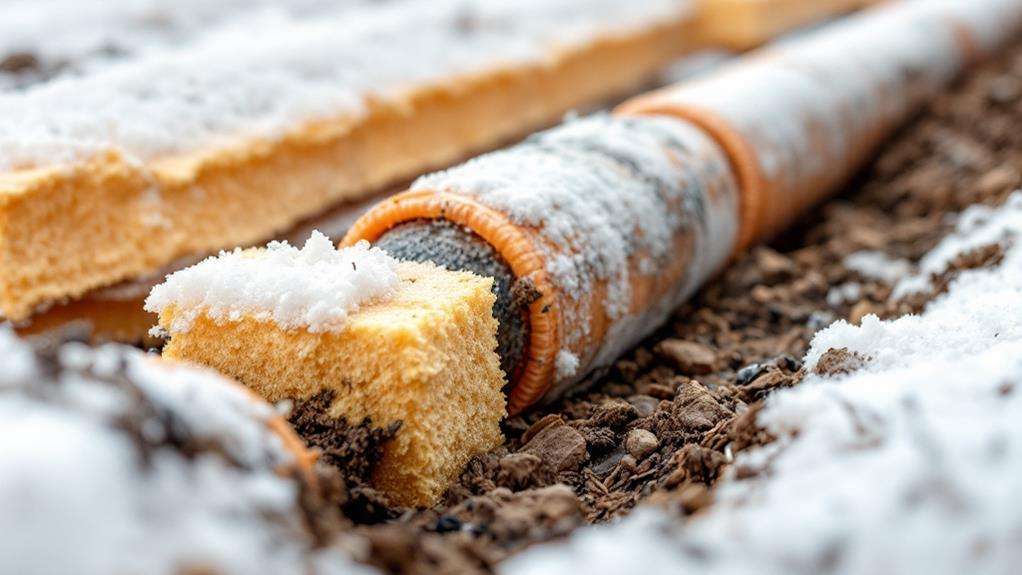
One of the next important steps in preparing your water heater for winter is to protect any exposed pipes. Exposed pipes are vulnerable to freezing temperatures, which can lead to burst pipes and costly water damage. To prevent this, you'll want to insulate exposed pipes.
Start by identifying any pipes that run outside your home or in unheated spaces, such as the basement or attic. These are the pipes you'll need to focus on. Wrap these pipes with insulation, making sure to cover the entire length of the exposed pipe. You can find pre-slit pipe insulation at your local hardware store, which makes the process quick and easy.
Once the pipes are insulated, you can add an extra layer of protection by wrapping them with heat tape or heat cables. These specialized products provide low-level heat to the pipes, helping to prevent freezing even in the coldest weather. Follow the manufacturer's instructions carefully when installing heat tape or cables.
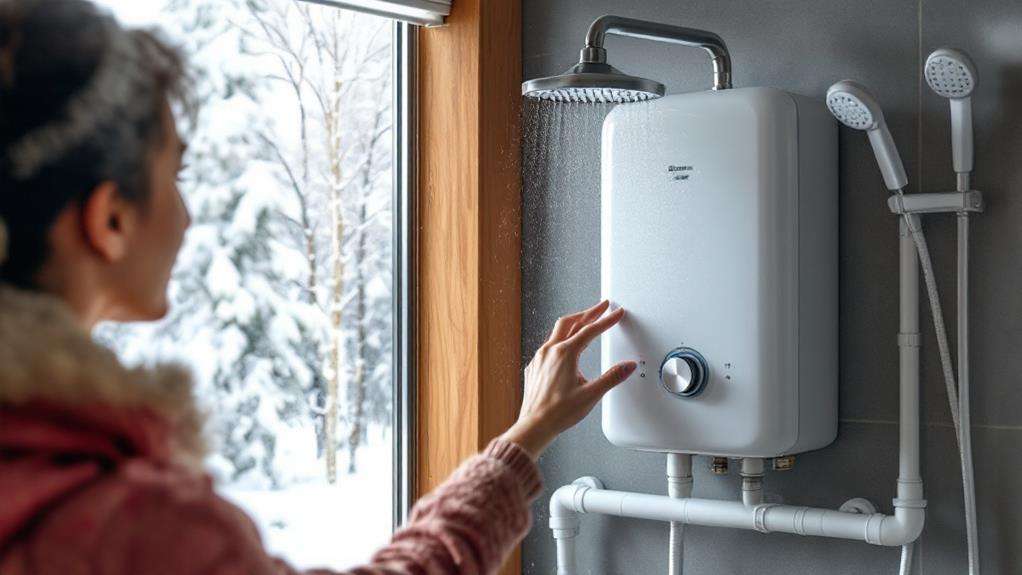
Adjust the Thermostat Setting
Next, you'll want to adjust the thermostat setting on your water heater. This is an important step to optimize thermostat efficiency and prevent temperature fluctuations during the winter months. By making a simple adjustment, you can ensure your water heater is running at the ideal temperature, saving you money on your energy bills and keeping your home comfortable.
Here are the steps to adjust the thermostat setting:
- Locate the thermostat on your water heater, often found near the top or side of the tank.
- Check the current temperature setting and determine if it needs to be adjusted. The recommended setting is between 120-125°F.
- If the temperature is set too high, carefully turn the thermostat dial counterclockwise to lower the setting.
- If the temperature is set too low, turn the dial clockwise to increase the setting.
Monitor for Leaks and Corrosion
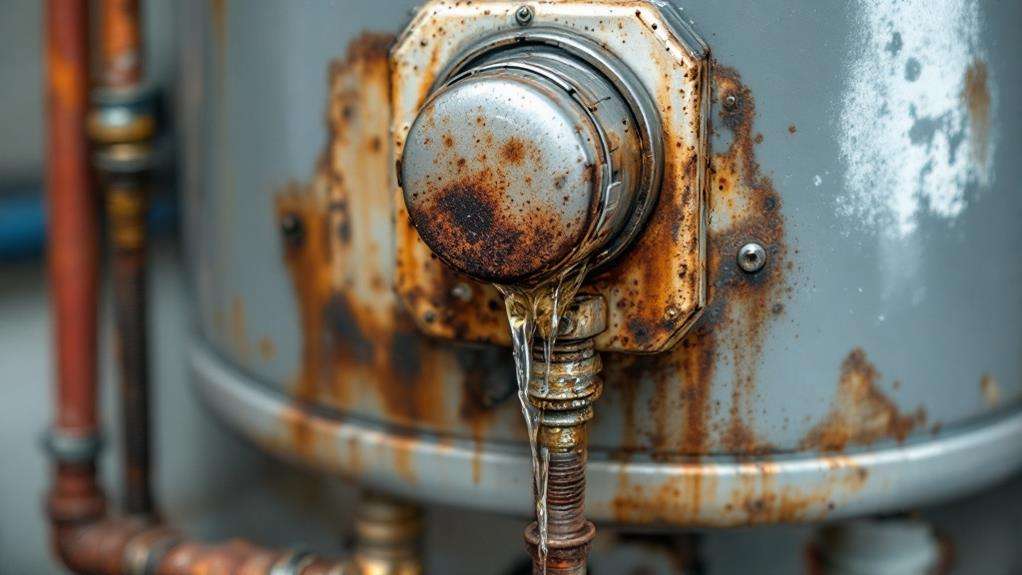
As you've adjusted the thermostat setting, it's crucial to monitor your water heater for any signs of leaks or corrosion. Regularly check the water heater's anode rod, which helps protect the tank from rusting. If the rod is significantly corroded, it may need to be replaced. Additionally, keep an eye out for any mineral buildup around the tank, as this can indicate a potential leak.
Inspect the tank's exterior for any signs of moisture or water stains, which could signify a leak. If you notice any leaks, it's important to have them addressed promptly to prevent further damage and potential flooding. Additionally, be mindful of any unusual noises or rumbling coming from the water heater, as these can be indicators of internal issues.
Staying vigilant and addressing any concerns quickly will help ensure your water heater operates efficiently and safely throughout the winter months.
Schedule Professional Maintenance
Consider scheduling a professional maintenance check-up for your water heater before the winter season sets in. An expert can identify any equipment issues and ensure your water heater is in optimal condition to handle the increased demand during the colder months. Schedule routine maintenance to:
- Inspect the tank for signs of corrosion or leaks
- Test the safety controls and thermostat
- Flush the tank to remove sediment buildup
- Adjust the temperature and pressure relief valve
A professional maintenance visit typically costs between $75 and $150, but it can save you from unexpected breakdowns and costly repairs down the line. Don't wait until your water heater fails to take action - be proactive and schedule a check-up today to avoid any disruptions in your hot water supply during the winter.
Conserve Hot Water Usage
Once your water heater is professionally maintained, take steps to conserve hot water usage throughout the winter. Reduce your shower time - aim for 5-7 minutes instead of 10-15. This can save up to 25 gallons of hot water per shower. Limit your laundry loads and only wash full loads. Running partial loads wastes hot water. Consider using cold water for lightly soiled items.
Additionally, insulate your water heater and pipes to prevent heat loss, which can reduce your hot water consumption. Be mindful of running the dishwasher or washing machine only when you have a full load. Finally, install low-flow showerheads and faucet aerators to further reduce hot water use. Small adjustments to your daily routine can go a long way in conserving precious hot water during the colder months.