
How to Install a Water Pump: Step-by-Step Guide for DIYers
To install a water pump, start by gathering the necessary tools and materials, including a socket set, wrench set, and coolant. Drain the radiator and remove any components blocking access to the pump. Carefully remove the old pump, clean the mounting surface, and apply gasket sealant to the new gasket. Position the new pump, tighten the bolts in a star pattern, and reattach any removed components. Refill the cooling system and test for proper functionality. Listen for unusual noises and check for leaks. While this DIY project can save you money, it's indispensable to follow each step scrupulously to guarantee a successful installation.
Understanding Water Pump Basics
The heart of your engine's cooling system, a water pump plays an essential role in preventing overheating. It's responsible for circulating coolant throughout your engine, ensuring ideal temperature regulation. Typically driven by a belt connected to the crankshaft or an auxiliary system, the water pump contains one or more impellers that create the necessary flow to move coolant effectively.
These impellers can be made of plastic or metal, depending on your vehicle's make and model. The continuous coolant flow generated by the water pump is pivotal for maintaining efficient engine performance and preventing thermal damage. As you consider installing a new water pump, it's important to recognize the signs that indicate it's time for replacement. These may include coolant leaks, unusual noises, or engine overheating.
Before you begin the installation process, familiarize yourself with your vehicle's specific cooling system layout and water pump design. This knowledge will help you navigate the replacement procedure more efficiently. By understanding the basics of how a water pump functions, you'll be better equipped to install a new one and maintain your engine's cooling system for ideal performance.
Gathering Tools and Materials
Toolbox in hand, you're ready to gather everything you'll need for a successful water pump installation. Before you begin, consult your vehicle's service manual to identify the specific tools and materials required for your make and model. This step will save time and prevent unnecessary trips to the auto parts store.
Necessary tools typically include a socket set, wrench set, screwdrivers, and pliers. You'll also need a drain pan to catch coolant, gloves for protection, and a funnel for refilling. Don't forget to check your coolant level and top it off if needed.
For the installation itself, you'll need a new water pump, gasket or sealant (as specified by the manufacturer), and any additional components recommended in your service manual. Make sure you have a clean, level surface to work on, and consider using a creeper for easier access under the vehicle.
Removing the Old Water Pump
Most water pump replacements begin with draining the coolant system. To do this, locate the radiator drain plug and place a large container underneath to catch the coolant. Once drained, you'll need to remove any components blocking access to the water pump, such as belts, hoses, or pulleys.
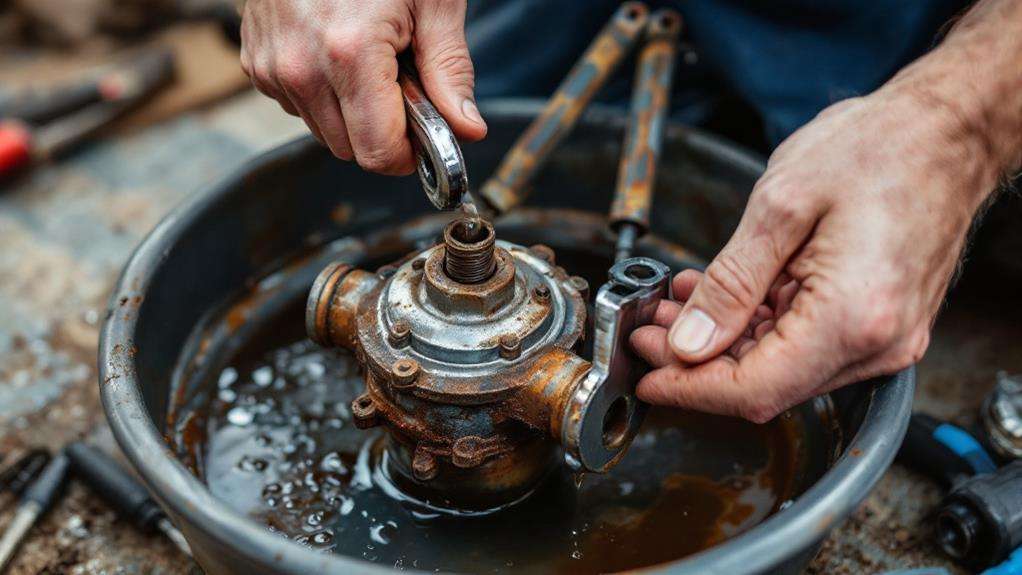
Next, locate the water pump on your car's engine block. It's typically secured by several bolts, which you'll need to remove carefully. As you loosen these bolts, be prepared for any remaining coolant to leak out. Once all bolts are removed, gently pry the old water pump away from the engine block.
Inspect the mounting holes and surrounding area for any signs of corrosion or damage. Clean the surface thoroughly to ascertain a proper seal for the new water pump. If you notice any coolant leaks or damage to the gasket, address these issues before proceeding with the replacement.
Installing the New Water Pump
Now that you've removed the old water pump, it's time to install the new one. Guarantee the engine is cool before you begin. Start by cleaning the mounting surface thoroughly, removing any old gasket material or debris. Apply a thin layer of gasket sealant to the new gasket and position it on the engine block.
Carefully align the new water pump with the holes on the engine and insert the bolts. Tighten them in a star pattern to ensure even pressure, but don't over-tighten. Once the pump is securely in place, attach any additional components you removed earlier, such as the pump pulley or fan clutch.
Next, refill the cooling system. Start by adding coolant to the radiator, then run the engine with the heater on to circulate the fluid and remove any trapped air. Keep an eye on the coolant level and top it off as needed. It's necessary to prevent air pockets, which can cause overheating.
Testing and Troubleshooting
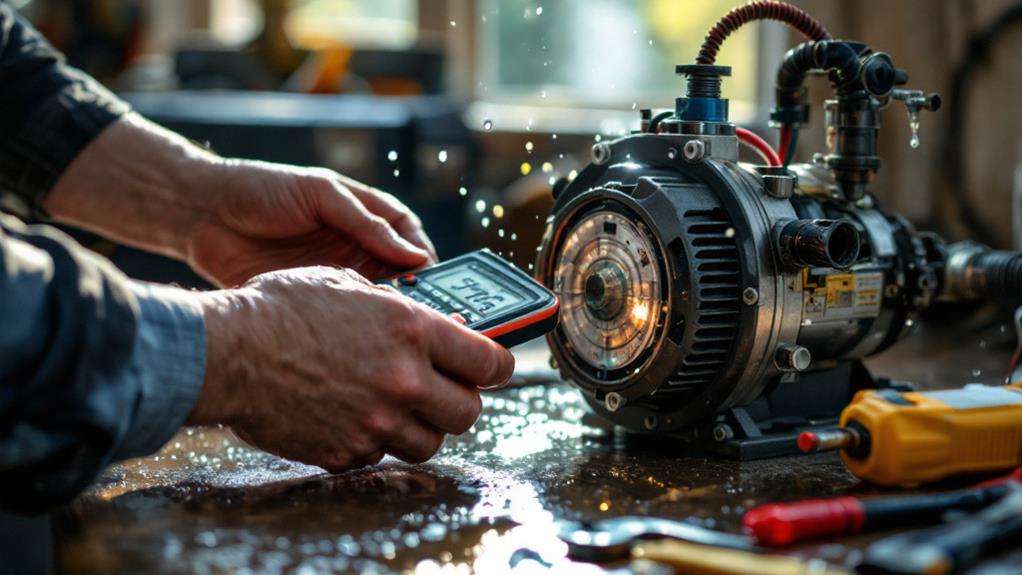
Vigilance is key when testing your newly installed water pump. After replacing your car's water pump, perform a pressure and flow test to guarantee proper functionality. Make sure to check for any leaks around the pump, hoses, and connections. Listen closely for unusual noises during operation, as these can be Signs of a Failing water pump.
Monitor the temperature gauge to verify that your engine maintains the correct operating temperature. If you notice any irregularities, it's important to investigate further. A faulty thermostat or other cooling system issues could be the culprit, even if you've just installed a new water pump.
If problems persist after replacing your water pump, don't hesitate to troubleshoot other components. You might need to replace the radiator or address other cooling system concerns. Remember, a proper water pump installation is essential for your engine's health and longevity.