
How to Install a Grease Trap in Your Kitchen

To install a grease trap in your kitchen, start by choosing the right size trap for your needs and gathering necessary tools and materials. Prepare your kitchen space by clearing the area and inspecting existing plumbing. Position the trap close to the sink, ensuring it's level and stable. Connect the inlet pipe from the sink to the trap's inlet port, and the outlet pipe to your drainage system. Install a vent pipe for proper airflow. Test the installation by running water and checking for leaks. Establish a regular cleaning routine to maintain efficiency. With proper installation and maintenance, you'll prevent costly plumbing issues and comply with local regulations.
Understanding Grease Trap Basics
Plunge into the world of grease traps, essential components for any commercial or industrial kitchen. These devices are designed to intercept fats, oils, and grease (FOG) before they enter the sewer system. Understanding grease trap basics is vital for proper installation and maintenance.
Grease traps work by slowing down the flow of wastewater, allowing time for the FOG to cool and separate from the water. The grease composition typically includes animal fats, vegetable oils, and other oily substances that solidify at room temperature. As these materials float to the surface, they're trapped within the device, while the cleaner water flows out.
It's important to know that disposal regulations vary by location, but most municipalities require commercial kitchens to have properly functioning grease traps. These rules aim to prevent sewer blockages and protect water treatment facilities. You'll need to familiarize yourself with local regulations regarding grease trap size, installation requirements, and maintenance schedules.
When selecting a grease trap, consider factors such as kitchen size, meal volume, and types of food prepared. Proper sizing guarantees ideal performance and compliance with local codes. Regular maintenance is key to keeping your grease trap functioning effectively and avoiding costly repairs or fines.
Choosing the Right Grease Trap
With the basics of grease traps covered, let's focus on selecting the right one for your kitchen. Proper grease trap sizing is critical for effective performance. Consider your kitchen's daily output and the types of food you prepare. A trap that's too small won't handle the grease load, while an oversized one can lead to stagnant water and odors.
For residential kitchens, a 20-30 gallon trap usually suffices. However, if you cook frequently or have a large family, you might need a larger capacity. Commercial kitchens require larger traps, often 500-1000 gallons, depending on the establishment's size and menu.
Grease trap placement is another key factor. You'll want to install it as close to the source of grease as possible, typically near the sink or dishwasher. Guarantee there's enough space for maintenance and cleaning. If you're dealing with limited space, consider a under-sink grease trap.
Don't forget to check local regulations, as some areas have specific requirements for grease trap size and placement. By choosing the right size and location, you'll ascertain your grease trap operates efficiently and complies with local codes.
Gathering Necessary Tools and Materials
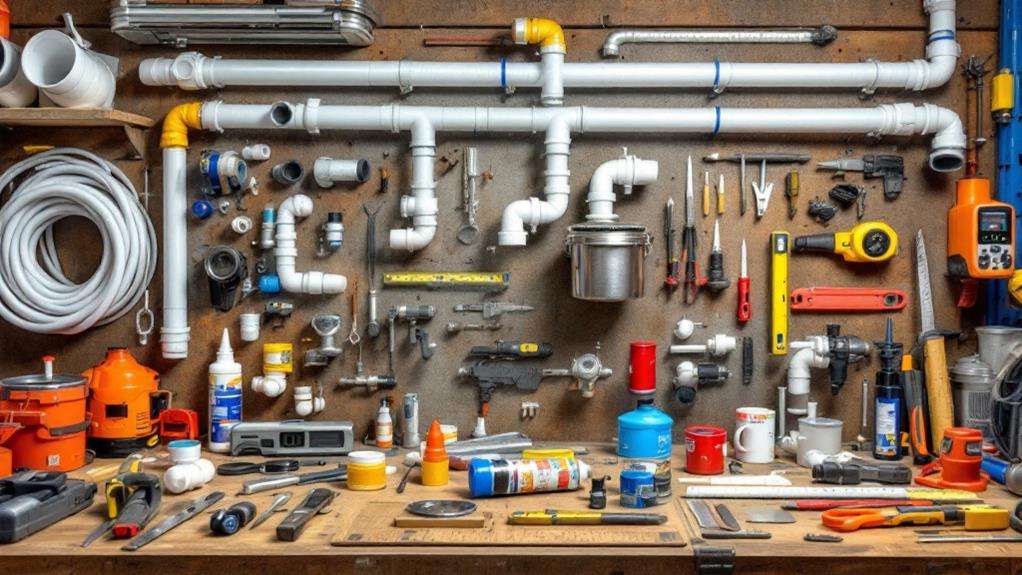
Preparation is key when installing a grease trap. Before you begin, gather all the necessary tools and materials to guarantee a smooth installation process. Start by measuring workspace dimensions to confirm you have enough space for the grease trap and its components. You'll need a tape measure, level, and pencil for marking.
Next, inspect your existing plumbing to determine the best location for the trap. You'll require basic plumbing tools, including pipe wrenches, adjustable pliers, and a pipe cutter. Don't forget safety equipment like gloves and safety glasses.
For the installation, you'll need the grease trap unit itself, along with PVC pipes, fittings, and connectors. Purchase a PVC primer and cement for secure connections. You may also need a drill and hole saw if you're cutting through cabinets or walls.
Other essential items include a bucket for catching wastewater, plumber's putty, and Teflon tape for sealing joints. If you're installing a larger unit, consider renting or borrowing a hand truck to move it into place. Finally, have a flashlight handy for better visibility in tight spaces.
Preparing Your Kitchen Space
Clearing and cleaning your kitchen space is the first step in preparing for grease trap installation. Begin by removing all items from the area where you'll be working, including dishes, appliances, and cleaning supplies. Thoroughly clean the surfaces, paying special attention to the sink and surrounding countertops.
Next, focus on identifying your kitchen layout. Take measurements of the available space under your sink and nearby areas where you might install the grease trap. Consider the location of existing plumbing and electrical lines, as these will impact your installation options. Make note of any obstacles or potential challenges you may face during the process.
When optimizing counter space, think about how the grease trap will affect your kitchen's functionality. You'll want to guarantee that the installation doesn't interfere with your daily cooking activities or storage needs. Consider rearranging nearby cabinets or shelving to accommodate the new addition. If necessary, create a temporary workspace elsewhere in your kitchen to minimize disruption during the installation process.
Installing the Grease Trap
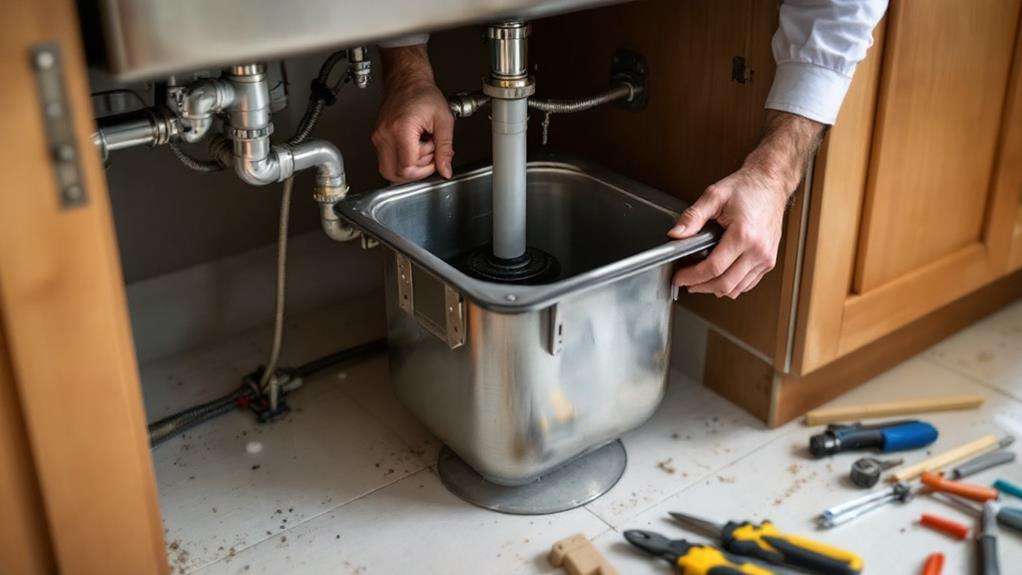
Now that you've prepped your kitchen, it's time to plunge into the actual installation of the grease trap. Begin by positioning the trap in its designated location, ensuring it's level and stable. Next, connect the inlet pipe from your sink to the trap's inlet port. Use appropriate fittings and plumbing tape to create watertight seals.
Connect the outlet pipe from the trap to your existing drainage system. Again, focus on securing fittings properly to prevent leaks. Install a vent pipe to allow proper airflow, which is indispensable for preventing backups and maintaining efficient operation.
If your grease trap model includes a flow control device, install it on the inlet side. This component helps regulate water flow, improving the trap's effectiveness. Don't forget to attach the clean-out access points, which you'll need for future maintenance.
Once all connections are in place, run water through the system to check for leaks. Pay close attention to all joints and fittings. If you notice any issues, address them immediately. Finally, fill the trap with water to create the necessary seal for proper functioning. Your grease trap is now installed and ready to protect your plumbing from costly grease-related problems.
Connecting Plumbing Lines
With the grease trap in place, it's time to focus on connecting the plumbing lines. Begin by locating drainage pipes that will connect to your grease trap. You'll need to identify both the inlet and outlet pipes. The inlet pipe brings wastewater from your sink, while the outlet pipe carries treated water away from the trap.
Next, estimate the pipe length needed to connect these points. Measure the distance between the sink drain and the grease trap inlet, as well as from the trap outlet to the main sewer line. Add a few extra inches to account for connections and potential adjustments.
When connecting the pipes, use appropriate fittings and guarantee a proper slope for efficient drainage. The inlet pipe should have a steeper slope than the outlet to promote flow into the trap. Apply pipe sealant to all connections to prevent leaks.
Install a clean-out fitting on both the inlet and outlet pipes for easier maintenance. This will allow you to access the pipes for cleaning or removing blockages without dismantling the entire system.
Testing the Installation
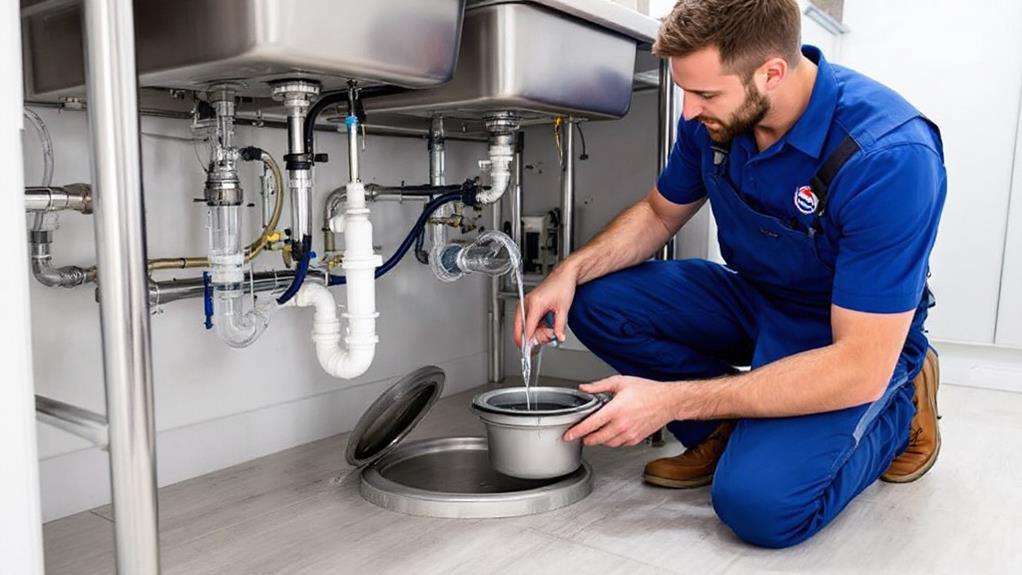
The final installation checkpoint involves thoroughly testing your newly installed grease trap. Begin by inspecting the installation for any visible leaks or loose connections. Check all fittings, joints, and seals to verify they're secure and watertight. Once you're confident in the physical setup, it's time to validate the operation of your grease trap.
Fill the sink with hot water and add a small amount of cooking oil or grease. Run the water and observe how the grease trap handles the flow. You should see the water level rise in the trap, allowing the grease to separate and float to the top. After the water has drained, inspect the trap to confirm that it has effectively captured the grease.
To guarantee your grease trap is functioning optimally:
- Perform a dye test to check for proper flow and retention time
- Measure the grease accumulation after a few days of normal kitchen use
- Verify that the trap's capacity is sufficient for your kitchen's needs
If you encounter any issues during testing, don't hesitate to troubleshoot or seek professional assistance. Proper testing ensures your grease trap will effectively protect your plumbing system and comply with local regulations.
Maintenance and Cleaning Tips
Regular maintenance and cleaning keep your grease trap running smoothly and prolong its lifespan. Establish a routine for regular inspection and cleaning to prevent backups and foul odors. Depending on usage, clean your grease trap every 1-3 months.
To clean, first remove the lid carefully. Scoop out the top layer of grease and dispose of it properly in a sealed container. Never pour it down the drain. Next, remove the remaining water and solids, placing them in separate containers. Scrub the interior walls, baffles, and inlet and outlet pipes with a long-handled brush and mild detergent. Rinse thoroughly with clean water.
Before reassembling, inspect all components for damage or wear. Replace any faulty parts immediately. Refill the trap with clean water and secure the lid firmly.
For proper disposal, contact a licensed waste management company to handle the collected grease and solids. Keep detailed records of your maintenance activities, including dates, actions taken, and any issues encountered. This documentation can be meaningful for troubleshooting and may be required by local health authorities. By following these maintenance and cleaning tips, you'll guarantee your grease trap operates efficiently for years to come.