
How to Identify and Fix Loose Plumbing Fittings
To identify loose plumbing fittings, listen for dripping sounds, check for water stains, and look for small puddles around joints. You'll need tools like wrenches, pliers, and a flashlight to inspect and fix the issue. Shut off the water supply before tightening threaded connections or addressing compression fittings. For push-fit connections, guarantee proper insertion and check for damage. Regular inspections and maintenance can prevent future problems. Remember to use appropriate sealants and tighten fittings carefully to avoid damage. If you're unsure or dealing with complex issues, it's best to consult a professional plumber. Commanding these techniques will help you tackle most fitting problems with confidence.
Common Signs of Loose Fittings
When it comes to plumbing issues, loose fittings can be a sneaky culprit. They often go unnoticed until they cause more significant problems. To catch them early, you'll need to be vigilant and aware of the telltale signs.
One of the most common indicators is the sound of dripping water, even when all faucets are off. You might hear this faint noise coming from walls, under sinks, or near appliances. Don't ignore it, as it's a clear sign that something's amiss.
Unexpected water pressure changes are another red flag. If you notice sudden drops in water pressure or inconsistent flow, loose fittings could be the cause. Pay attention to how water flows from your taps and showerheads.
Visual cues are also important. Look for water stains on walls, ceilings, or under sinks. These damp patches often indicate a leak from a loose fitting. You might also spot small puddles or moisture around pipe joints.
Lastly, keep an eye on your water bill. A sudden increase without a change in your usage habits could point to a hidden leak from a loose fitting.
Essential Tools for the Job
For tackling loose plumbing fittings, you'll need a few key tools in your arsenal. Start with proper wrench selection, as this is indispensable for gripping and tightening fittings without causing damage. You'll want an adjustable wrench, pipe wrench, and basin wrench for different scenarios. Don't forget slip-joint pliers for hard-to-reach areas.
A flashlight is essential for inspecting dark corners and under-sink spaces. You'll also need Teflon tape or pipe joint compound to guarantee a watertight seal when reassembling fittings. For leaks around fixture bases, commanding effective caulking techniques is pivotal. Invest in a quality caulking gun and silicone caulk for best results.
Keep a supply of replacement washers, O-rings, and gaskets on hand, as these often need replacing when tightening loose fittings. A drain snake can be useful for clearing blockages that may be causing pressure issues. Finally, don't underestimate the importance of safety gear: wear gloves to protect your hands and safety glasses to shield your eyes from potential splashes or debris when working on plumbing repairs.
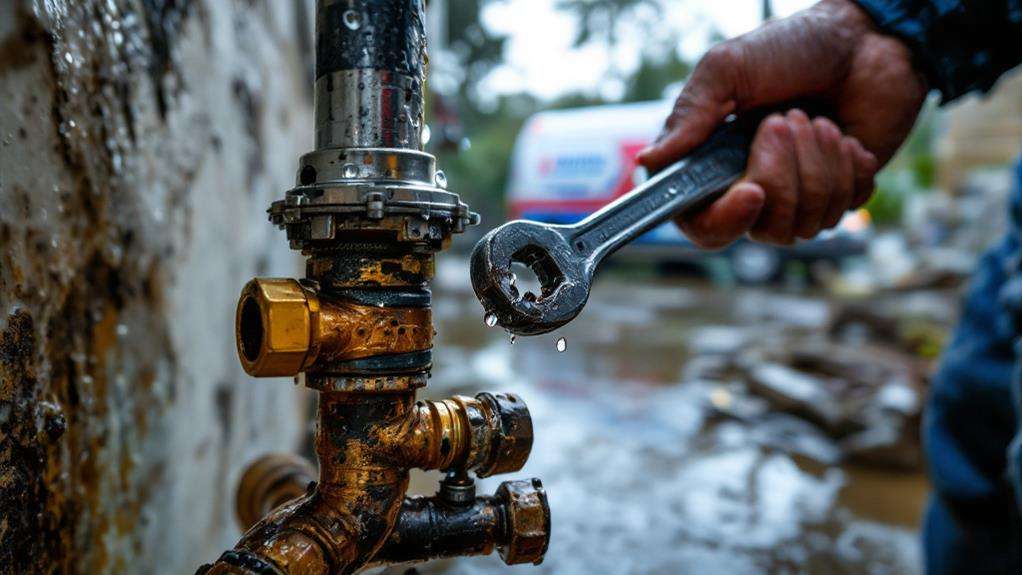
Locating Problem Areas
Detective work is key when it comes to locating loose plumbing fittings. You'll need to use your senses and employ some basic techniques to pinpoint problem areas. Start with a thorough visual inspection of all accessible pipes, joints, and connections. Look for signs of water damage, such as discoloration, warping, or mold growth on nearby surfaces. Pay close attention to areas under sinks, around toilets, and behind appliances.
Listen for unusual sounds like dripping or hissing, which can indicate leaks. Feel for dampness or temperature changes around pipes, as these can suggest ongoing issues. Use a moisture detection tool to identify hidden leaks within walls or floors. These devices can detect elevated moisture levels even when there's no visible water.
Don't forget to check your water meter. Turn off all water sources in your home and observe the meter. If it's still moving, you likely have a leak somewhere in your system. By systematically examining your plumbing, you'll be able to identify loose fittings and address them before they cause significant damage. Remember, early detection is essential for preventing costly repairs and water waste.
Types of Plumbing Fittings
In the world of plumbing, you'll encounter various types of fittings, each designed for specific purposes and connections. Common fittings include elbows, tees, couplings, unions, and adapters. Elbows change the direction of pipes, while tees create branch lines. Couplings join two pipes of the same size, and unions allow for easy disconnection. Adapters help connect pipes of different sizes or materials.
Material composition plays a vital role in fitting selection. You'll find fittings made of copper, brass, PVC, PEX, and galvanized steel. Each material has its advantages and is suited for specific applications. Copper and brass fittings are durable and corrosion-resistant, ideal for hot and cold water lines. PVC fittings are lightweight and affordable, perfect for drain and vent systems. PEX fittings offer flexibility and easy installation, while galvanized steel fittings are strong and suitable for outdoor use.
Installation techniques vary depending on the fitting type and material. Soldering is common for copper fittings, while PVC fittings typically use solvent welding. PEX fittings may require crimping or expansion tools. Threaded fittings need proper sealing with Teflon tape or pipe dope. Understanding these techniques guarantees proper installation and prevents leaks.
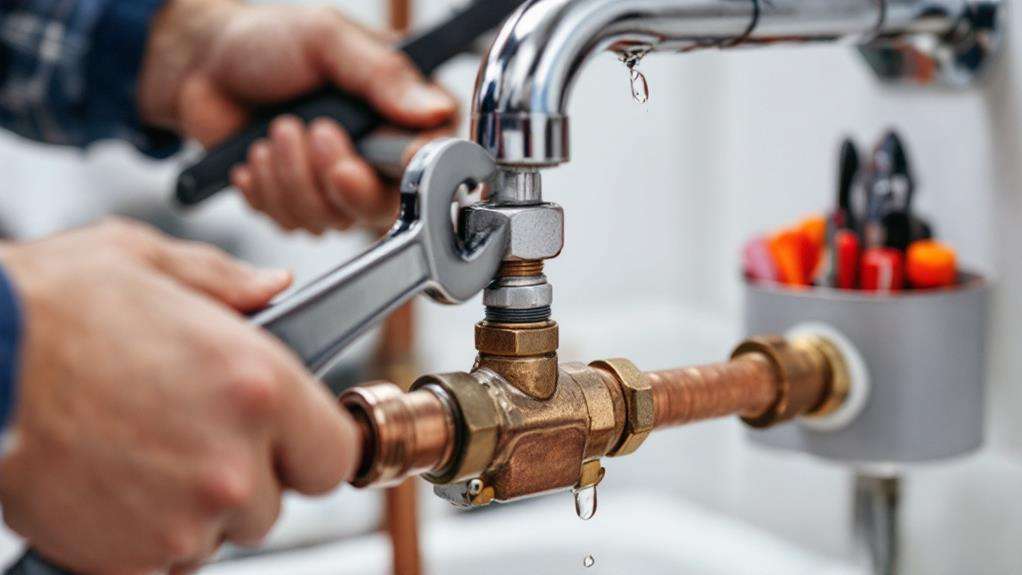
Tightening Threaded Connections

When dealing with loose threaded connections, you'll need to approach the task methodically. First, shut off the water supply and drain the pipes. Clean the threads thoroughly, removing any old sealant or debris. Inspect the threads for damage; if they're stripped or worn, you may need to replace the fitting entirely.
Before reassembling, apply thread sealant to the male threads. Use Teflon tape or pipe dope, wrapping it clockwise for Teflon tape or brushing on a thin layer of pipe dope. Guarantee proper fitting alignment by hand-tightening the connection first. This prevents cross-threading and guarantees a smooth start.
Once hand-tight, use an appropriately sized wrench to further tighten the connection. For plastic fittings, be cautious not to overtighten, as this can crack the material. For metal fittings, aim for an additional 1-2 turns beyond hand-tight. If you're working with a union fitting, tighten it just enough to compress the washer inside.
After tightening, turn the water back on and check for leaks. If you notice any drips, slight additional tightening may be necessary. Remember, patience and precision are key when working with threaded connections to guarantee a watertight seal.
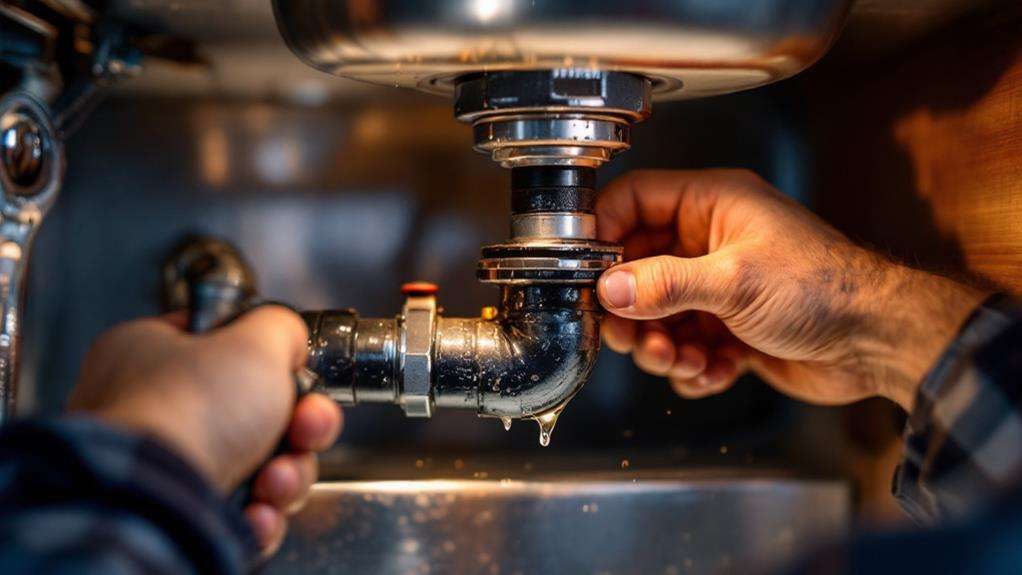
Addressing Compression Fittings
Compression fittings, while different from threaded connections, can also become loose over time. These fittings rely on a compression nut to create a watertight seal between the pipe and the fitting. To address loose compression fittings, start by checking compression nut tightness. Use an adjustable wrench to gently tighten the nut, but be careful not to overtighten, as this can damage the fitting or pipe.
If tightening the nut doesn't solve the issue, you may need to adjust the compression fitting itself. Turn off the water supply and disassemble the fitting. Inspect the ferrule, a small metal ring inside the fitting, for signs of wear or damage. Replace it if necessary. Also, check the pipe for any scratches or dents that could prevent a proper seal.
When reassembling, guarantee the pipe is fully inserted into the fitting before tightening the nut. Hand-tighten first, then use a wrench to give it an additional quarter turn. Don't force it beyond this point. After adjusting compression fittings, turn the water supply back on and check for leaks. If problems persist, consider replacing the entire fitting or consulting a professional plumber.
Dealing With Push-Fit Connections
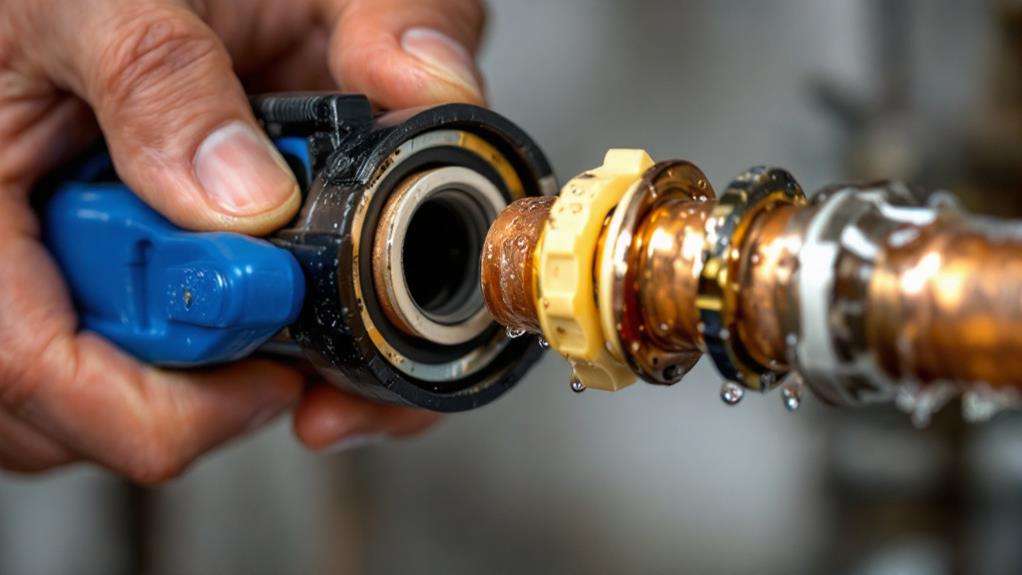
Push-fit connections have gained popularity in recent years due to their ease of installation and reliability. These fittings allow you to join pipes without soldering or using tools, making them ideal for DIY plumbing projects. However, they can sometimes become loose or leak, requiring attention.
To address issues with push-fit connections, you'll need to familiarize yourself with different push fit connection types, such as SharkBite, John Guest, and Speedfit. Each type may have slightly different mechanisms, but they generally work on the same principle. If you notice a leak or loose fitting, first turn off the water supply and drain the pipes.
Next, employ push fit removal techniques to disconnect the fitting. Most push-fit connections have a release collar that you can push against the fitting body to release the pipe. Use a special disconnect tool or pliers to compress the release collar evenly. Once removed, inspect the O-ring and pipe for damage. Replace any worn components and guarantee the pipe end is clean and smooth before reinserting it into the fitting. Push the pipe firmly until you feel it click into place, then test the connection for leaks.
Preventing Future Loose Fittings
To guarantee your plumbing system remains leak-free and effective, it is crucial to take preventive measures against future loose fittings. Implementing preventative maintenance is key to avoiding costly repairs and water damage. Start by creating a schedule for regular inspections of your plumbing system, focusing on areas prone to movement or vibration.
During these inspections, check for signs of corrosion, wear, or loosening connections. Tighten any fittings that show early signs of becoming loose. If you notice recurring issues with specific fittings, consider upgrading to higher-quality materials or using thread sealant for added security.
Protect your pipes from temperature fluctuations by insulating them, especially in areas exposed to extreme cold or heat. This will help prevent expansion and contraction that can lead to loose fittings over time. Additionally, be mindful of water pressure; excessive pressure can strain connections and cause them to loosen. Install a pressure regulator if necessary to maintain the recommended levels.
Educate yourself and your family members about proper use of plumbing fixtures to avoid putting unnecessary stress on fittings. By following these preventative measures and scheduling regular inspections, you'll greatly reduce the likelihood of encountering loose fittings in the future.
When to Call a Professional
While DIY plumbing repairs can be rewarding, there are times when it's best to call in a professional. Recognize your limits and know when seeking professional advice is the wisest course of action. If you're dealing with complex pipe systems, hidden leaks, or issues that could potentially cause water damage, it's time to consult an expert.
Consider calling a plumber if you lack the necessary tools or capability to tackle the job safely. This is especially true for tasks involving gas lines, main water lines, or sewer systems. A professional can also help with persistent problems that you've attempted to fix multiple times without success.
Before deciding to hire a plumber, perform a cost-benefit analysis. Compare the potential cost of a DIY mistake to the price of professional services. Factor in the value of your time and the risk of causing further damage. Remember, a licensed plumber can often diagnose and fix issues more quickly and efficiently than a novice.
If you're unsure about local building codes or permit requirements, it's important to consult a professional. They'll guarantee your repairs comply with regulations and avoid potential legal issues down the line.