
How to Flush and Clean Your Water Heater for Better Performance
Regularly flushing and cleaning your water heater is crucial for its performance and longevity. Start by turning off power/gas, draining the tank, and flushing it until the water runs clear. This removes sediment buildup that can reduce efficiency and lifespan. Don't forget to clean the exterior too. Refill the tank, restore power, and test to ensure proper operation. Maintaining an annual flushing schedule is especially important in areas with hard water. This simple maintenance task can extend your water heater's life and save you money on utility bills. To learn more about optimizing your water heater, continue reading.
Key Takeaways
- Regularly flushing the water heater helps remove mineral buildup, improving its heating efficiency and extending its overall lifespan.
- Disconnect power/gas supply, drain the tank, and thoroughly flush it with clean, cold water to clear out any sediments.
- Clean the exterior of the water heater with a damp cloth and mild detergent to maintain its appearance and condition.
- Refill the tank completely and restore power/gas supply to ensure proper operation and a consistent hot water supply.
- Establish an annual flushing schedule, especially in areas with hard water, to prevent sediment accumulation and keep the water heater running optimally.
Importance of Water Heater Maintenance
Why is regular water heater maintenance important? Proper maintenance is crucial to preventing mineral buildup and ensuring your water heater operates at its optimal efficiency. Over time, sediment and minerals can accumulate at the bottom of the tank, reducing its heating capacity and lifespan. This can lead to increased energy consumption, higher utility bills, and potentially even a complete breakdown of the unit. By flushing and cleaning your water heater regularly, you can remove these deposits, improve its performance, and extend its overall lifespan. This simple task can also help identify any underlying issues before they become major problems, allowing you to address them promptly. Investing a small amount of time and effort in maintaining your water heater can pay off significantly in the long run, ensuring you have a reliable and efficient source of hot water for years to come.
Gathering the Necessary Supplies
Before you can begin the process of flushing and cleaning your water heater, it's important to gather the necessary supplies. Choosing appropriate cleaning tools is key to ensuring a thorough and effective job. You'll need a garden hose, a wrench or pliers, a bucket, and a siphon pump or shop vacuum. The garden hose will be used to divert the water from the heater, while the wrench or pliers will help you remove the drain valve. The bucket will catch the drained water, and the siphon pump or shop vacuum will assist in removing any remaining sediment.
Selecting a suitable water source is also crucial. You'll want to use clean, cold water to flush the system and prevent any further buildup. Avoid using hot water, as it can damage the heater. Additionally, ensure that the water pressure is adequate to effectively flush out the sediment and debris.
Turning Off the Water Heater
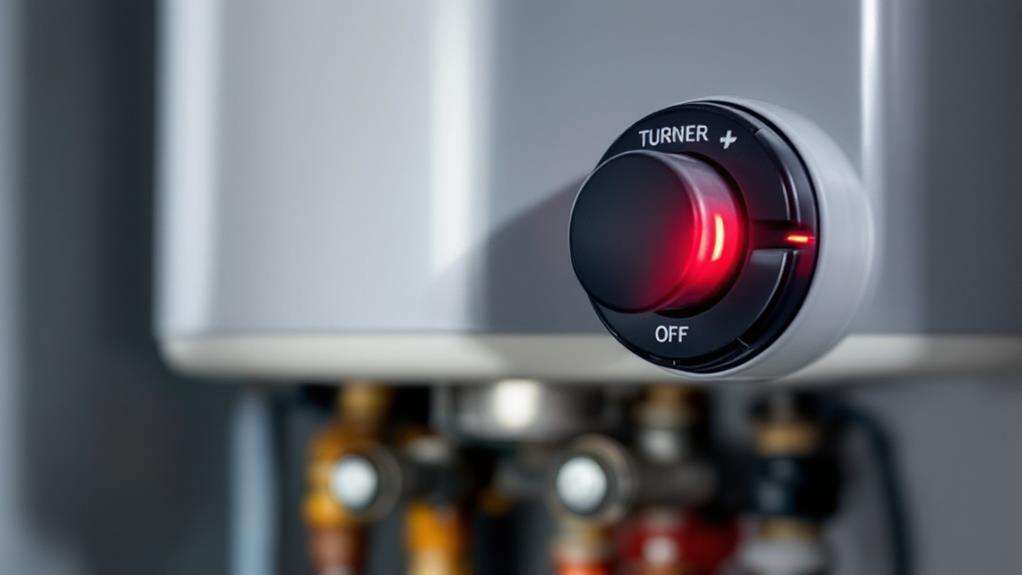
To begin the water heater flushing process, you'll need to turn off the power or fuel source. This is a crucial step to ensure your safety while working on the heater.
For electric water heaters, you'll need to locate the circuit breaker and turn it off. This will cut the power to the unit, making it safe to work on. For gas-powered heaters, you'll want to locate the gas shut-off valve and turn it to the "off" position.
- Once the power or fuel is turned off, allow the water heater to cool completely before proceeding.
- Monitoring the water flow as you drain the tank is essential to ensure the heater is working properly.
- Be sure to refer to the manufacturer's instructions for the specific steps to turn off your water heater model.
With the power or fuel source shut off, you're ready to move on to the next step in the flushing process.
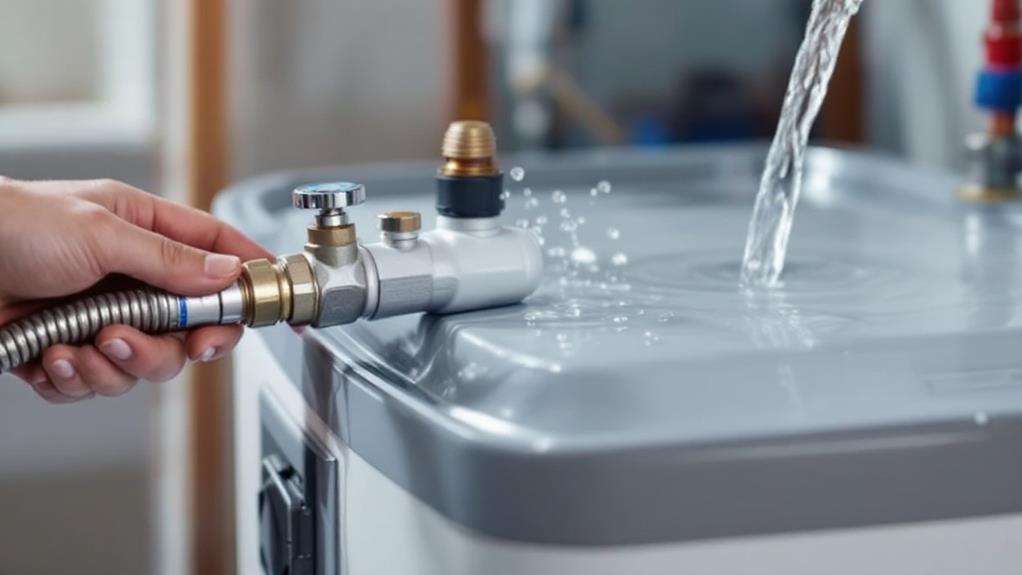
Draining the Tank
Draining the water heater tank is the next crucial step in the flushing process. Start by turning off the power to the water heater, whether it's gas or electric. Then, locate the drain valve, usually at the bottom of the tank. Attach a garden hose to the drain valve and run the other end of the hose to a floor drain or outside. Open the drain valve slowly to avoid splashing hot water. As the tank empties, you'll likely see sediment being removed from the bottom of the tank. This is a good sign, as it means you're getting rid of the built-up deposits that can reduce efficiency and lifespan.
Once the tank is fully drained, check for any leaks around the drain valve. If you spot any, tighten the valve or replace the gasket. Lastly, close the drain valve and remove the hose. You're now ready to refill the tank and turn the power back on.
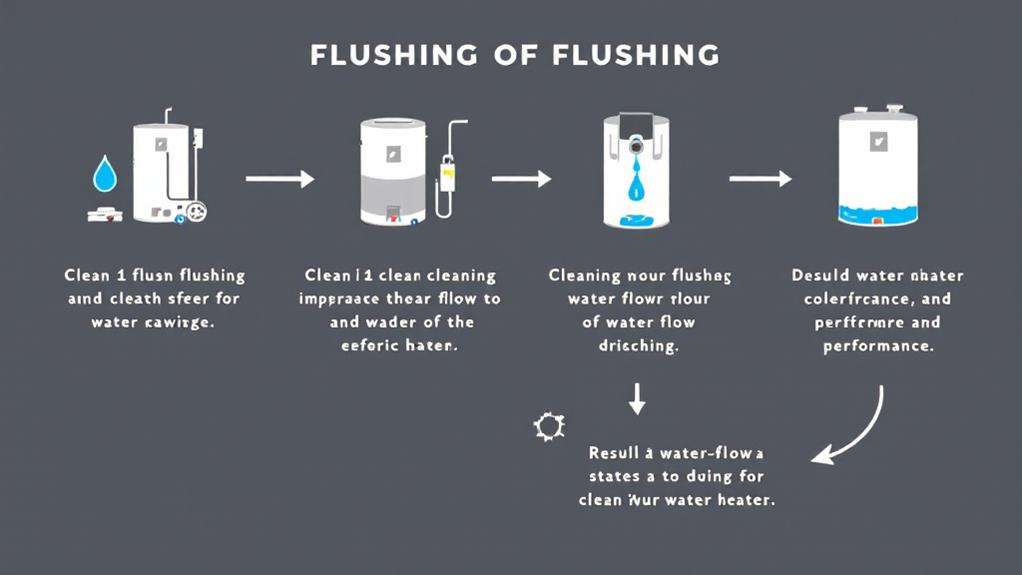
Flushing the Tank
Once the tank is fully drained, you'll want to flush it thoroughly. This process helps remove any remaining sediment, preventing further buildup and corrosion. To flush the tank, simply attach a garden hose to the drain valve and let the water run until it comes out clear.
- Flushing the tank regularly can help extend the life of your water heater by removing mineral deposits that can reduce efficiency and cause damage.
- Be sure to let the tank refill completely before turning the power back on, as running the heater with an empty tank can cause serious damage.
- Flushing the tank is a crucial step in maintaining your water heater, as it helps ensure optimal performance and a longer lifespan for your appliance.
Cleaning the Tank Exterior
Cleaning the tank's exterior is just as important as flushing the inside. Over time, the outer surface of your water heater can accumulate dust, grime, and mineral buildup, affecting its visual appearance and possibly leading to corrosion. To clean the exterior, simply wipe it down with a damp cloth and a mild detergent or all-purpose cleaner. Avoid using harsh chemicals, as they can damage the tank's finish.
Once you've removed the surface dirt and debris, you can further enhance the visual appearance by polishing the exterior with a stainless steel or chrome cleaner. This will help restore the tank's shine and keep it looking its best. Remember to dry the exterior thoroughly after cleaning to prevent any moisture from seeping in and causing issues.
Regular cleaning of the water heater's exterior not only improves its aesthetic but also helps maintain its overall condition, ensuring your unit operates efficiently and lasts for years to come.
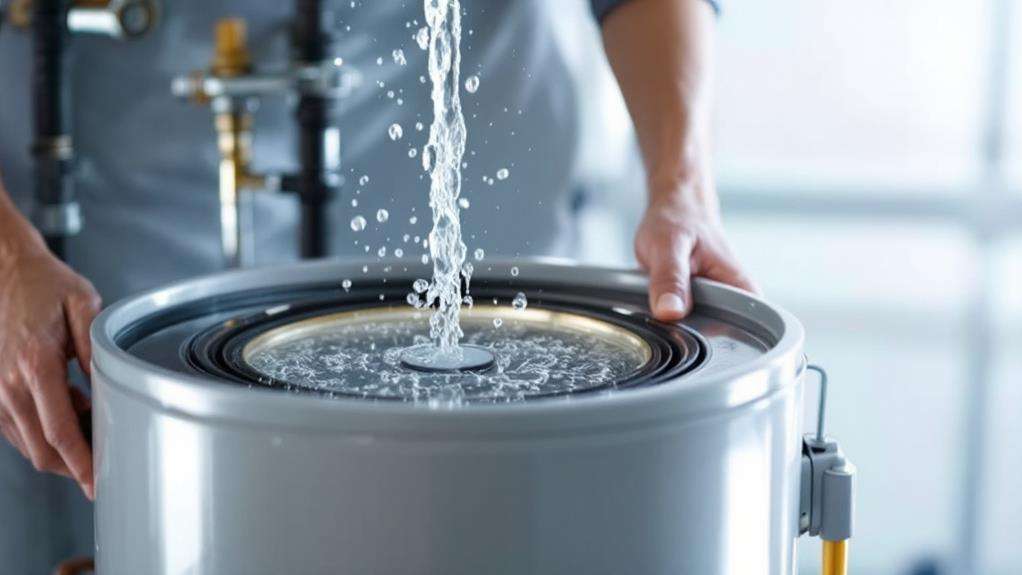
Refilling the Tank
With the tank now empty, it's time to refill it. The refilling process is crucial for the efficiency and performance of your water heater. As you begin to refill the tank, keep a close eye on the water level to ensure it's filling up properly.
- Monitor the water level closely to avoid any overflows or leaks.
- Adjust the water flow as needed to maintain a steady and controlled refilling process.
- Once the tank is full, check for any signs of drips or leaks around the connections to ensure a proper seal.
Carefully filling the tank and monitoring the water level are essential steps to get your water heater back in top shape. By following these guidelines, you can help maintain the efficiency and longevity of your water heater, ensuring reliable hot water for your household.
Restoring Power and Testing
After refilling the tank, it's time to restore power and test the water heater. First, check the thermostat settings to ensure they're appropriate for your needs. Typically, a temperature between 120°F and 140°F is recommended for optimal performance and safety.
Next, inspect the heating element to confirm it's functioning properly. Turn the power back on and monitor the water heater as it heats up. You should hear the element kick in and the water temperature begin to rise. If the element doesn't activate or the water doesn't get hot, there may be an issue that requires further troubleshooting or a professional's assistance.
Once the water has reached the desired temperature, turn on a hot water tap and let it run for a few minutes. This will confirm the water heater is delivering hot water as expected. If everything checks out, you've successfully flushed and cleaned your water heater, and it's now ready to provide reliable hot water for your home.
Maintaining a Regular Flushing Schedule
Why is it important to maintain a regular flushing schedule for your water heater? Flushing your water heater annually helps maintain proper water chemistry, preventing sediment buildup that can reduce efficiency and lifespan. It's a simple task that ensures your water heater runs at optimal performance.
- Sediment accumulation can insulate the heating element, forcing your water heater to work harder and use more energy.
- Regular flushing removes this buildup, improving energy efficiency and saving you money on utility bills.
- Annual inspections and flushing can also extend the lifespan of your water heater, postponing costly replacements.
Aim to flush your water heater at least once a year, or more often if you have hard water. This easy maintenance routine will keep your water heater running smoothly and efficiently for years to come.