
How to Fix a Leaking Outdoor Faucet: Easy Solutions
To fix a leaking outdoor faucet, start by identifying the source of the leak. Gather necessary tools like a screwdriver, adjustable wrench, and replacement parts. Turn off the water supply and disassemble the faucet, carefully inspecting components for wear. Replace any damaged washers, O-rings, or gaskets with new ones. Reassemble the faucet, ensuring all parts are properly aligned and tightened. Test for leaks by turning the water back on and observing the faucet closely. Don't forget to perform regular maintenance to prevent future issues. With these easy steps, you'll be well-equipped to tackle this common household problem and save water.
Key Takeaways
- Identify the leak source by observing where water comes from and if it's constant or intermittent.
- Gather necessary tools including a screwdriver, adjustable wrench, and replacement parts for your faucet model.
- Shut off the main water supply and drain excess water before disassembling the faucet.
- Replace worn washers, O-rings, and gaskets with new ones from a compatible repair kit.
- Reassemble the faucet carefully, then test for leaks and perform regular maintenance to prevent future issues.
Identifying the Source of Leak
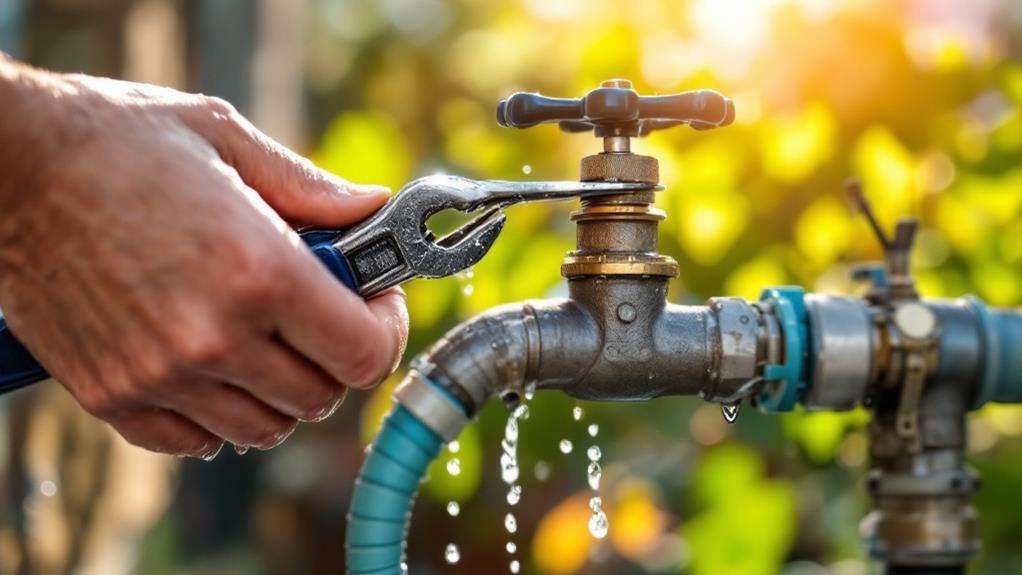
Pinpointing the source of a leaking outdoor faucet is crucial for an effective repair. Start by observing where the water is coming from: the handle, spout, or connection to the pipe. If you notice water seeping from the handle or nut, it's likely a problem with the stem or packing. When the leak occurs at the spout, even when the faucet is off, you're probably dealing with a worn washer or O-ring.
Check if the leak only happens when a hose is attached or the faucet is in use. This can indicate issues with the spout or connections. Pay attention to whether the leak is constant or intermittent, as this information can help narrow down the problem area. Examine the faucet for visible signs of wear or damage on components like washers, O-rings, or gaskets.
To isolate the source further, tighten any loose connections and observe if the leak persists. If water continues to escape from a specific area, you've identified your target for repair. By carefully assessing these factors, you'll be better equipped to address the leak efficiently and effectively.
Gathering Necessary Tools and Materials
Before tackling your leaking outdoor faucet, you'll need to gather the right tools and materials. Start by ensuring you have a 4-in-1 screwdriver, adjustable wrench, and slip joint pliers. These versatile tools will help you disassemble and reassemble the faucet components with ease.
Next, obtain a replacement vacuum breaker kit and washer assembly that's compatible with your specific faucet model. These parts are crucial for addressing common leak sources in outdoor faucets. Don't forget to stock up on Teflon tape, which will help create a secure seal when you put everything back together.
Familiarize yourself with the typical components of a frost-proof outdoor faucet, such as the vacuum breaker and faucet stem. This knowledge will guide you through the repair process more efficiently. If you haven't already, consider installing a shut-off valve near your outdoor faucet. This addition will simplify future repairs by allowing you to easily cut off the water supply to the faucet.
Shutting Off the Water Supply
Safety first: shutting off the water supply is a crucial step before repairing your leaking outdoor faucet. To begin, you'll need to locate the main water shut-off valve. This valve is typically found near your water meter, which can be either inside or outside your home depending on your climate.
If you're in a warmer region, you're more likely to have an outdoor water meter. Once you've found the meter, look for the shut-off valve nearby. To turn off the water supply, rotate the valve clockwise until it's in a horizontal position. This action will stop the flow of water to your entire house, including the outdoor faucet you're planning to repair.
After shutting off the main water supply, it's important to release any excess water remaining in the pipes. You can do this by opening the outdoor faucet that needs repair. Let the water drain completely before proceeding with your repair work. Remember to double-check that the water supply is indeed turned off before you start working on the faucet. This precaution will ensure your safety and prevent any unexpected water flow during the repair process.
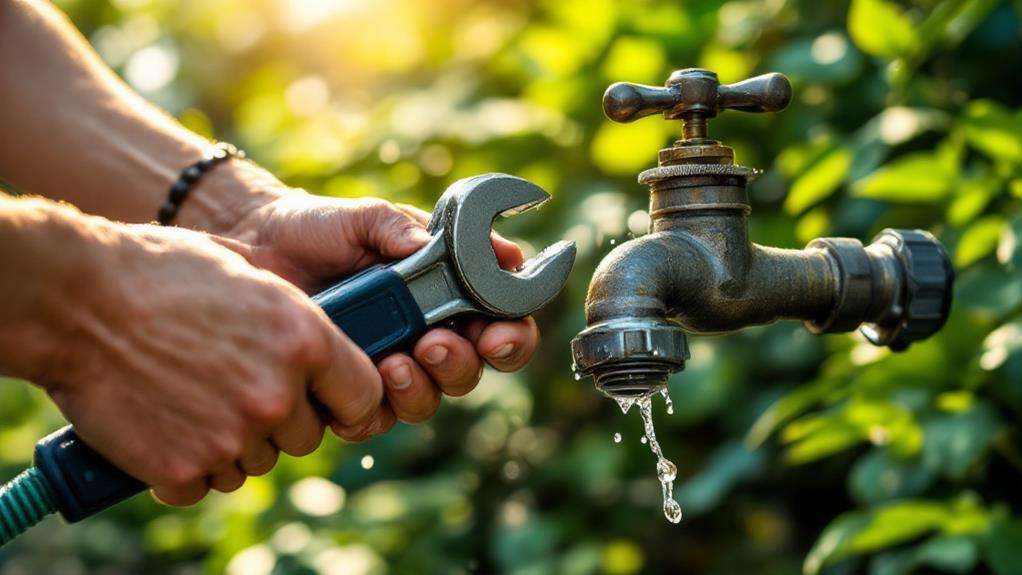
Disassembling the Faucet
The disassembly process involves four key steps. First, you'll need to remove the faucet handle. This gives you access to the packing nut and stem, which are crucial components in fixing the leak. Once the handle is off, locate the nut under the handle and unscrew it carefully.
Next, you'll unscrew the packing nut and gently pull out the stem assembly. Be cautious during this step to avoid damaging any parts. With the stem removed, it's time for a thorough inspection. Check the stem, washers, and o-rings for signs of wear or damage. These are often the culprits behind leaks.
Before reassembling, clean all faucet components thoroughly. This step is vital for ensuring proper function and preventing future leaks. As you put everything back together, pay close attention to the alignment and seating of all parts. Proper reassembly is crucial for a successful repair.
Replacing Worn Components

Your outdoor faucet's worn components are the likely culprits behind the leak. To fix this issue, you'll need to replace these parts with new ones. Start by obtaining a repair kit that's compatible with your faucet model. These kits typically include washers, o-rings, and gaskets designed to fit your specific faucet.
Begin the replacement process by installing the new washers, o-rings, and gaskets as specified in the repair kit. These components are crucial for creating a proper seal within the faucet's washer assembly and valve inside. To ensure smooth operation, apply a small amount of plumber's grease to the new parts before installation.
As you reassemble the faucet, pay close attention to the packing nut. You'll need to tighten the packing nut securely to create an effective seal and prevent future leaks. However, be careful not to overtighten, as this can damage the components.
Before fully reassembling the faucet handle, it's essential to test for leaks. Turn on the water supply and check for any signs of leakage around the valve and other components. If you spot any leaks, double-check your work and make necessary adjustments before completing the reassembly process.
Reassembling the Faucet
With all the new components in place, it's time to reassemble your outdoor faucet. Follow the manufacturer's instructions carefully to ensure you're putting everything back together in the correct order. As you reassemble, make sure all components are aligned and seated properly to create a secure seal.
Before you unscrew the faucet stem, apply a small amount of plumber's grease to the new washers, o-rings, and gaskets. This will help ensure smooth operation and prevent future leaks. As you replace each part behind the handle, double-check that everything fits snugly.
Once you've reassembled the faucet stem, tighten the packing nut securely. This step is crucial for maintaining a proper seal and preventing leaks. However, be careful not to overtighten, as this could damage the components.
Before you reinstall the handle, it's essential to test the repaired faucet for any leaks. Turn on the water supply and observe the faucet carefully. If you notice any drips or leaks, you'll need to disassemble and check your work. If everything looks good, you can proceed with attaching the new handle and completing the repair.
Testing for Leaks
After reassembling your outdoor faucet, it's crucial to test for leaks thoroughly. Turn on the water supply and observe the faucet closely. Look for any signs of water seepage around the handle, spout, or base. If you notice any faucet leaks, you'll need to revisit the repair process and make sure all components are properly tightened and sealed.
To conduct a comprehensive leak test, follow these steps:
- Open the faucet fully and check for any unusual sprays or drips
- Close the faucet and inspect the spout for persistent dripping
- Feel around the base and handle for moisture
- Listen for any hissing sounds that may indicate internal leaks
- Check the surrounding ground for unexplained wet spots
If water is leaking from any part of the faucet, don't panic. It's common to encounter minor issues after a faucet repair. Tighten any loose connections and replace worn washers or O-rings if necessary. For persistent leaks, you may need to disassemble the faucet again and double-check all components. Remember, a properly functioning outdoor faucet should be completely dry when turned off, with no signs of water escaping from any part of the fixture.
Preventive Maintenance Tips
Once you've successfully repaired your outdoor faucet, it's time to focus on preventive maintenance. Regular upkeep will help extend the life of your exterior faucet and prevent future leaks.
Start by inspecting your faucet handle and other components for signs of wear or deterioration. If you notice any issues, address them promptly to avoid more significant problems later. Apply a silicone-based lubricant to the moving parts periodically, ensuring smooth operation of the handle.
Before winter arrives, shut off the water supply to your outdoor faucet and drain it completely. This step is crucial to prevent freezing, which can cause significant damage. For added protection, consider upgrading to a frost-proof outdoor faucet.
Throughout the year, keep an eye on your faucet for any leaks, even after the water is turned off. If you spot a leak, don't hesitate to fix it immediately. By staying vigilant and addressing issues early, you'll save time and money in the long run.
Implementing these preventive maintenance tips will help keep your outdoor faucet in top condition, ensuring it functions properly for years to come.