
How to Connect Your Garden Hose to an Outdoor Sink
To connect your garden hose to an outdoor sink, start by gathering the necessary equipment, including a Y-splitter, hose connectors, and Teflon tape. Clean and inspect your outdoor faucet, then attach the Y-splitter to the spigot. Connect a short hose from one Y-splitter outlet to the sink's inlet. For the faucet, use a brass hose connector with a double female swivel, and attach it to a straight plumbing connector. Apply Teflon tape to threaded connections for a secure fit. Test the setup for leaks and adjust as needed. With proper maintenance, you'll enjoy the convenience of your outdoor sink setup for years to come.
Key Takeaways
- Install a Y-splitter on the outdoor spigot to allow simultaneous use of garden hose and sink.
- Attach a brass hose connector with double female swivel to the outdoor sink faucet.
- Connect a garden hose from the Y-splitter to the brass connector on the sink faucet.
- Use Teflon tape on threaded connections to ensure a watertight seal.
- Test all connections for leaks and adjust fittings as needed before regular use.
Gather Necessary Equipment
Preparation is key when connecting your garden hose to an outdoor sink. You'll need to gather several essential components to ensure a proper and secure connection. Start by obtaining a faucet connector, which should be 12 inches long with a 1/2" FIP to 3/8" COMP configuration. Next, you'll require a straight plumbing connector with a 1/2" MIP inlet and a 3/8" OD outlet. Don't forget to pick up a brass hose connector featuring a double female swivel 1/2" NPS male to 1/2" male hose design.
To ensure a watertight seal, you'll need Teflon tape. For the outdoor water source, grab a Y splitter for your spigot. This will allow you to use multiple hoses simultaneously if needed. Include a 6-foot leader hose in your supplies to connect the sink to the water source. Lastly, you'll need a 16-inch plastic slip joint center continuous waste outlet for proper drainage. By gathering these specific components, you'll be well-prepared to create a functional connection between your garden hose and outdoor sink, ensuring a steady water supply for your outdoor needs.
Prepare the Outdoor Sink
With your equipment gathered, it's time to focus on the outdoor sink itself. First, inspect your outdoor sink faucet to ensure it's in good working condition. Check for any leaks, corrosion, or damage that might interfere with the connection. If you notice any issues, address them before proceeding.
Next, clean the faucet thoroughly, removing any dirt, debris, or mineral buildup. This will help create a secure connection and prevent contamination. If your outdoor sink has a built-in sprayer or other attachments, remove them to access the main faucet outlet.
Measure the diameter of your faucet's spout to confirm it's compatible with your regular garden hose or adapters. Most outdoor sinks have standard-sized faucets, but it's best to double-check. If you're working with a Utility Sink, you may need to use a specific adapter designed for these fixtures.
Install Y-Splitter and Hose
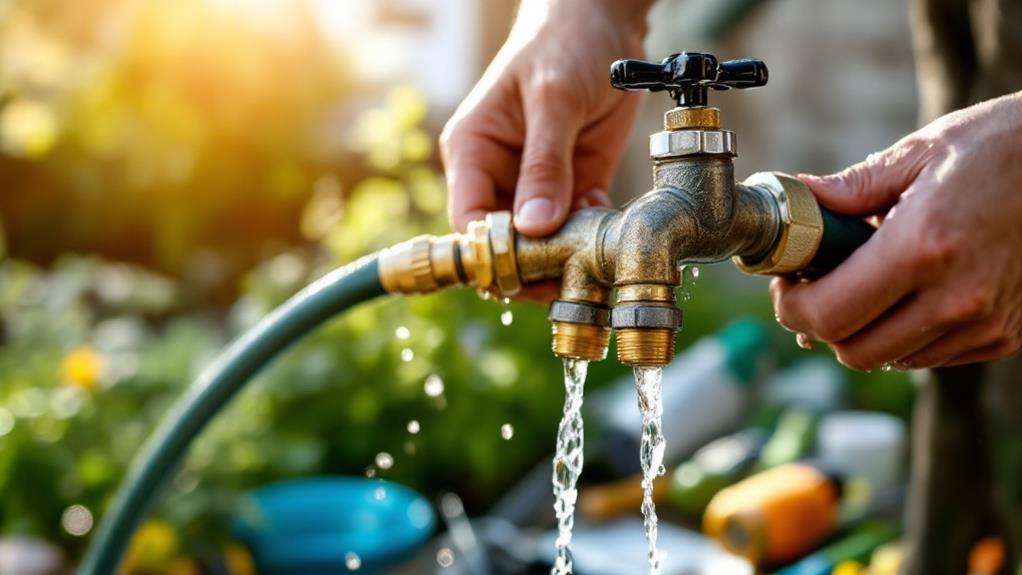
The Y-splitter installation process begins with attaching this crucial component to your outdoor hose bib. This simple device allows you to create two separate water outlets, one for your garden hose and another for your utility sink. Securely fasten the Y-splitter to ensure a leak-free connection.
Next, you'll need to connect a short hose from one of the Y-splitter outlets to your utility sink. This hose serves as the dedicated water supply for your outdoor sink. Choose a durable Hose Connector that fits snugly onto both the Y-splitter and the sink's inlet. This setup enables you to use your main garden hose and the utility sink simultaneously, maximizing the functionality of your outdoor water supply.
Connect Faucet to Water Supply
Connecting your faucet to the water supply is a crucial step in setting up your outdoor sink. To ensure a secure and leak-free connection, you'll need to apply Teflon tape to the threaded male ends of your connectors. This simple step will help prevent any water seepage once you've completed the installation.
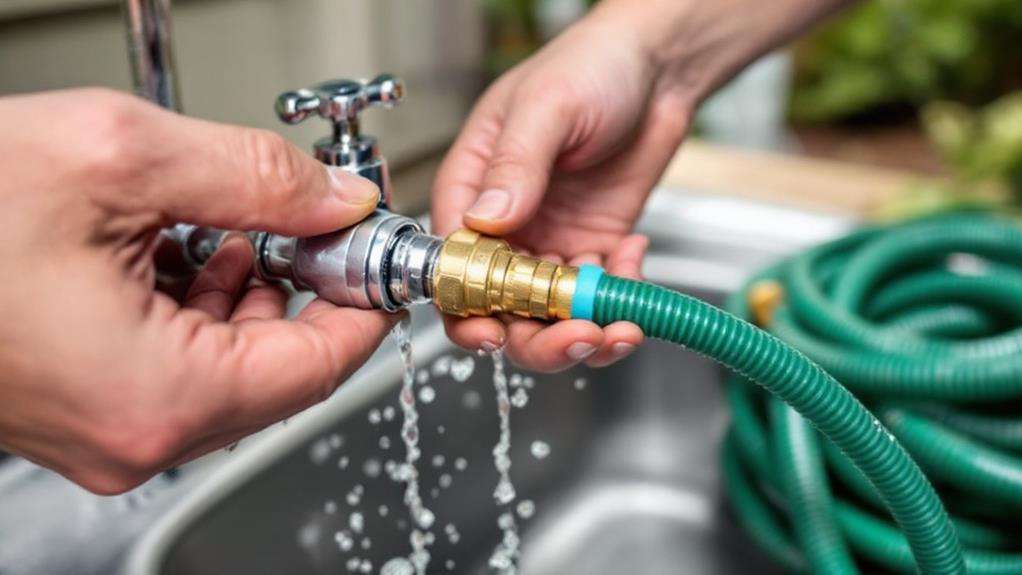
Start by attaching a brass hose connector with a double female swivel to your faucet. This connector should have a 1/2" NPS male end that fits into the faucet and a 1/2" male hose end for your outdoor hose. Next, use a straight plumbing connector to join the faucet to your water supply line. This connector should have a 1/2" MIP end for the faucet and a 3/8" OD outlet for the supply line.
Once you've connected the faucet to the water supply, you can attach your garden hose to the brass connector on the faucet. To maximize functionality, consider using a Y splitter on the spigot. This allows you to keep your garden hose connected while also supplying water to your outdoor sink, giving you the flexibility to use both simultaneously.
Test and Adjust Connections
Once you've completed all the connections, it's time to test your setup and make any necessary adjustments. Turn on the water supply and carefully inspect all connection points for leaks. If you notice any drips or sprays, tighten the fittings or apply additional plumber's tape as needed. Check both the hot water and cold water lines if your outdoor sink has both options.
Next, test the water flow by turning on the faucet. Ensure that water flows smoothly and at the desired pressure. If the flow seems weak, check for any kinks in the hose or blockages in the faucet. You may need to clean the aerator or adjust the water pressure at the main supply valve.
Here are some key points to remember when testing and adjusting your connections:
- Use the hose as a water source to test distant areas of your garden
- Verify that hot water is available if you've connected a hot water line
- Check for consistent water pressure in both hot and cold water lines
- Look for signs of water damage or leaks around the sink area
If you encounter any persistent issues, don't hesitate to consult a professional plumber. Proper testing and adjustment will ensure your outdoor sink functions efficiently and reliably for all your gardening and outdoor cleaning needs.
Maintenance and Troubleshooting Tips
Regular maintenance and troubleshooting are essential for keeping your outdoor sink and garden hose connection in top shape. Inspect the connections monthly for leaks or signs of wear. Tighten any loose fittings and replace worn washers or O-rings to prevent water waste. If you've chosen to install an outdoor sink made of stainless steel, clean it regularly with mild soap and water to maintain its appearance and prevent corrosion.
During winter, disconnect the hose and drain all water from the pipes to prevent freezing and potential damage. If you've installed a Water Heater for your outdoor sink, ensure it's properly insulated and protected from the elements. Check the heater's connections and settings periodically to ensure optimal performance.
If you experience low water pressure, first check for kinks in the hose or debris in the faucet aerator. Clean or replace the aerator if necessary. For persistent issues, inspect the main water supply valve and pipes for any blockages or damage. If you're unable to identify or resolve the problem, don't hesitate to call a professional plumber to diagnose and fix the issue, ensuring your outdoor sink and garden hose connection remain functional and efficient.