
DIY Guide: How to Insulate Your Water Heater for Efficiency
To insulate your water heater for efficiency, first assess its condition and accessibility. Select insulation with an R-value of at least R-8, designed for high temperatures. Prepare the work area, remove old insulation, and precisely measure and cut the new insulation to fit snugly around the tank. Secure the insulation in place and insulate any exposed pipes. Test the effectiveness by monitoring temperature changes and utility bills. Properly maintain the insulated water heater to maximize energy savings. For a more detailed guide covering every step, keep reading to learn how to expertly insulate your water heater and start reaping the benefits.
Key Takeaways
- Assess the water heater's condition, location, and clearance to determine if replacement or insulation is the better option.
- Choose insulation with an R-value of at least R-8, designed to withstand high temperatures and moisture.
- Properly prepare the work area, remove any existing insulation, and measure the water heater for a custom-fit insulation.
- Install the insulation snugly around the tank, covering all exposed areas, and secure it in place with tape or straps.
- Insulate the hot water pipes as well to maximize efficiency and cost savings.
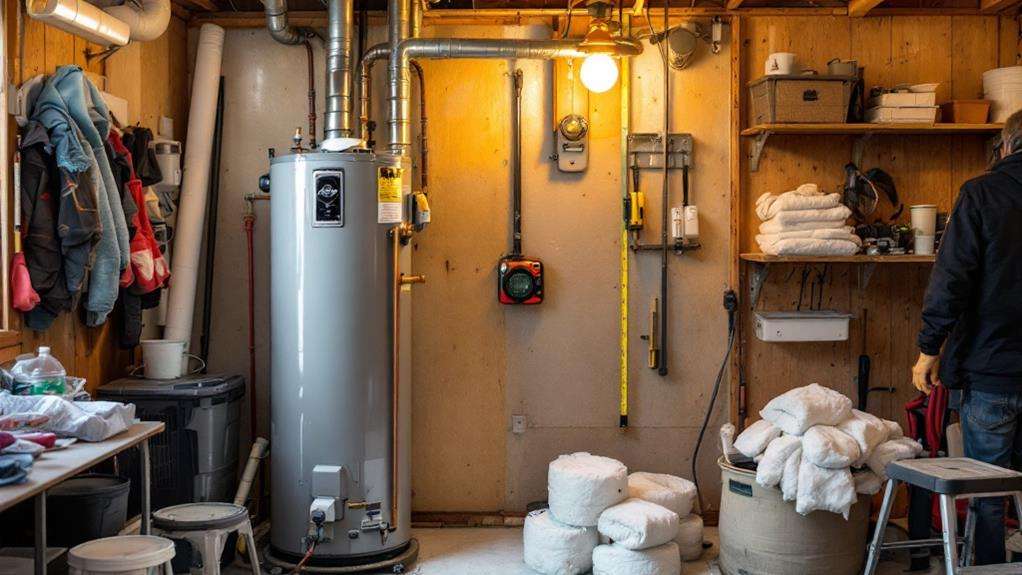
Assessing Your Water Heater
Before you begin insulating your water heater, it's crucial to assess its current condition. Start by checking the water heater's accessibility. Ensure you can easily reach the unit and that there's enough clearance around it to work comfortably. This will make the insulation process much more efficient.
Next, evaluate the water heater's overall condition. Look for any visible signs of wear, such as rust, cracks, or leaks. These could indicate underlying issues that need to be addressed before adding insulation. If the water heater is old or in poor shape, it may be more cost-effective to replace it altogether rather than insulating an inefficient model.
Additionally, take note of the water heater's location. If it's situated in a cold area, like an unfinished basement or garage, insulation can significantly improve its efficiency and reduce energy costs. However, if the unit is already located in a warm space, the benefits of insulation may be less pronounced.
Choosing the Right Insulation
When insulating your water heater, selecting the right type of insulation is crucial. You'll want to choose insulation materials that are specifically designed for water heater applications, as they'll be able to withstand the heat and moisture without degrading over time.
Some key factors to consider when choosing the right insulation include:
- Insulation R-value: Look for insulation with an R-value of at least R-8, as this will provide sufficient thermal resistance to help keep the heat in.
- Insulation thickness: For most water heaters, a 1-inch to 2-inch thick insulation wrap or jacket is recommended to maximize efficiency.
- Heat resistance: The insulation should be able to withstand temperatures up to 200°F without melting or becoming damaged.
- Moisture resistance: The insulation should be moisture-resistant to prevent mold, mildew, and degradation.
Preparing the Work Area
Once you've selected the right insulation for your water heater, it's time to prepare the work area. First, clear the workspace around the water heater, making sure there's enough room to move freely and access all sides. Remove any items or obstacles that might get in your way or pose a tripping hazard.
Next, ensure you're following proper safety protocols. Turn off the power to the water heater and shut off the water supply. This will prevent any accidents or leaks during the insulation process. Additionally, wear protective gear like gloves and eye protection to safeguard yourself from any potential hazards.
With the area cleared and safety measures in place, you're ready to begin the insulation installation. Take your time and work methodically to ensure a successful and efficient project. Remember, a well-prepared work area is the key to a smooth and hassle-free water heater insulation process.
Removing the Existing Insulation
With the work area properly prepared, the next step is to remove any existing insulation on the water heater. Evaluating the current insulation is crucial to determine if it's still effective or if it needs replacement. Carefully inspect the insulation for any signs of damage, such as cracks, holes, or compression.
To remove the existing insulation, follow these steps:
- Carefully peel off the old insulation, taking care not to damage the water heater's exterior.
- Dispose of the old insulation properly, as it may contain hazardous materials.
- Use a vacuum or broom to clean the surface of the water heater, removing any debris or loose insulation.
- Inspect the water heater's surface for any damage and address any issues before installing the new insulation.
Measuring and Cutting the Insulation
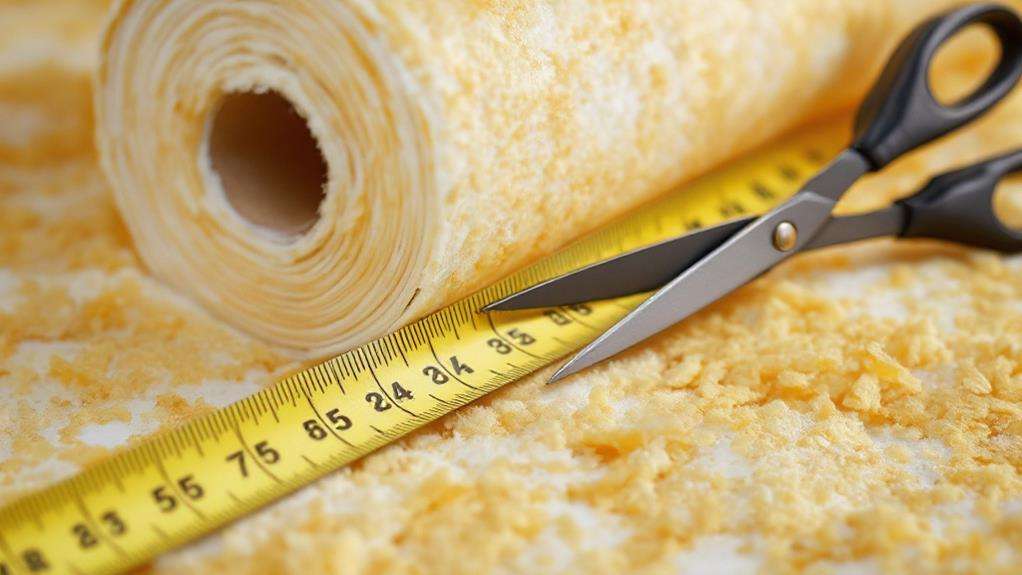
Measure the dimensions of your water heater to determine the size of insulation needed. Measure the height, width, and circumference of your tank to ensure you get the right fit. Don't forget to account for any pipes or other obstructions that may require custom-cutting the insulation.
Once you have the proper insulation measurements, it's time to cut the material to size. Lay the insulation out on a flat surface and use a utility knife or scissors to carefully trim it to the correct dimensions. Be precise with your cuts to ensure a snug, even fit around the tank. If you're using a wrap-around style insulation, make sure to leave enough overlap to secure it in place.
Proper insulation measurements and suitable insulation cutting techniques are crucial for maximizing the efficiency of your water heater. Take your time, double-check the dimensions, and make clean, straight cuts to get the job done right.
Installing the Insulation
Now that you've measured and cut the insulation to size, it's time to start installing it. Wrapping the insulation around your water heater is a straightforward process, but there are a few key steps to ensure it's done effectively.
First, carefully position the insulation around the tank, making sure it fits snugly without any gaps. Secure the insulation in place using tape or straps, ensuring it stays firmly in position.
Next, protect the insulation by covering any exposed areas, such as the top and bottom of the tank. This will prevent damage and maintain the insulation's effectiveness. Consider using a protective covering or sealant for added protection.
Here are four important tips to keep in mind:
- Avoid covering any vents, thermostats, or other critical components on the water heater.
- Ensure the insulation doesn't interfere with the water heater's operation or access to the controls.
- Double-check that the insulation is securely in place and won't come loose over time.
- Consider adding insulation to the hot water pipes as well for maximum efficiency.
With the insulation properly installed, you're well on your way to a more energy-efficient water heating system.
Securing the Insulation in Place
Securely fastening the insulation is crucial to maintain its effectiveness. First, ensure the insulation fits snugly around the water heater, with no gaps. Use tape or adhesive to secure the insulation if needed. Next, wrap a strap or cord around the insulation and tighten it until the insulation is secured tightly in place. This will prevent the insulation from slipping or shifting, which could compromise its insulating properties.
When securing the insulation, be sure to avoid overtightening, as this could damage the insulation or the water heater. Likewise, don't wrap the straps or cords too loosely, as the insulation needs to be held firmly in place. Take your time and check the insulation regularly to ensure it remains properly secured.
Properly securing the insulation is an important step in improving your water heater's efficiency and saving on energy costs. With a little care and attention, you can ensure the insulation does its job effectively for years to come.
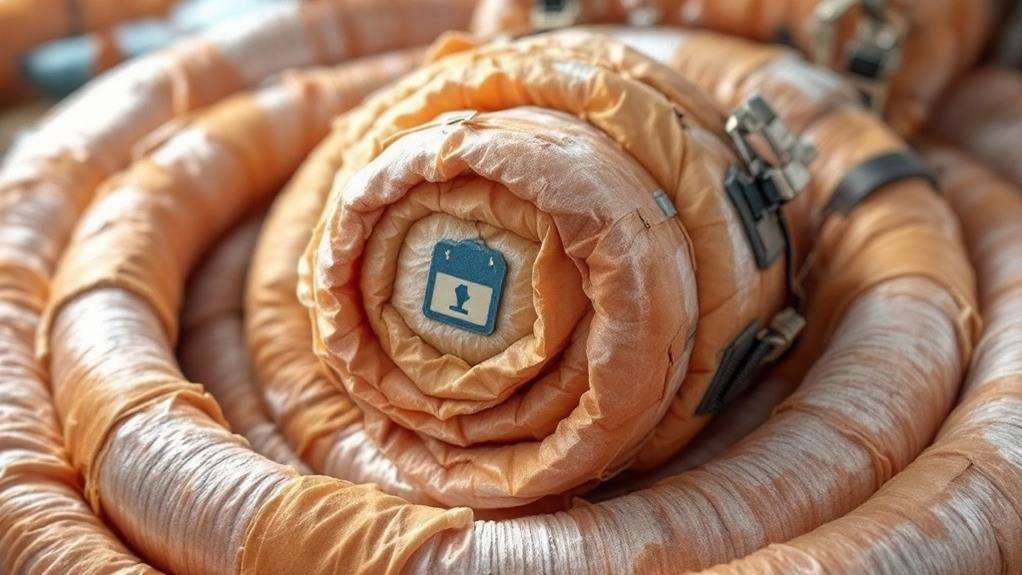
Insulating the Pipes
Along with insulating the water heater itself, you'll want to insulate the pipes that carry hot water to and from the heater. Properly insulating the pipes helps retain heat, which reduces the amount of energy required to maintain the desired water temperature. When it comes to insulating the pipes, keep these tips in mind:
- Measure the pipes accurately to ensure a snug fit for the insulation.
- Clean the pipes thoroughly before applying the insulation to prevent mold or mildew growth.
- Use the right type of insulation, such as pre-slit pipe sleeves or wrap-around insulation, to cover the pipes effectively.
- Pay special attention to the first few feet of pipe leaving the water heater, as this is where the most heat is lost.
Insulating the pipes not only helps keep the water hotter for longer but also prevents condensation, which can lead to moisture damage. By taking the time to properly insulate both the water heater and the associated piping, you'll enjoy improved energy efficiency and cost savings.
Testing the Insulation's Effectiveness
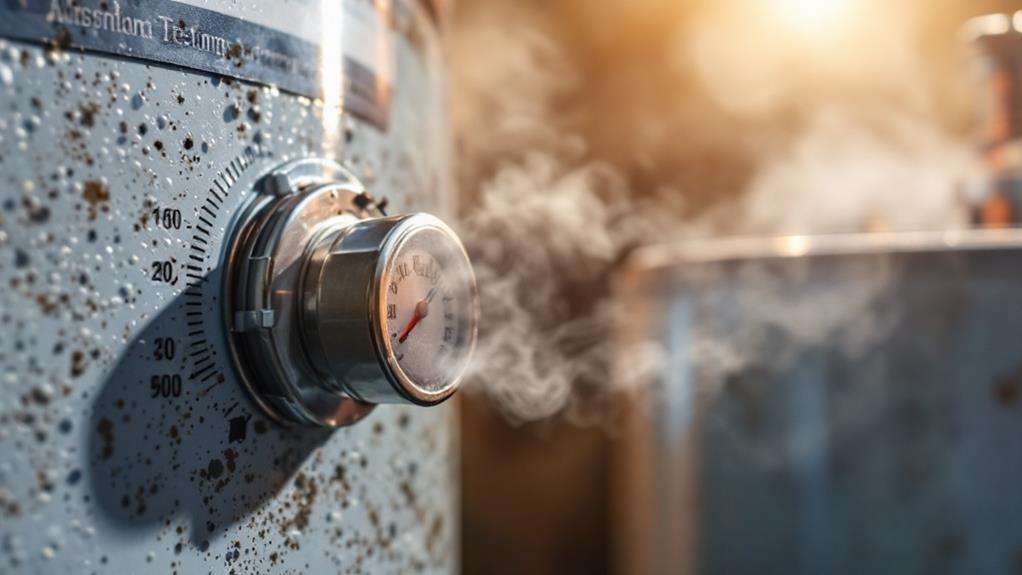
How can you test the effectiveness of the insulation you've installed around your water heater and pipes? Start by checking the temperature changes before and after insulation. Use a thermometer to measure the surface temperature of the water heater and pipes both before and after insulation. You should see a noticeable drop in temperature, indicating the insulation is working to retain heat.
Additionally, monitor your energy usage. If the insulation is effective, you should notice a decrease in your utility bills, as the water heater won't have to work as hard to maintain the desired water temperature. Track your energy consumption for a few billing cycles to see the difference. If you don't see a reduction in usage, the insulation may not be providing the expected level of efficiency. Adjust or replace the insulation as needed to maximize your energy savings.
Maintaining an Insulated Water Heater
Proper maintenance is crucial to ensure your insulated water heater continues to function efficiently. Regular checks and minor adjustments can extend the lifespan of your investment and maximize energy savings. First, be mindful of your water heater's proper storage habits. Ensure the area around the unit is clear of debris and that the insulation remains intact. Next, adjust the temperature settings to the optimal 120°F (49°C) to strike a balance between comfort and energy efficiency.
Additionally, consider these maintenance tips:
- Flush the tank annually to remove sediment buildup, which can reduce heating efficiency.
- Inspect the anode rod and replace it when necessary to prevent corrosion.
- Check the pressure relief valve to ensure it's functioning correctly and not leaking.
- Insulate any exposed hot water pipes to minimize heat loss.