
Your Guide to PEX Fittings: Types and Installation Tips
PEX fittings are essential components for connecting flexible, durable PEX pipes in modern plumbing systems. You'll encounter various types, including compression, barb, expansion, and push-to-connect fittings, each with unique advantages. When selecting fittings, consider material composition, pressure ratings, and compatibility with your PEX pipe type and size. Proper installation requires specialized tools like pipe cutters, crimping tools, and calibration gauges. To verify a leak-free system, follow manufacturer guidelines, use appropriate techniques for your chosen fitting type, and avoid common mistakes like improper crimping or mixing incompatible components. By conquering PEX fitting selection and installation, you'll be well-equipped to tackle your next plumbing project with confidence.
Understanding PEX Piping Systems
PEX piping systems have revolutionized the world of residential plumbing. These flexible, durable pipes are made from cross-linked polyethylene, offering numerous advantages over traditional copper or PVC pipes. You'll find PEX easier to install, more cost-effective, and resistant to freezing and bursting.
When working with PEX, you'll need to consider pipe diameter carefully. Typically, you'll use 1/2-inch PEX for most residential applications, but 3/4-inch or 1-inch pipes may be necessary for high-flow fixtures or long runs. Proper sizing guarantees optimal water pressure and flow throughout your system.
Leak prevention is pivotal in any plumbing installation, and PEX systems offer several techniques to minimize this risk. You'll want to use high-quality fittings and follow manufacturer guidelines for proper connections. Crimp rings, cinch clamps, or expansion fittings are common methods for securing PEX pipes. It is indispensable to use the correct tools and techniques for each fitting type to guarantee a watertight seal.
Remember that PEX isn't suitable for outdoor or UV-exposed applications, so plan your installation accordingly. By understanding these basics, you'll be well-prepared to work with PEX piping systems effectively.
Types of PEX Fittings
Now that you're familiar with PEX piping systems, let's investigate the various types of fittings available for your installation. PEX fittings come in several designs, each with its own advantages and applications.
Compression fittings are popular for their ease of use and reliability. They consist of a body, a compression ring, and a nut. You'll simply insert the PEX pipe into the fitting and tighten the nut, which compresses the ring onto the pipe for a secure connection.
Barb connectors are another common option. These fittings have ridged barbs that grip the inside of the PEX pipe when inserted. You'll need to use a crimp ring or clamp to secure the connection, ensuring a leak-free joint.
Expansion fittings are designed for use with PEX-a pipes. They involve expanding the pipe end and sliding it over the fitting, where it then contracts for a tight seal.
Push-to-connect fittings offer a tool-free installation option. You'll just push the pipe into the fitting, and internal components grip and seal it securely.
When choosing fittings, consider factors like compatibility with your PEX type, local building codes, and the specific requirements of your plumbing project.
Crimp vs. Expansion Fittings
Two primary methods dominate the PEX fitting terrain: crimp and expansion systems. When choosing between these options, you'll need to guarantee fitting strength and compatibility with materials.
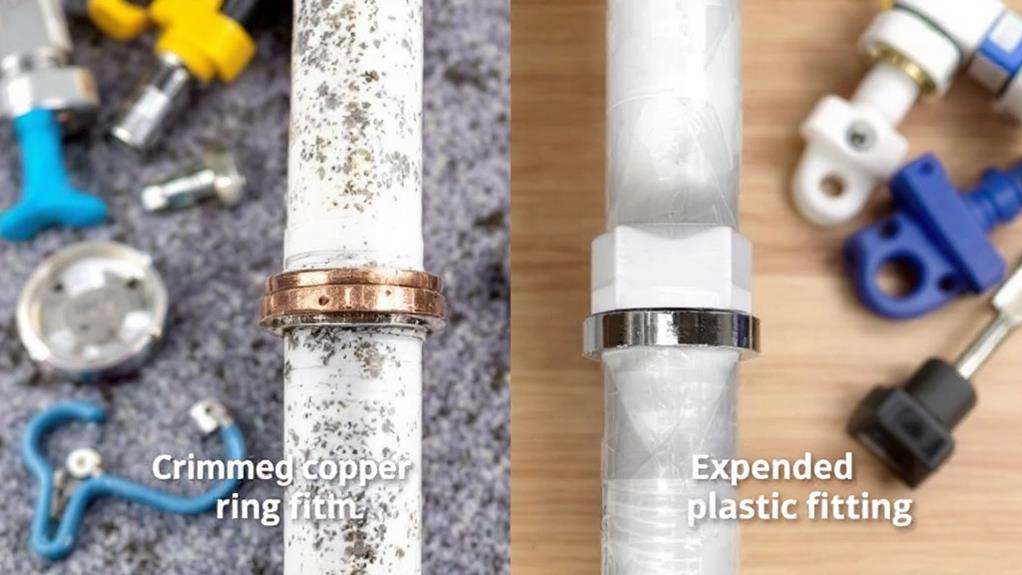
Crimp fittings use a copper or stainless steel ring that's compressed around the pipe and fitting with a special tool. They're quick to install and work well in tight spaces. However, you must guarantee the crimp is properly executed to avoid leaks. Crimp fittings are generally less expensive but may have slightly reduced flow compared to expansion fittings.
Expansion fittings, on the other hand, involve expanding the PEX pipe and then sliding it over a fitting. As the pipe contracts, it creates a secure seal. This method typically results in a stronger connection and better flow. It's also more forgiving if you make a mistake during installation. However, expansion fittings are usually more expensive and require more time to install.
When it comes to compatibility, crimp fittings work with all types of PEX pipe, while expansion fittings are primarily designed for PEX-a pipes. Contemplate your project's specific requirements, budget, and the type of PEX pipe you're using when deciding between crimp and expansion fittings.
Choosing the Right Fittings
Selecting appropriate fittings is essential for a successful PEX installation. You'll need to deliberate several factors to guarantee you choose the right ones for your project. First, consider the fittings material composition. PEX fittings are typically made of brass, plastic, or stainless steel. Brass fittings are durable and corrosion-resistant, making them suitable for most applications. Plastic fittings are affordable and won't corrode, but they may not be as strong as metal options. Stainless steel fittings offer excellent durability and corrosion resistance but come at a higher cost.
Next, pay attention to fittings pressure ratings. These ratings indicate the maximum pressure the fitting can withstand. Guarantee the fittings you choose can handle the water pressure in your system. Most residential applications require fittings rated for at least 100 PSI, but check local building codes for specific requirements.
Consider the type of connection you'll be making, such as straight couplings, elbows, or tees. Choose fittings that match your PEX pipe size and are compatible with your chosen connection method (crimp or expansion). Finally, opt for fittings from reputable manufacturers to ensure quality and reliability in your plumbing system.
Essential Tools for Installation
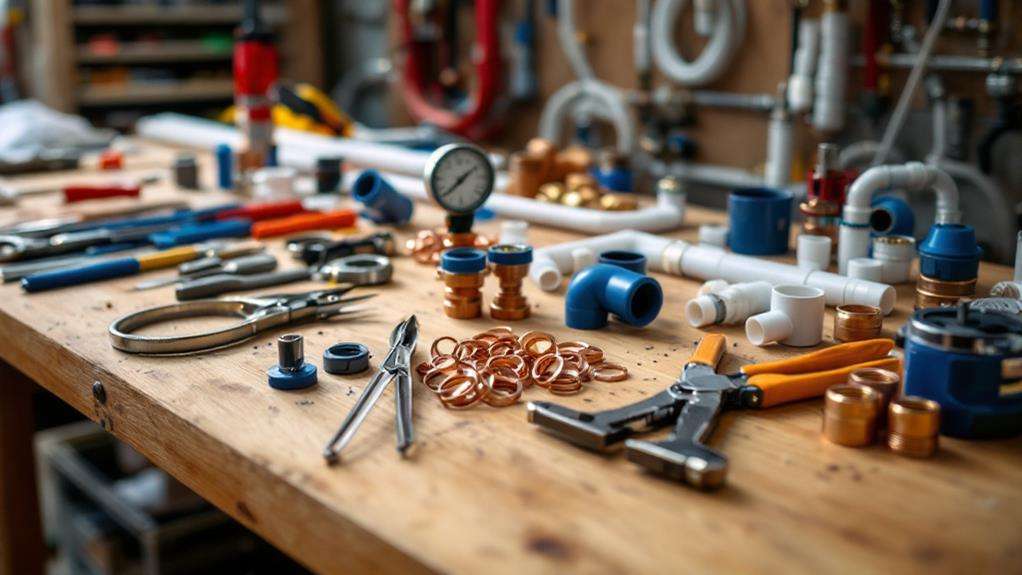
To successfully install PEX piping, you'll need a set of essential tools. First and foremost, invest in high-quality pipe cutting tools. PEX tubing cutters or specialized scissors designed for PEX will guarantee clean, precise cuts without damaging the pipe. You'll also need a PEX crimping tool, which is vital for securing fittings to the tubing. Choose a tool that's compatible with the type and size of PEX you're working with.
Don't forget about calibration and go/no-go gauges for proper compression tool testing. These make certain your connections are secure and meet industry standards. A pipe de-burring tool is indispensable for smoothing cut edges, preventing leaks and improving flow. You'll also want to have a utility knife on hand for various tasks.
Consider investing in a PEX expander tool if you're using expansion fittings. This tool temporarily enlarges the pipe end, allowing for easy insertion of fittings. Finally, don't overlook the importance of a good measuring tape and level to ensure accurate installations. With these tools at your disposal, you'll be well-equipped to tackle your PEX installation project efficiently and effectively.
Step-by-Step Installation Guide
With your tools at the ready, it's time to plunge into the step-by-step installation process for PEX fittings. Begin by measuring and cutting your PEX pipe to the desired length using a pipe cutter. Guarantee you make clean, straight cuts for proper pipe preparation. Next, slide the crimp ring onto the pipe, followed by inserting the fitting into the pipe end. Push the pipe onto the fitting barb until it's fully seated.
Position the crimp ring 1/8 to 1/4 inch from the end of the pipe, directly over the barbs. Use your crimping tool to compress the ring, creating an effective joint sealing. Repeat this process for each connection in your system. For expansion fittings, use an expansion tool to expand the pipe end before inserting the fitting and allowing it to contract.
Always double-check your connections for proper seating and crimping. Once you've completed all connections, perform a pressure test to ensure there are no leaks. Turn on the water supply and inspect each joint carefully. If you notice any leaks, tighten the connections or replace the fittings as necessary. With these steps, you'll achieve a secure and reliable PEX plumbing system.
Common Mistakes to Avoid
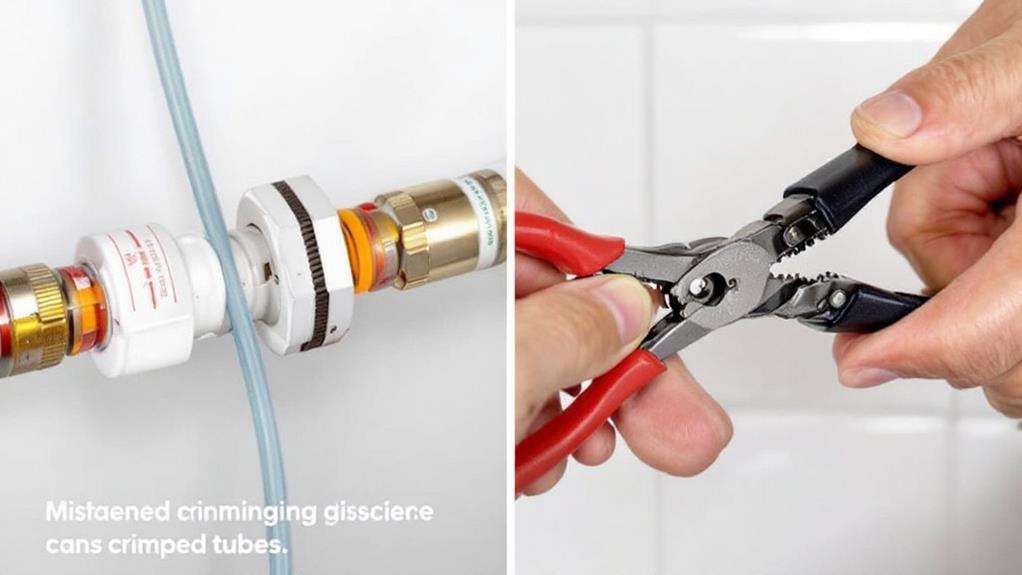
Even experienced plumbers can make mistakes when working with PEX fittings, but you can avoid common pitfalls with proper awareness. One of the most frequent errors is incorrect fitting selection. Guarantee you're using the right type and size of fitting for your specific PEX tubing and application. Mixing different brands or types of fittings and tubing can lead to leaks or system failure.
Improper pipe preparation is another critical mistake to avoid. Always cut PEX tubing squarely and remove any burrs or debris. Failing to do so can result in a poor connection and potential leaks. Don't forget to use calibration tools to ascertain the pipe end is perfectly round before inserting it into the fitting.
Overtightening connections is a common error that can damage both the fitting and the pipe. Follow manufacturer guidelines for proper torque specifications. Conversely, under-tightening can lead to leaks. When using crimp rings, make sure they're positioned correctly and crimped with the appropriate tool.
Lastly, don't neglect proper support for your PEX tubing. Install hangers at recommended intervals to prevent sagging and potential stress on fittings. By avoiding these mistakes, you'll confirm a more reliable and long-lasting PEX plumbing system.
Maintenance and Troubleshooting
While avoiding common mistakes is important, knowing how to maintain and troubleshoot your PEX plumbing system is equally essential. Regular inspections are indispensable for identifying potential issues before they become major problems. Check for signs of wear, discoloration, or kinks in the tubing, and make certain all fittings are secure. If you suspect a leak, use leak detection methods like pressure testing or infrared cameras to pinpoint the source.
Freeze protection is imperative for PEX systems in colder climates. Insulate pipes in unheated areas and keep your home heated during cold spells. If a pipe does freeze, thaw it gradually using a hair dryer or heat lamp. Never use an open flame to thaw PEX tubing.
When troubleshooting, consider these common issues:
- Low water pressure: Check for clogs, kinked tubing, or faulty fixtures
- Strange noises: Look for loose fittings or improperly secured tubing
- Water discoloration: Flush the system and inspect for contamination sources
If you're unsure about any maintenance or troubleshooting tasks, don't hesitate to consult a professional plumber. They can provide expert guidance and ensure your PEX system remains in top condition for years to come.
