
Installing a French Drain to Solve Yard Drainage Issues
Installing a French drain can effectively resolve yard drainage concerns by redirecting surplus water away from problematic regions. You'll need to plan carefully, observing natural water flow and contacting utility companies before excavating. The system consists of a trench filled with gravel and a perforated pipe, which channels water away from your property. Proper installation requires maintaining a consistent slope, using water-permeable fabric, and ensuring secure pipe connections. Once installed, backfill the trench and landscape the area. Regular maintenance is essential for ideal function. With the right approach, you can transform your saturated yard into a well-drained haven.
Understanding French Drain Systems
A French drain is a clever solution for tackling yard drainage issues. It's a gravel-filled trench with a perforated pipe that collects and channels excess water away from problem areas. When you're considering installing a French drain, it's vital to understand how the system works.
The key components of a French drain are the trench, gravel, and perforated pipe. Water flows into the trench and through the gravel, which acts as a filter to prevent soil from clogging the pipe. The perforated pipe then redirects the water away from your property, protecting your home's foundation and basement from water damage.
When installing a French drain, proper planning is essential. You'll need to carefully slope the trench to guarantee effective drainage and choose the right pipe size and gravel type. It's also important to use a permeable fabric to line the trench, further preventing soil from entering the system.
Remember that regular maintenance is vital for keeping your French drain functioning properly. Clear debris from the inlet and outlet periodically to confirm optimal water flow. With proper installation and upkeep, a French drain can be an effective long-term solution for your yard's drainage problems.
Planning Your Drainage Project
Before breaking ground, careful planning is essential for a successful French drain installation. Start by observing your yard's natural water flow during rainfall. This will help you determine the best location to install your French drain and certify it directs water away from problem areas.
Make sure to contact your local utility companies before you plan to install the drain. They'll mark any underground utility lines to prevent accidental damage during excavation. Once you've identified safe digging regions, use spray paint to mark the proposed path of your French drain.
Consider the slope of your yard and plan for a gradual descent of at least 1% to encourage proper drainage. If you're unsure about the grade, use a level or consult a professional. Additionally, decide on the drain's depth and width based on your yard's specific drainage necessities.
Choose appropriate materials for your project, including perforated pipes, gravel, and terrain fabric. Factor in any local building codes or permits required for yard drainage projects. By thoroughly planning your French drain installation, you'll certify a more efficient and effective solution to your water issues.
Materials and Tools Needed
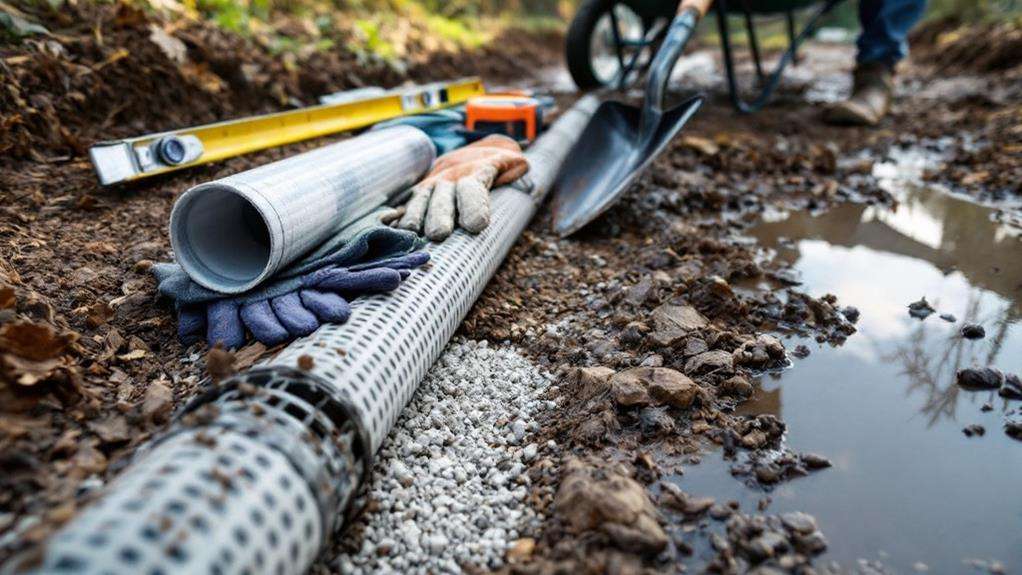
Gathering the right materials and tools is essential for a successful French drain installation. You'll need a shovel or trencher, level, wooden stakes, string, gravel, fabric mesh, perforated pipe, and a small catch basin. The amount of gravel required depends on the size of your trench and pipe. For a 4-inch drain pipe, you'll need 0.72 cubic feet of gravel per 1-by-1-foot trench area. If you're using a 6-inch pipe, you'll need 0.6 cubic feet for the same area.
Calculating the proper slope and gravel amount is indispensable to guarantee effective drainage and prevent standing water issues. Before you start digging, contact 811 to mark underground utilities, avoiding potential damage to pipes or cables during installation. Consider your experience level and the project's complexity when deciding between a DIY approach or hiring a professional. Remember, the fabric mesh helps prevent soil from clogging the drain, while the perforated pipe allows water to enter and flow through the system. By carefully selecting and using these materials, you'll create an efficient French drain that solves your yard's drainage problems.
Site Preparation and Layout
Proper site preparation and layout form the foundation of a successful French drain installation. Before you begin digging, you'll need to carefully plan your drain's route. Start by identifying the areas where water tends to collect and determine the best path for water to flow away from your property. Use stakes and string to mark the proposed route, guaranteeing it's at least 6 feet away from your home's foundation.
Once you've mapped out the drain's path, it's time to prepare the site:
- Remove any obstacles along the route, including plants, rocks, and debris.
- Check for underground utilities and mark their locations to avoid damage during excavation.
- Measure and mark the width of your trench, typically 12-18 inches wide.
When you're ready to dig the trench, maintain a consistent slope of about 1 inch per 8 feet to ensure proper water flow. The depth of your trench will depend on the amount of water you need to drain and the ground level at your exit point. Remember to leave enough room to install the pipe and cover it with gravel. Before laying the pipe, line the trench with water-permeable fabric to prevent soil from clogging the drainage holes.
Digging and Sloping the Trench
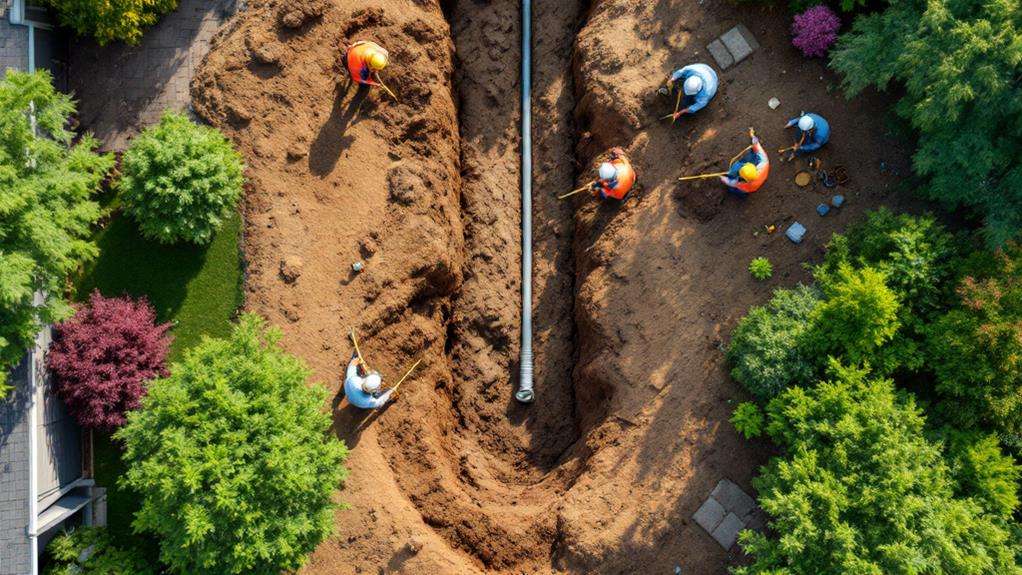
Digging the trench is conceivably the most labor-intensive part of installing a French drain. You'll need to create a trench that's approximately 18 inches deep and 9 to 12 inches wide. This depth and width will allow for proper placement of the drainage pipe and sufficient space for the trench with gravel.
Before you start digging, it's essential to mark the trench direction and length using stakes and strings. This will help you maintain the correct slope, which should be at least 1 percent or 1 inch per 10 feet of pipe. Proper sloping guarantees effective water drainage.
When you're ready to dig, use shovels for smaller projects or consider renting a trencher for larger ones. Don't forget to check for underground utility lines and pipes beforehand to avoid potential damage. As you dig, periodically check the trench's depth and width to confirm consistency.
Once you've completed the trench, you'll be ready to lay the pipe. Before doing so, line the trench with filter fabric to prevent soil from mixing with the gravel. This will help maintain the French drain's efficiency over time.
Installing Fabric and Gravel
After you've dug and properly sloped the trench, it's time to install the fabric and gravel. Begin by lining the bottom of the trench with water-permeable landscape fabric, leaving several inches of excess fabric on each side. This indispensable step prevents soil from mixing with the gravel and clogging your drainage system.
Next, add 3 inches of coarse drainage gravel to create a stable bedding for the perforated pipe. Compact this layer to uphold a solid foundation. Now, place the corrugated pipe on top of the gravel with its drainage holes facing down. This orientation allows water to enter the pipe efficiently.
To complete the installation, follow these steps:
- Cover the pipe with 3 to 5 inches of additional gravel.
- Fold the excess fabric over the gravel to enclose the system.
- Fill the trench with soil, leaving enough space for grass or other landscaping elements.
Remember to check the pipe's positioning every 10 feet to maintain proper slope. The gravel layer surrounding the perforated pipe allows water to flow freely while keeping soil out. This meticulous layering ensures your French drain will effectively solve your yard's drainage issues for years to come.
Laying and Connecting Drain Pipes
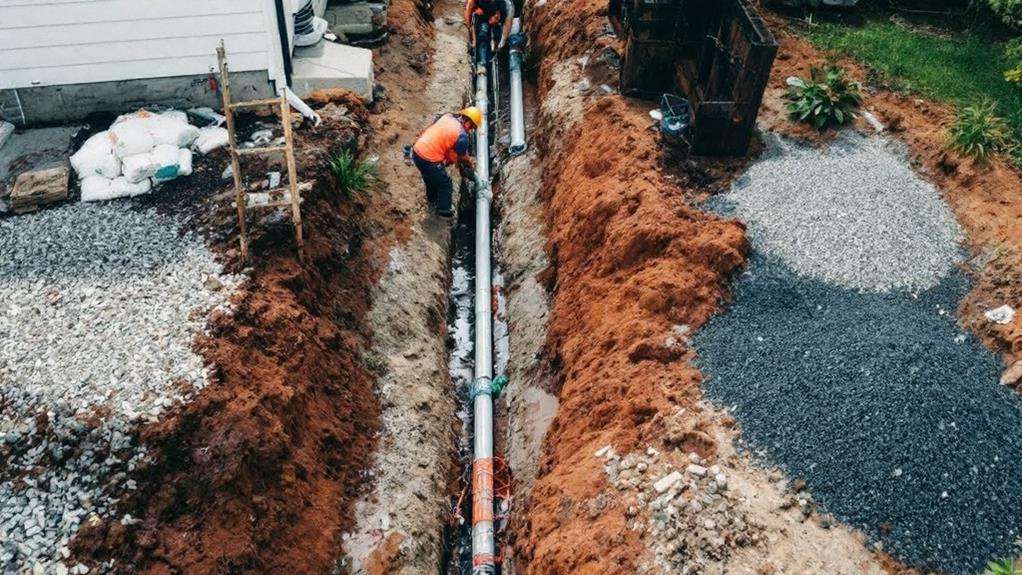
With the gravel and fabric in place, it's time to lay and connect the drain pipes. When installing your French drain, it's essential to position the perforated pipe correctly in the gravel-lined trench. Place the pipe with its holes facing down, allowing runoff water to seep in easily. This orientation will help protect the pipe from debris clogging and guarantee efficient drainage.
As you lay the pipe, maintain a consistent downward slope of at least 1% along its entire length. This slope is vital for proper water flow and preventing standing water in the system. Securely connect pipe sections using couplings or fittings to create a continuous flow path, preventing leaks and preserving the drain's effectiveness.
Install a catch basin or grate at the highest point of your drainage area to collect surface water efficiently. This will help prevent water damage to your property by directing excess water into the French drain system. Finally, connect the drainage pipe to an outlet that discharges water away from your home's foundation and landscaping. Once the pipe is properly installed and connected, you can begin filling the trench with topsoil to complete your French drain installation.
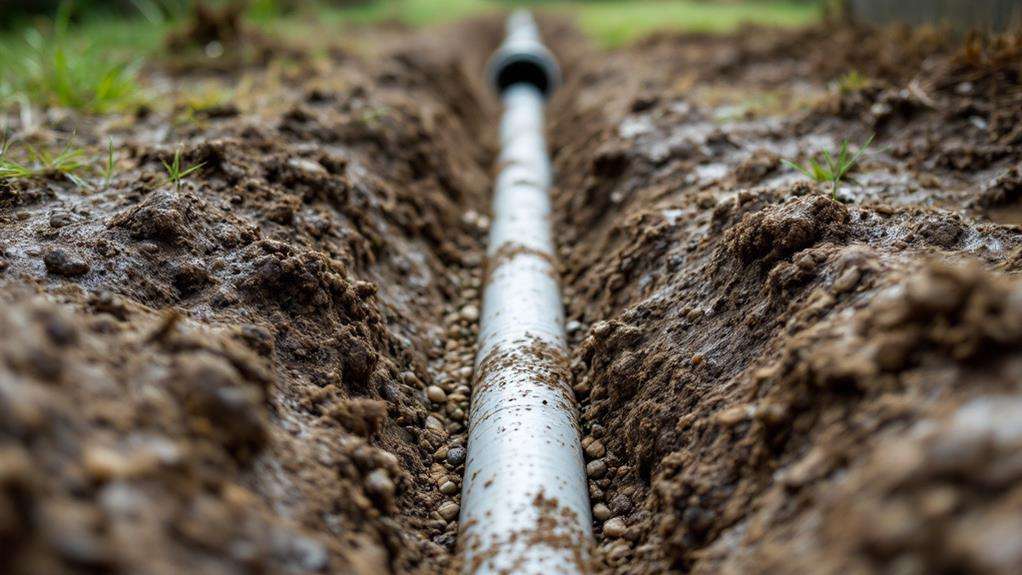
Backfilling and Landscaping
Now that your drainage pipes are in place, it's time to complete the French drain installation by backfilling and arranging the landscape. Begin by adding 2-3 inches of gravel over the pipe, then fold the landscape fabric (which acts as a weed barrier) over the top to prevent soil from entering and clogging the system. Next, add 3-5 inches of topsoil, making sure it's firmly compacted to prevent settling and create a smooth surface level with the surrounding yard.
When landscaping, consider these options:
- Reseed or resod the area to blend the French drain seamlessly into your lawn.
- Add decorative rocks around the inlet grate for an attractive finish.
- Incorporate small landscaping features to enhance the drain's appearance.
Direct the outlet end of your French drain to an appropriate location, such as a swale, dry well, or storm drain, away from your home's foundation. This channels excess water safely away from structures. Depending on the size of your yard and the volume of running water, you may need multiple outlet points. Regularly inspect your French drain to maintain its proper functioning and address any issues promptly if the drain breaks or becomes clogged.
Maintenance and Troubleshooting
Proper maintenance and troubleshooting are essential to keep your French drain functioning effectively for years to come. Regularly inspect your drain to guarantee it's working as intended. If you notice water is pooling in your yard after heavy rainfall, it's a sign that your French drain isn't performing ideally.
To maintain your drain, you'll need the Right Tools, such as a garden hose and a drain snake. Periodically flush the system with water to remove sediment and debris that can cause blockages. If you encounter persistent issues, you may need to test the system by running water through it and observing the drainage pattern.
Be on the lookout for standing water near the drain, as this could indicate a clog or damaged pipe. Tree roots can also interfere with your French drain's performance, so keep an eye on nearby vegetation. If you suspect root intrusion, you may need professional assistance to address the problem.
Remember that French drains need regular attention to function properly. By staying proactive and addressing issues promptly, you'll guarantee your yard remains well-drained and free from water-related problems.