
How to Troubleshoot Common Water Heater Problems
To troubleshoot common water heater problems, first assess the water flow rate and check your household usage patterns. Inspect the thermostat setting, test the heating element, and flush the tank to remove sediment. If the thermostat seems faulty, check the connections and use a multimeter to test it. Address strange noises by flushing the tank and consulting a professional if issues persist. Detect and repair leaks by examining the tank, pipes, and pressure relief valve. Regular maintenance, like flushing the tank and checking the anode rod, can help identify and prevent future problems. Keep reading to learn more detailed steps for troubleshooting your water heater.
Key Takeaways
- Assess water flow rate, monitor household usage patterns, and inspect thermostat setting to identify lack of hot water.
- Check thermostat connections, test resistance, and inspect high-limit switch to diagnose thermostat issues.
- Investigate rumbling sounds, check temperature and pressure relief valve, and flush tank to address strange noises.
- Examine tank exterior, inspect pressure relief valve, and check for cracks or holes to detect and repair leaks.
- Flush the water heater regularly, check the pressure relief valve, and inspect the heating element to maintain the water heater.
Identifying Lack of Hot Water
One of the most common water heater issues is a lack of hot water. First, check the water flow rate by running a hot water tap and timing how long it takes to fill a gallon container. If it takes longer than usual, you may have a problem. Additionally, monitor your family's water usage patterns. An unexpectedly high demand for hot water can outpace your heater's capacity, leaving you with lukewarm showers.
Next, inspect the water heater's thermostat. Ensure it's set to the desired temperature, usually between 120-140°F. If the thermostat is malfunctioning, you'll need to replace it. Another potential issue is a faulty heating element. Test the element with a multimeter to see if it's drawing power. If not, you'll have to replace the heating element. Lastly, check for sediment buildup, which can insulate the heating element and reduce efficiency. Flushing the tank may resolve the problem.
Diagnosing Thermostat Issues
The thermostat plays a vital role in your water heater's operation. If your water heater isn't producing hot water, the thermostat could be the culprit. Start by checking the thermostat connections to ensure they're secure and free of corrosion. If the connections look good, you may need to replace the thermostat.
Here's a step-by-step guide to diagnosing thermostat issues:
- Turn off the power to your water heater and remove the thermostat access panel.
- Use a multimeter to check the thermostat's resistance. If the reading is significantly different from the manufacturer's specifications, it's time to replace the thermostat.
- If the thermostat is working, check the high-limit switch. This safety device cuts power to the heating element if the water temperature gets too high.
- Finally, consider the age of your water heater. If it's more than 10 years old, the thermostat may simply be worn out and in need of replacement.
Addressing Strange Noises
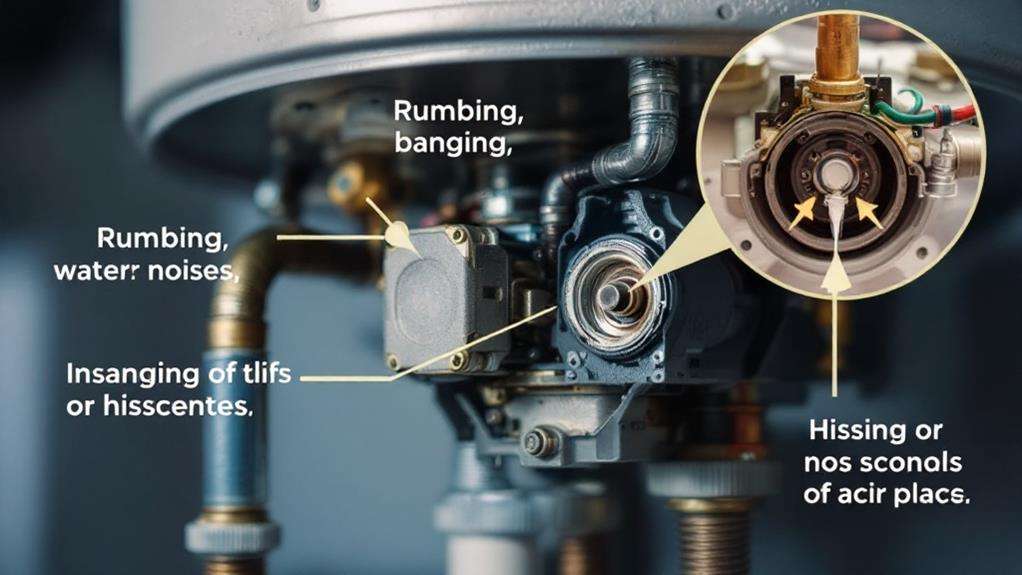
Strange noises coming from your water heater can be a cause for concern, as they may indicate an underlying issue. One common sound to listen for is rumbling sounds, which can signify sediment buildup at the bottom of the tank. This sediment can cause the water to heat unevenly, leading to the rumbling noise. Alternatively, gurgling noises may indicate a problem with the water intake or the pressure relief valve.
If you notice any strange noises, it's crucial to address them promptly. Start by checking the temperature and pressure relief valve to ensure it's functioning correctly. You may also need to flush the tank to remove any sediment buildup. If the noises persist, it's best to contact a professional plumber who can properly diagnose and address the issue. Ignoring strange water heater noises can lead to more significant problems, so it's better to act quickly to maintain the efficiency and safety of your water heater.
Detecting and Repairing Leaks
Detecting water heater leaks early is crucial to preventing more extensive damage. Examine the tank exterior and watch for any signs of condensation buildup, which can indicate a leak. If you notice damp spots or moisture around the base of the unit, it's time to take action.
Here's what you can do:
- Check the pressure relief valve. This valve could be the culprit if it's leaking or stuck open.
- Inspect the tank for cracks or holes. Small leaks can often be patched, but larger issues may require a full tank replacement.
- Ensure the tank's connections, such as the inlet and outlet pipes, are tight and not leaking.
- If the leak persists, it's best to call a professional plumber. They can accurately diagnose the problem and provide the proper repair or replacement solution.
Addressing water heater leaks promptly can save you from costly water damage and ensure your home remains dry and comfortable.
Flushing the Water Heater
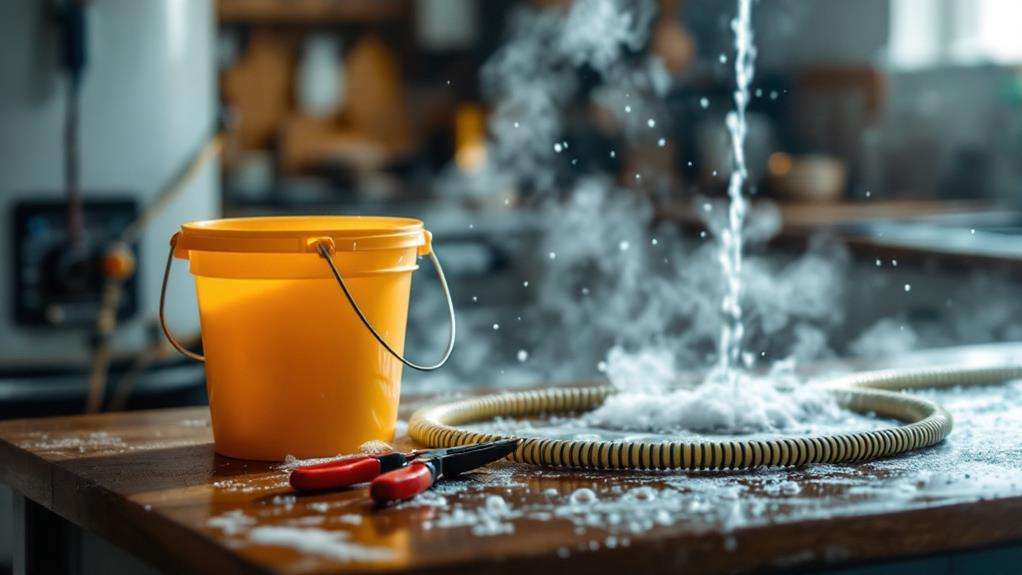
Regular flushing is another important task to maintain your water heater's efficiency and longevity. Over time, mineral deposits and sediment can accumulate in the tank, leading to scale buildup and reduced heating efficiency. Flushing the water heater periodically helps remove this sediment, keeping your system running smoothly.
To flush your water heater, start by turning off the power or fuel supply. Attach a garden hose to the drain valve at the bottom of the tank and run the other end outside or to a floor drain. Open the drain valve and let the tank completely empty. Once drained, close the valve and refill the tank. Turn the power or fuel back on and allow the water to heat up. Repeating this process every six months to a year can help extend the life of your water heater and ensure optimal performance. Remember, sediment removal is key to maintaining a healthy, efficient water heating system.
Checking the Pressure Relief Valve
Checking the pressure relief valve is another crucial step in maintaining your water heater. This valve is responsible for releasing excess pressure and preventing the tank from bursting, which can be a dangerous and costly issue. To ensure it's functioning correctly, follow these steps:
- Locate the pressure relief valve, typically found near the top of the water heater.
- Verify the pressure valve function by lifting the lever up and down. You should hear a rushing sound, indicating the valve is opening and releasing pressure.
- Check for valve blockages by inspecting the discharge pipe. Ensure it's not obstructed and that water can flow freely when the valve is opened.
- If the valve is stuck or doesn't release pressure, it may need to be replaced. Consult a professional plumber for assistance.
Regularly checking the pressure relief valve helps keep your water heater operating safely and efficiently. Don't overlook this important maintenance task.
Resetting the Circuit Breaker
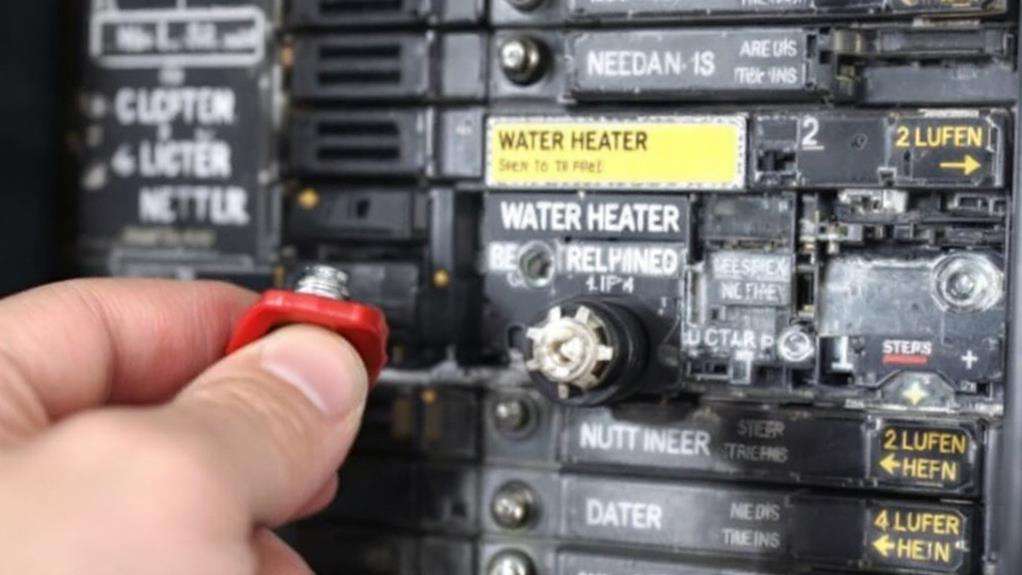
If your water heater suddenly stops working, one of the first troubleshooting steps is to reset the circuit breaker. Locate the circuit breaker that supplies power to your water heater, and check if it has tripped. If the breaker is in the "off" position, simply flip it back to the "on" position to reset it.
Once you've reset the circuit breaker, give the water heater a few minutes to restart. If the power comes back on and the water heater resumes heating, the issue was likely a temporary overload or short circuit that caused the breaker to trip. However, if the breaker trips again, there may be a more serious problem, such as a faulty heating element or a wiring issue.
If resetting the circuit breaker doesn't resolve the issue, you'll need to investigate further, such as checking the heating elements or the thermostat. Remember, safety should always be your top priority when working with electrical components.
Adjusting the Temperature Setting
Another potential solution for troubleshooting water heater problems is adjusting the temperature setting. The ideal temperature for your water heater is typically between 120°F and 140°F. Setting the temperature too high can waste energy and increase the risk of scalding, while setting it too low can allow bacteria growth.
To adjust the temperature setting:
- Locate the temperature control dial or digital display on your water heater.
- Gently turn the dial clockwise to increase the temperature or counterclockwise to decrease it.
- Wait a few hours and check the water temperature to ensure it's at your desired setting.
- Monitor the temperature fluctuations and make further adjustments as needed to maintain the ideal temperature.
Properly setting the ideal temperature and monitoring temperature fluctuations can help address a variety of water heater issues, saving you time, money, and potential safety concerns.
Inspecting the Heating Element
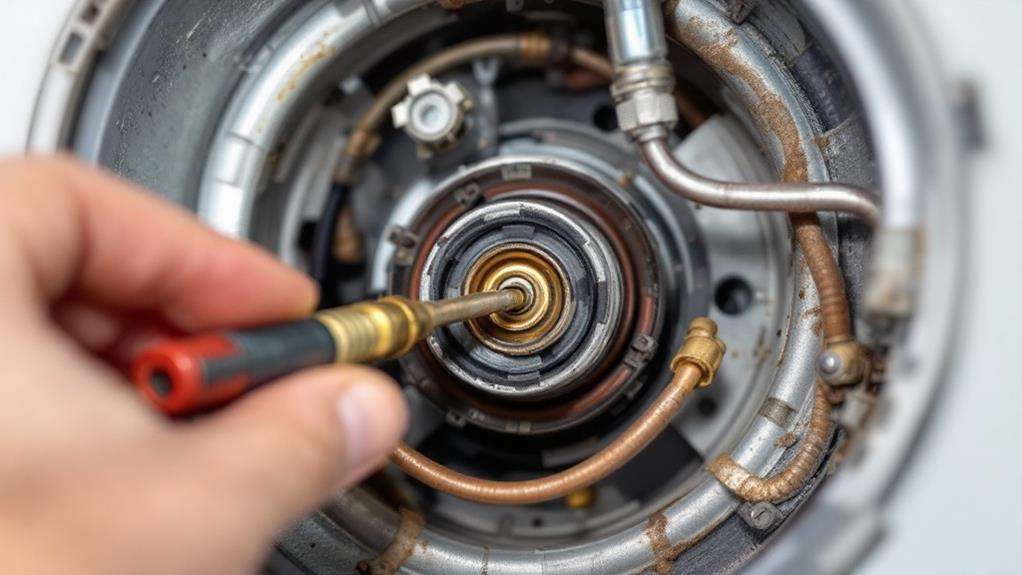
Another potential cause of water heater issues could be problems with the heating element. To inspect the heating element, start by turning off the power to the water heater and allowing it to cool down. Once it's safe to work on, remove the access panel and examine the tank insulation for any signs of damage or wear. Next, inspect the element connections, checking for loose or corroded wiring. If the connections look good, you can use a multimeter to test the element for continuity. If there's no continuity, the element will need to be replaced. Be sure to follow the manufacturer's instructions when removing and replacing the heating element. Paying close attention to these components can help you identify and address any issues with the heating element, restoring your water heater to proper working order.
Maintaining the Water Heater
Regularly maintaining your water heater is crucial for its longevity and efficient performance. An annual maintenance routine can help you identify and address issues before they escalate, saving you from costly repairs or unexpected breakdowns.
Consider these four essential steps for maintaining your water heater:
- Flushing the Tank: Sediment buildup can reduce your water heater's efficiency and even lead to premature failure. Drain the tank annually to remove any accumulated sediment.
- Checking the Anode Rod: The anode rod is designed to corrode instead of the tank itself. Inspect it yearly and replace it if necessary to prevent tank corrosion.
- Inspecting the Thermostat: Ensure your water heater's thermostat is functioning correctly by monitoring the temperature and adjusting it as needed.
- Conducting Seasonal Inspections: Perform visual checks for any leaks or signs of wear and tear during the spring and fall to catch problems early.