
How to Install Compression Fittings Without Leaks
To install compression fittings without leaks, you'll need to follow a precise process. Start by preparing your pipes, ensuring they're clean, smooth, and properly sized. Assemble the fitting components correctly, sliding the nut and ferrule onto the pipe before inserting it into the fitting body. Align everything carefully and hand-tighten the nut. Then, use two wrenches to tighten the nut further, following manufacturer guidelines. Don't overtighten, as this can damage the fitting. After installation, conduct a thorough leak test using soapy water or a leak detection solution. By becoming proficient in these steps, you'll achieve leak-free connections and gain essential plumbing skills.
Understanding Compression Fittings
Comprehension is key when it comes to compression fittings. These essential plumbing components create watertight seals between pipes and fixtures without the need for soldering or threading. You'll find various compression fitting types, including straight couplings, elbows, and tees, each designed for specific applications.
Compression fittings consist of three main parts: the body, the nut, and the ferrule. The body connects to your pipe or fixture, while the nut tightens around the ferrule, compressing it against the pipe to create a seal. Understanding how these components work together is fundamental for proper installation and excellent compression fitting performance.
You'll encounter two primary compression fitting types: brass and plastic. Brass fittings are more durable and suitable for high-pressure applications, while plastic fittings work well for low-pressure systems and are more affordable. When choosing fittings, consider factors like pipe material, pressure requirements, and environmental conditions.
To guarantee leak-free installations, always use the correct size and type of fitting for your application. Clean and prepare your pipes properly, and follow manufacturer guidelines for tightening the nut. With proper knowledge and technique, you'll achieve reliable compression fitting performance every time.
Required Tools and Materials
Before you begin installing compression fittings, you'll need to gather the right tools and materials. Essential tools include an adjustable wrench, pipe cutter, deburring tool, and measuring tape. You'll also need Teflon tape or pipe joint compound, cleaning cloths, and safety gear like gloves and safety glasses.
For the fittings themselves, make certain you have the correct size and type for your specific application. Pay attention to material composition guidelines, as different materials may require specific fittings. Brass fittings are common for copper pipes, while plastic fittings work well for PEX tubing.
Don't forget about pipe preparation steps. You'll need sandpaper or emery cloth to smooth pipe ends and remove burrs. A tube brush can help clean the inside of pipes before installation. If you're working with copper pipes, you might need flux and a propane torch for soldering connections.
Lastly, have a leak detection solution on hand to test your work. This can be as simple as soapy water or a specialized leak detection spray. By gathering all these tools and materials beforehand, you'll be well-prepared to tackle your compression fitting installation with confidence.
Preparing the Pipes
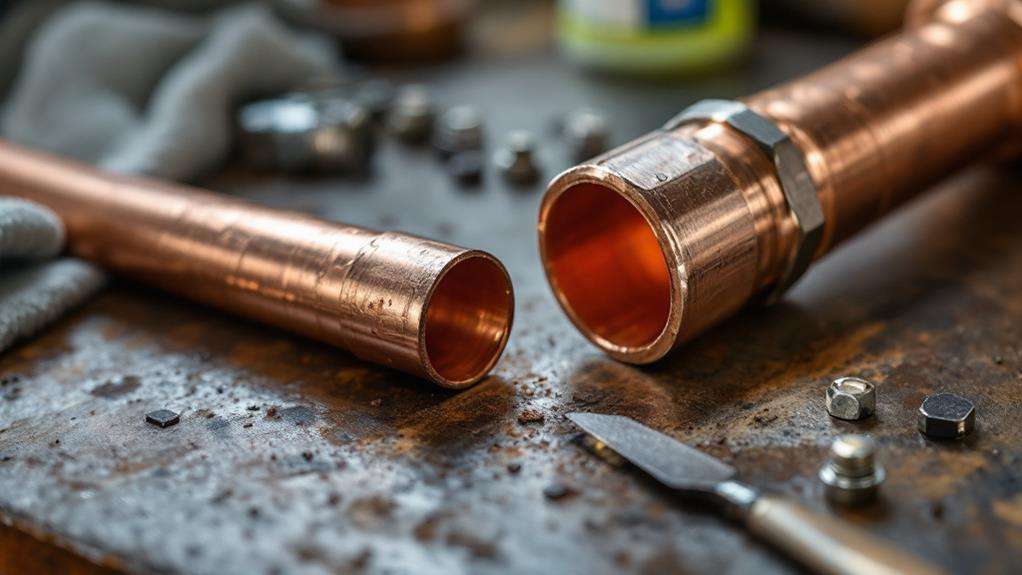
To guarantee a leak-free installation, proper pipe preparation is indispensable. Begin by carefully measuring the pipes you'll be connecting, following pipe measurement guidelines to ensure accuracy. Cut the pipes to the correct length using a pipe cutter, making sure the cuts are straight and clean. After cutting, use a deburring tool to remove any sharp edges or burrs from the pipe ends.
Next, focus on pipe cleaning techniques to confirm a secure fit. Use a clean cloth to wipe down the exterior of the pipe, removing any dirt, grease, or debris. For stubborn grime, apply a mild solvent and scrub gently. Don't forget to clean the inside of the pipe as well, using a pipe brush or compressed air to remove any internal debris.
Once cleaned, inspect the pipe ends for any signs of damage or irregularities. If you notice any dents, scratches, or unevenness, you may need to cut off the affected section and start over. Remember, a smooth, clean surface is indispensable for creating a watertight seal with compression fittings. Finally, dry the pipes thoroughly before proceeding with the fitting installation to prevent any moisture from interfering with the connection.
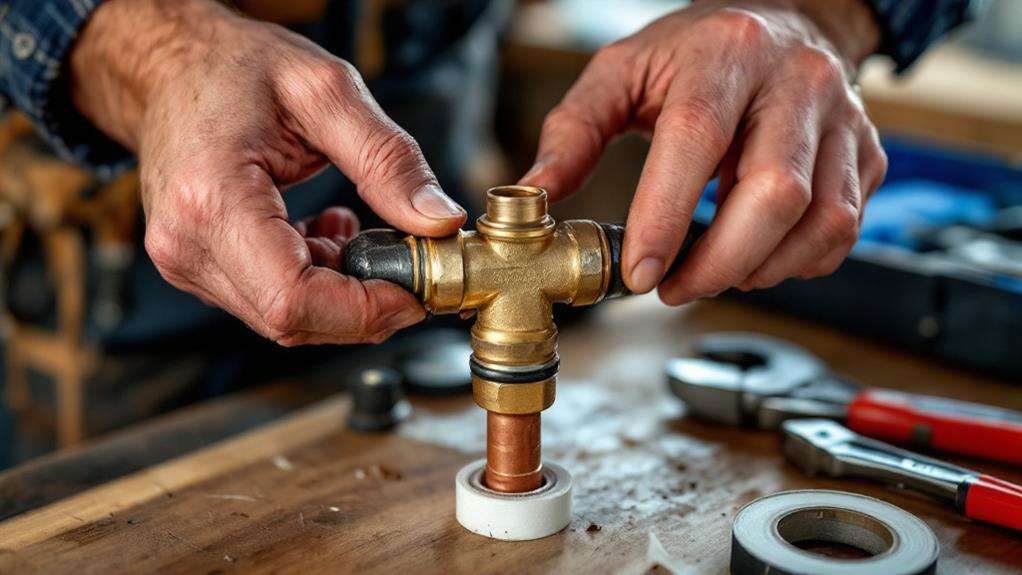
Assembling the Fitting Components
The jigsaw puzzle of compression fitting components lies before you, ready for assembly. Proper component selection is vital to avoid installation pitfalls and guarantee a leak-free connection. Start by identifying the nut, ferrule, and body of the fitting. The nut should slide onto the pipe first, followed by the ferrule. Make sure the ferrule's tapered end faces the fitting body.
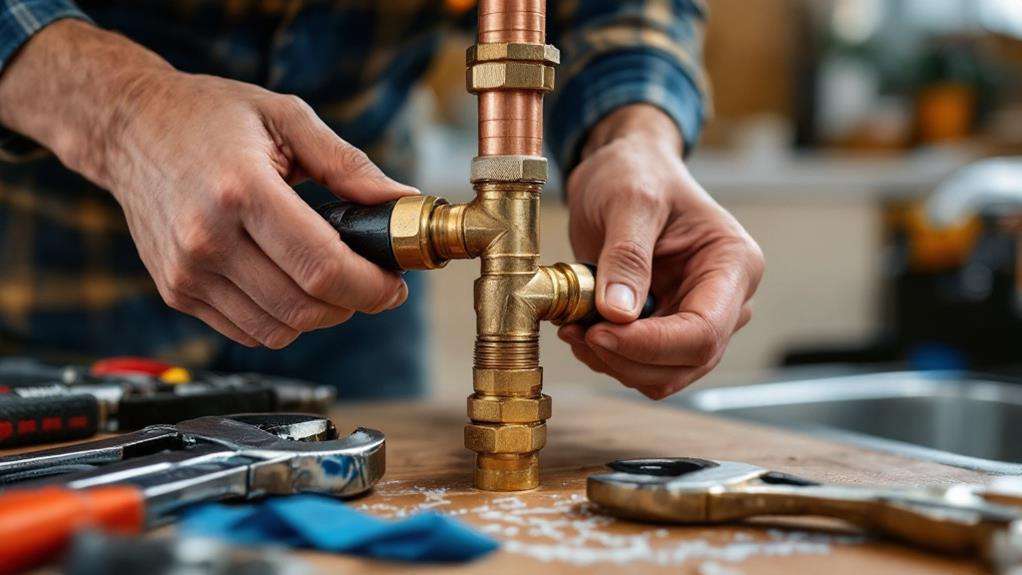
Next, insert the pipe into the fitting body until it stops. You'll want to push it in firmly, but don't force it. Slide the ferrule and nut towards the fitting body, then hand-tighten the nut. This initial tightening helps align all components correctly.
Now, it's time for the final tightening. Use two wrenches: one to hold the fitting body steady and another to turn the nut. For most compression fittings, you'll want to tighten the nut 1 to 1 1/4 turns past hand-tight. Be careful not to over-tighten, as this can damage the ferrule and cause leaks. If you're unsure, consult the manufacturer's instructions for specific guidance on tightening.
Proper Alignment Techniques
With proper alignment, you'll guarantee a secure and leak-free connection. Start by ensuring the tube is cut straight and free from burrs or debris. Insert the tube into the fitting body, making sure it's fully seated against the internal stop. This essential tube positioning is key for a tight seal.
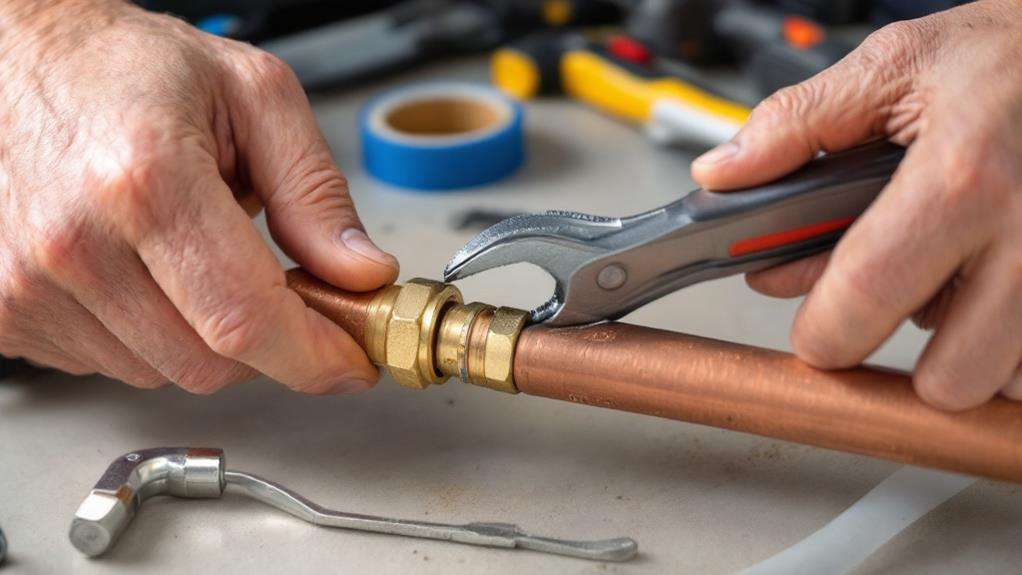
Next, slide the compression nut over the tube and thread it onto the fitting body. As you tighten the nut, maintain the tube's alignment to prevent it from bending or shifting. Correct nut tightening involves using two wrenches: one to hold the fitting body steady and another to turn the nut.
Tighten the nut by hand until you feel resistance, then use the wrench to turn it an additional 1 1/4 to 1 1/2 turns for most fittings. Be careful not to overtighten, as this can damage the ferrule or tube. As you tighten, periodically check the tube's position to guarantee it remains straight and fully inserted.
For plastic tubing, use insert stiffeners to prevent collapse and maintain proper alignment during tightening. Always follow the manufacturer's specific instructions for your fitting type and size to achieve the best alignment and leak-free performance.
Tightening the Compression Nut
Tightening the compression nut correctly is essential for a leak-free connection. Once you've properly aligned the fitting, it's time to secure it in place. Begin by hand-tightening the nut until it's snug against the fitting body. This guarantees the ferrule is seated correctly and prevents cross-threading.
Next, use an appropriately sized wrench to continue tightening. It's pivotal to apply uniform tightening pressure to avoid damaging the fitting or creating weak spots. Turn the nut gradually, about a quarter turn at a time, while maintaining steady pressure. As you tighten, you'll feel increased resistance – this is normal and indicates the ferrule is compressing onto the pipe.
For most compression fittings, you'll want to tighten the nut between 1 1/4 to 1 1/2 turns past hand-tight. However, always refer to the manufacturer's specifications, as some fittings may require different tightening guidelines. Don't overtighten, as this can damage the ferrule or pipe, leading to leaks.
After tightening, inspect the connection visually. The nut should be flush against the fitting body, and you shouldn't see any gaps or misalignments. If you're unsure about the tightness, it's better to slightly undertighten and test for leaks than to overtighten and risk damage.
Testing for Leaks
After completing the installation, it's indispensable to test for leaks before considering the job done. There are several leak detection methods and pressure testing procedures you can employ to guarantee your compression fittings are properly sealed.
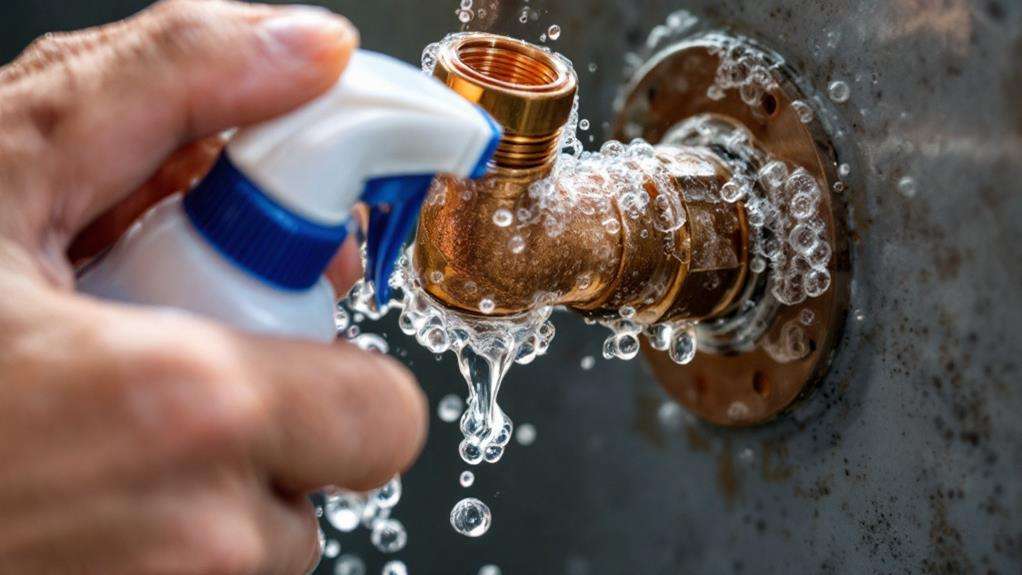
Start by visually inspecting the connections for any obvious signs of moisture or dripping. Then, proceed with a more thorough check using these steps:
- Turn on the water supply and let it run through the system.
- Carefully examine each fitting, paying close attention to the compression nut and ferrule area.
- Use a dry tissue or paper towel to wipe around the connections, checking for any dampness.
- Apply a soap and water solution to the fittings and watch for bubbles, which indicate a leak.
If you don't spot any leaks using these methods, consider performing a pressure test. Pressurize the system to its maximum operating pressure and monitor it for several hours. A drop in pressure suggests a leak that requires further investigation. Remember, it's vital to catch and fix leaks now than to deal with water damage later. Don't rush this imperative step in the installation process.
Troubleshooting Common Issues
Compression fitting problems can arise even with careful installation. If you're experiencing leaks or other issues, it's crucial to identify and address the root cause promptly. One common problem is improper installation techniques, which can lead to loose connections or damaged components. Ensure you've followed the manufacturer's guidelines precisely, including proper tightening and alignment of parts.
Incorrect sizing selection is another frequent issue. If you've chosen fittings that are too large or small for your tubing, they won't create a proper seal. Verify that your fittings match the exact dimensions of your pipes or tubes. Also, inspect the ferrule for signs of damage or deformation, as this can compromise its sealing ability.
If you're still encountering leaks, examine the tubing itself for cracks, kinks, or other damage. Sometimes, the problem lies not with the fitting but with the connected components. In cases of persistent leaks, consider replacing the entire fitting assembly, as wear and tear over time can reduce its effectiveness. Remember to use thread sealant or PTFE tape on threaded connections to enhance their seal. By methodically addressing these common issues, you'll improve your chances of achieving a leak-free installation.
Maintenance and Inspection Tips
Regular maintenance and inspection of compression fittings are essential for ensuring long-term, leak-free performance. By establishing regular inspection intervals, you'll catch potential issues before they become major problems. During these checks, focus on identifying wear patterns and signs of corrosion or damage.
To maintain your compression fittings effectively:
- Visually inspect fittings for any signs of leaks, discoloration, or corrosion every 3-6 months.
- Check for proper tightness using a torque wrench annually, ensuring you don't over-tighten.
- Clean fittings with a soft cloth and mild detergent to remove dirt and debris that could cause wear.
- Apply a thin layer of pipe joint compound or thread sealant during reassembly to prevent future leaks.
When identifying wear patterns, pay close attention to the ferrule and nut. Look for uneven wear, cracks, or deformation that could compromise the seal. If you notice any issues, replace the fitting immediately. Don't forget to inspect the tubing or pipe connected to the fitting for signs of stress or damage. By maintaining a proactive approach to compression fitting maintenance, you'll extend their lifespan and prevent costly leaks and repairs.
Applications in Different Plumbing Projects
Plumbers rely on compression fittings for a wide range of projects due to their versatility and ease of installation. In water distribution systems, you'll find compression fittings used for connecting pipes, valves, and fixtures. They're particularly useful in tight spaces where soldering might be difficult or dangerous.
For residential applications, compression fittings are commonly used in kitchen and bathroom plumbing. You can use them to connect sink faucets, toilet supply lines, and dishwasher connections. They're also ideal for installing water filters, ice maker lines, and outdoor spigots.
When working on heating systems, you'll find compression fittings essential for connecting radiators and baseboard heaters. They're also used in hydronic heating systems and radiant floor heating installations.
In commercial settings, compression fittings are often employed in industrial process piping, HVAC systems, and refrigeration units. You can use them to connect pressure gauges, temperature sensors, and other monitoring devices.
For repair work, compression fittings are crucial. You can quickly fix leaks or replace damaged sections of pipe without extensive demolition or soldering. They're also useful for temporary fixes or when you need to make frequent adjustments to your plumbing system.