
How to Install an Outdoor Faucet: A Step-by-Step Guide
To install an outdoor faucet, start by carefully planning the location and gathering necessary tools and materials. Prepare the installation site, ensuring it's near a cold water line and free of buried utilities. Next, install the water supply line by cutting into the existing pipe and soldering connections. Mount the frost-proof sill cock faucet securely to the exterior wall using plumber's putty and screws. Finally, test the faucet for leaks and proper functionality. Throughout the process, prioritize safety and follow local building codes. With the right preparation and execution, you'll soon enjoy the convenience of an outdoor water source.
Key Takeaways
- Plan the faucet location carefully, avoiding buried utilities and ensuring proper insulation against freezing temperatures.
- Gather necessary tools and materials, including a frost-proof sill cock, PEX piping, and essential plumbing tools.
- Prepare the installation site by shutting off the main water supply and cutting into the existing cold water line.
- Install the water supply line, connecting it to the new faucet and adding a shutoff valve for maintenance.
- Mount the outdoor faucet securely, create a watertight seal, and test for leaks and proper functionality.
Planning Your Outdoor Faucet Installation
Planning your outdoor faucet installation's success begins with careful consideration of location and materials. You'll want to choose a spot that's convenient and close to an existing cold water line. Avoid areas with buried pipes or wires to prevent potential damage during installation. Consider how you'll protect the faucet from freezing temperatures and ensure proper insulation.
When selecting your new outdoor faucet, opt for a frost-proof, anti-siphon sill cock. This type of faucet helps prevent backflow and protects against freezing. For the water supply line, PEX piping is an excellent choice due to its flexibility and durability. It's easier to work with than rigid copper pipes and can withstand temperature fluctuations.
Before you start the installation process, gather all necessary tools and materials. You'll need to shut off the main water supply to your home, so locate the shutoff valve in advance. Plan to install drain valves to allow for proper winterization of your outdoor faucet system. Ensure you have the right fittings and connectors to join the new pipe to your existing water supply. By carefully planning your outdoor faucet installation, you'll set yourself up for a smooth and successful project.
Gathering Necessary Tools and Materials
With your outdoor faucet installation plan in place, it's time to gather the necessary tools and materials. You'll need several essential tools, including a tubing cutter, pipe wrench, soldering torch, emery cloth, and plumber's putty. These will help you cut, connect, and seal the various components of your outdoor faucet system.
For materials, you'll require a frost-proof sill cock, which is designed to prevent freezing in cold climates. You'll also need PEX piping, adapters, a backflow preventer to protect your water supply, and a drain valve for winterization. Don't forget to obtain the appropriate fittings for your specific installation.
Safety should be a top priority, so ensure you have personal protective equipment like gloves and safety glasses on hand. If you don't own specialized tools such as a PEX crimping tool, consider renting them to reduce overall project costs.
Before beginning the installation, double-check that you have all the necessary components by referring to the specific instructions for your chosen outdoor faucet. This will help you avoid delays and ensure a smooth installation process.
Preparing the Installation Site
Now that you've gathered your tools and materials, it's time to focus on the installation site. Begin by choosing a convenient location for your outdoor faucet installation. Look for a spot near a cold water line, ensuring you avoid areas with existing pipes or wires. This will make connecting the water supply pipe easier and minimize potential complications.
Consider the climate in your area when planning the outdoor hose spigot placement. If you live in a colder region, think about insulation and heat protection to prevent freezing. Opt for a frost-proof, anti-siphon sill cock as your outdoor water spigot for better performance and protection against backflow.
Before you start digging the trench for your water supply line, call 811 to locate any buried utilities. This crucial step helps you avoid damaging underground pipes or cables during installation. When planning your plumbing route, remember that PEX piping is an excellent choice for the water supply back to the main line. Its flexibility and durability make it ideal for outdoor faucet installation.
As you prepare the site, ensure you have adequate space to work around the hose bib and access the water supply pipe. This will make the installation process smoother and more efficient.
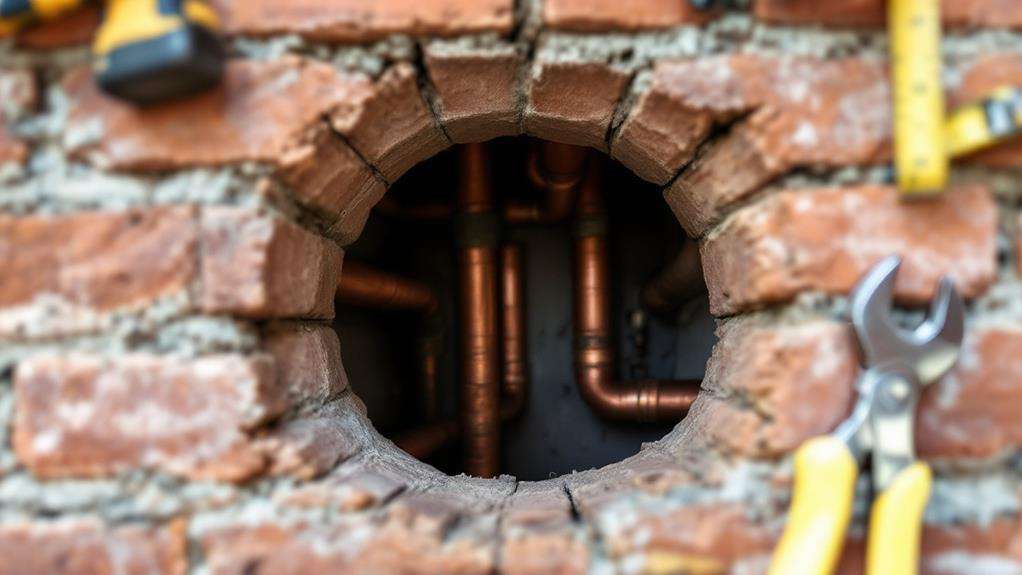
Installing the Water Supply Line
The critical first step in installing your outdoor faucet's water supply line is to shut off the main water supply to your home. This precaution prevents water spillage when you cut into the existing pipe. Once the water's off, use a tubing cutter to make a precise cut in the supply pipe where you'll connect the new outdoor faucet line.
Before proceeding, clean the pipe using an emery cloth to prepare it for soldering. Next, run new copper pipes from the cut water supply to the faucet hole. Secure the pipe to your house framing using copper bell hangers to ensure stability.
As you Install an Outdoor faucet, it's crucial to solder all connections properly. This step guarantees a secure and leak-free installation. Don't forget to install a shutoff valve near the new spigot for easy maintenance. You may need to solder on a transition fitting if you're connecting different pipe materials.
When working with water lines, always double-check your measurements and use a pipe wrench to tighten fittings securely. By following these steps carefully, you'll successfully install the water supply line for your new outdoor faucet.
Mounting the Outdoor Faucet
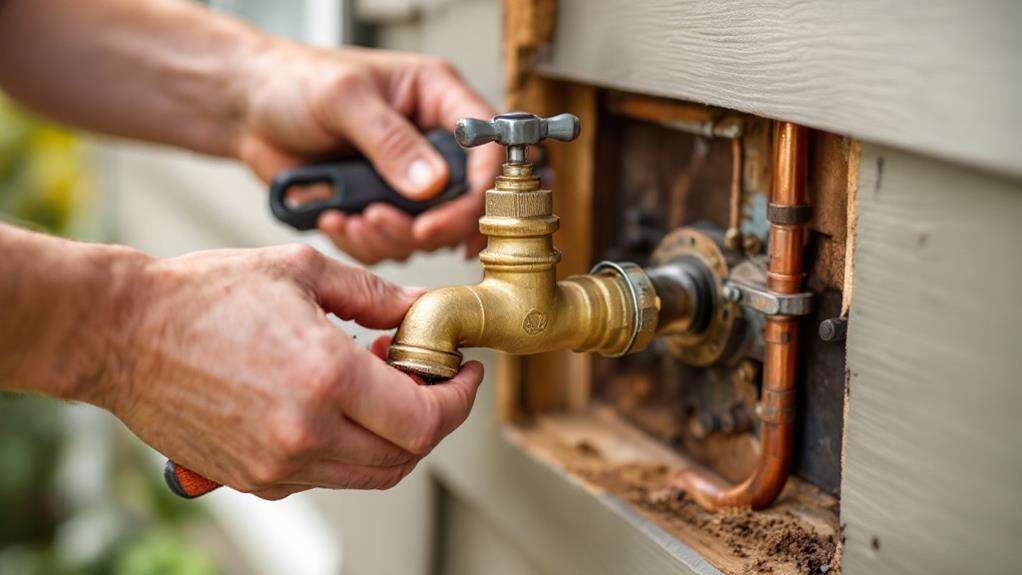
After completing the water supply line installation, it's time to mount your outdoor faucet. Start by cutting a PVC fence post to the desired length, ensuring it's set at least 18 inches deep for stability. This post will house your PEX tubing, protecting it from UV exposure.
Before proceeding, check your local plumbing codes to determine if a backflow preventer is required for your exterior faucet installation. That's an important step in any home improvement project involving plumbing.
Next, secure the post firmly in the ground. Attach the sill cock flange to the exterior wall, using plumber's putty to create a watertight seal around the faucet. This step is crucial for preventing water damage to your home's structure.
Drill pilot holes and drive exterior-grade screws through the faucet flange to securely mount the outdoor faucet in place. Be sure to clean the area around the faucet thoroughly after installation.
If you're unsure about any part of this process, don't hesitate to consult a professional plumber. They can ensure your outdoor faucet is installed correctly and in compliance with local regulations, saving you potential headaches down the line.
Testing and Troubleshooting
Faucet testing time has arrived. After you've completed the installation, it's crucial to ensure your outdoor faucet works correctly. Start by turning on the main water supply and carefully inspect the faucet for any leaks. Test its functionality by turning it on and off several times, checking for smooth operation and consistent water flow.
Next, examine the area surrounding the faucet for signs of moisture or water damage, which could indicate a hidden leak. If you notice any issues or the faucet isn't working as expected, inspect the backflow preventer and shut-off valve for potential problems. These components play vital roles in the faucet's performance and water control.
For a more precise assessment, consider using a flow meter to verify that the faucet is delivering the expected water pressure and flow rate. This step can help you identify any discrepancies in water output that might not be immediately apparent.
If you encounter persistent issues during testing, don't hesitate to double-check your installation work or consult a professional plumber. Proper testing and troubleshooting ensure your outdoor faucet functions safely and efficiently for years to come.