
How to Install a New Water Heater in 5 Easy Steps
Begin by shutting off the power and water supply to the old water heater. Drain the tank completely using the drain valve. Next, disconnect the old unit by closing the water supply valves, unscrewing the supply lines, and unplugging the power or gas line. With the old heater removed, you're ready to install the new one. Carefully connect the cold water inlet and hot water outlet lines, then secure the new heater in place. Follow the manufacturer's instructions to properly connect the power or gas, and vent the unit. Before you know it, you'll have reliable hot water flowing through your home again. Curious to learn more?
Key Takeaways
- Shut off the power and water supply to the old water heater by locating the breaker and the water supply valve.
- Drain the old water heater completely by connecting a garden hose to the drain valve and running it to a floor drain or outside.
- Disconnect the old water heater by shutting off the water supply, unscrewing the water supply lines, and disconnecting the electrical or gas line.
- Connect the new water heater by attaching the cold water supply line, the hot water outlet line, and making proper thermocouple connections.
- Install the new water heater in the designated spot, following the manufacturer's instructions for proper connection of the water, gas or electrical lines, and venting the unit.
Shut Off the Power and Water
Before you can begin the installation process, you'll need to shut off the power and water supply to the old water heater. First, locate the breaker for the water heater and turn it off. This will cut the power to the appliance, ensuring your safety during the installation. Next, find the water supply valve, typically located near the top of the tank, and turn it clockwise to shut off the water flow. Once the power and water are turned off, you can proceed to the next step.
Now, open the drain valve, usually found at the bottom of the tank, and let the water drain completely. This will make the old unit lighter and easier to remove. Be sure to place a bucket underneath to catch any remaining water. With the power, water, and tank drained, you're ready to disconnect the old water heater and prepare the space for the new one.
Drain the Old Water Heater
Once you've shut off the power and water supply, it's time to drain the old water heater. Connect a garden hose to the drain valve at the bottom of the tank, and run the other end of the hose to a floor drain or outside. Open the drain valve slowly to allow the water to flow out. This will help siphon any sediment buildup that has accumulated at the bottom of the tank.
As the water drains, inspect the drainage pipe for any blockages or damage. If you notice any issues, address them before proceeding. Once the tank is fully drained, close the drain valve and disconnect the hose. This step is crucial to preparing the old unit for removal and setting the stage for the installation of the new water heater.
Disconnect the Old Water Heater
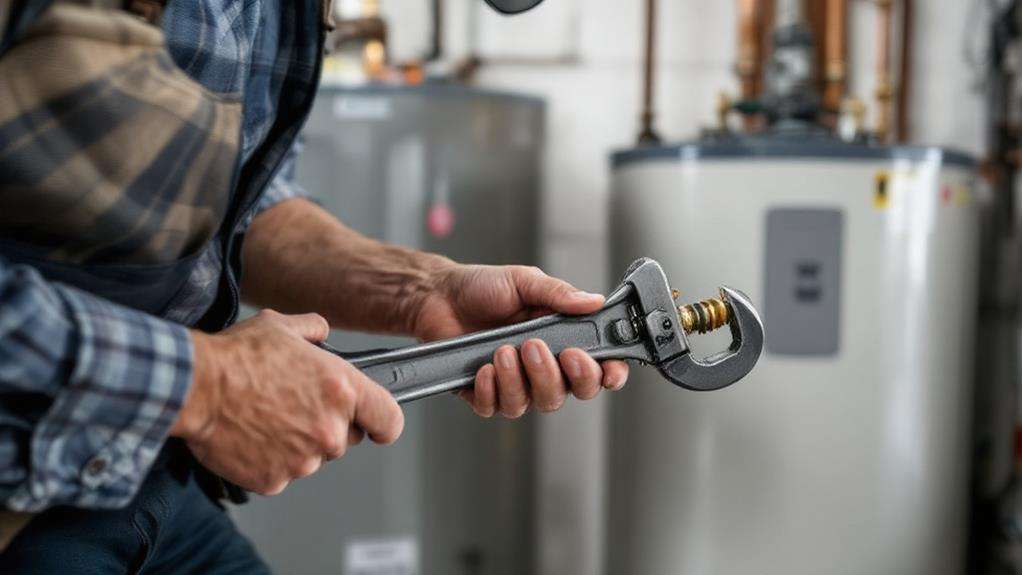
With the old water heater drained, you can now proceed to disconnect it. This step is crucial to ensure a smooth transition to the new water heater.
- First, locate the shutoff valves for the water supply lines. These are usually situated near the top of the old water heater.
- Turn off the water supply by closing the shutoff valves. This will prevent any remaining water from spilling out during the disconnection process.
- Next, unscrew the water supply lines from the old water heater. Be prepared for a small amount of water to drain out, so have a towel handy.
- Finally, disconnect the electrical or gas line that powers the old water heater. Consult the manufacturer's instructions to ensure you do this properly and safely.
Now that the old water heater is fully disconnected, you're ready to move on to the next step: installing the new water heater.
Install the New Water Heater
Place the new water heater in the designated spot, ensuring it aligns properly with the existing plumbing and electrical or gas connections. Consider energy efficiency when selecting the new unit, as more efficient models can save you money on utility bills in the long run. Evaluate the installation costs, as this may include the price of the heater, any necessary plumbing or electrical work, and the labor charges. Carefully follow the manufacturer's instructions to properly connect the water, gas or electrical lines, and vent the unit. Secure the heater in place and level it, if necessary. Turn on the water supply and check for any leaks. Once the connections are secure, restore power or gas to the unit and light the pilot light, if applicable. Finally, set the temperature to the desired setting and allow the tank to fully heat up before use. With the new water heater installed, you're now ready to enjoy a steady supply of hot water.
Connect the New Water Heater
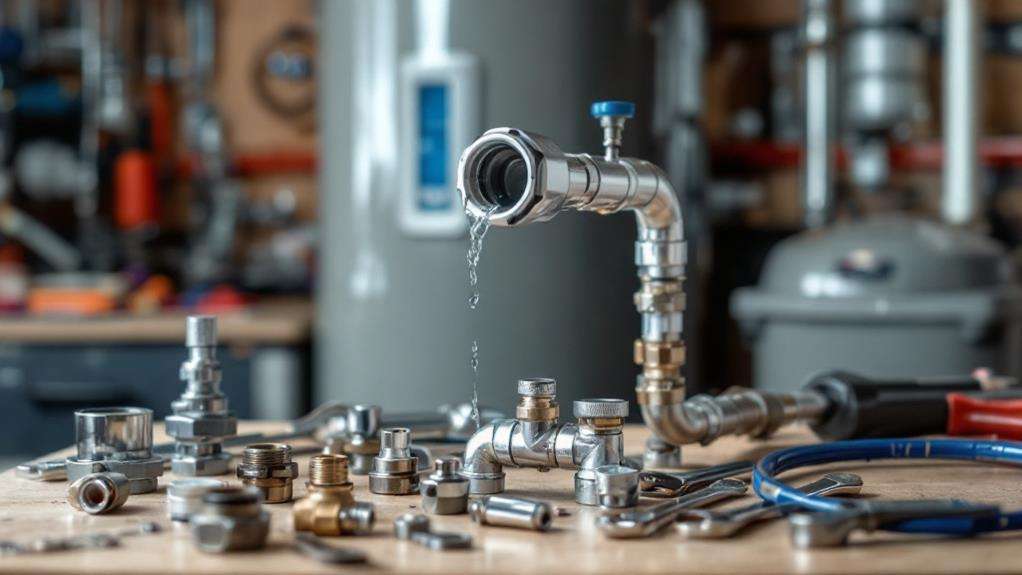
Connect the water supply lines to the new water heater. This is a crucial step to ensure your new water heater functions properly. Here's what you'll need to do:
- Attach the cold water supply line to the water inlet on the heater using a wrench. Ensure the fitting is tight to prevent leaks.
- Connect the hot water outlet line to the hot water outlet on the heater. Again, use a wrench to tighten the fitting securely.
- Make proper thermocouple connections, which are essential for the safety and proper operation of the water heater.
- Lastly, check all fittings and connections to ensure they are tight, eliminating the risk of any water leaks.
Once the water lines are connected, you can proceed to the next step of the installation process. Remember to take your time and double-check your work to guarantee a successful and safe installation of your new water heater.