
How to Install a New Toilet in 7 Easy Steps
To install a new toilet in 7 easy steps, start by gathering the necessary tools and materials. Next, remove the old toilet by disconnecting the water supply and unscrewing it from the floor. Prepare the flange by cleaning it thoroughly and ensuring it's secure. Install a new wax ring on the flange, then carefully set the new toilet in place. Secure the toilet to the floor and connect the water supply. Finally, test the installation by flushing several times and checking for leaks. With these steps, you'll have a freshly installed toilet in no time. For a more detailed guide, continue on to learn expert tips and tricks.
Key Takeaways
- Remove the old toilet by shutting off water, disconnecting supply line, and unscrewing bolts.
- Clean the flange and install a new wax ring centered on the drain opening.
- Carefully place the new toilet bowl onto the wax ring, aligning it with the flange bolts.
- Secure the toilet to the floor with washers and nuts, then connect the water supply line.
- Test for leaks, caulk around the base, and ensure proper flushing and filling of the tank.
Gather Tools and Materials
Before starting your toilet installation project, gather all the necessary tools and materials. You'll need a hacksaw, adjustable pliers or wrenches, a drill driver or hand-held screwdrivers, and a putty knife. These tools are essential for removing the old toilet and installing the new one.
For supplies, get a thick wax ring and a toilet flange repair ring that's compatible with your existing flange. You'll also need new toilet bolts, washers, and nuts to secure the new toilet to the floor. Don't forget to pick up a rag to stuff into the drain hole and caulk to seal the base of the toilet.
Before you purchase your new toilet, carefully measure the existing one to ensure the new tank and bowl will fit the space. Check the rough-in size, which is the distance from the wall to the center of the drain pipe. This measurement is crucial for a proper fit.
When selecting your new toilet, consider the water supply line connection and ensure it's compatible with your current setup. With all these tools and materials ready, you'll be prepared to remove the old toilet and install the new one efficiently.
Remove the Old Toilet
Once you've gathered all your tools and materials, it's time to remove the old toilet. Start by turning off the water supply valve and disconnecting the water supply line from the tank. Flush the toilet to empty most of the water, then use a sponge or towel to remove any remaining water from the tank and bowl.
Next, remove the tank by unscrewing the tank bolts and lifting it off the bowl. Set it aside carefully. Now, focus on the existing toilet bowl. Remove the decorative caps covering the floor bolts and unscrew the nuts. If they're corroded, you may need to cut them with a hacksaw.
Before lifting the toilet, use a utility knife to score the caulk around the base. This will help break the seal. With a helper, carefully lift the toilet straight up to break the wax seal. Be prepared for some remaining water to spill out. Place the old toilet on its side, away from your work area.
Prepare the Flange
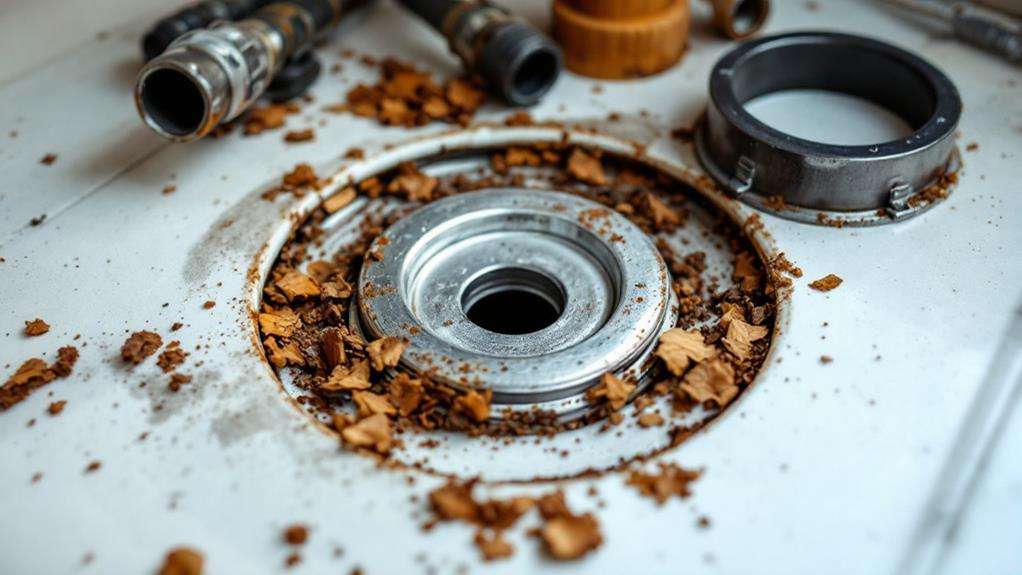
With the old toilet out of the way, you'll need to inspect and prepare the flange for the new installation. Start by removing any remnants of the old wax ring using a putty knife. Scrape the flange clean, ensuring no debris is left behind. This step is crucial for creating a proper seal with the new wax ring.
Examine the flange for any signs of damage or wear. If it's cracked or broken, you'll need to replace it before proceeding. Next, check that the flange is securely fastened to the floor. Tighten any loose screws or bolts to prevent future leaks.
Now, cover the drain opening with a rag to block sewer gases from entering your bathroom. This also prevents any tools or debris from falling into the pipe. Clean the area around the flange thoroughly, removing any dirt or grime that could interfere with the new seal.
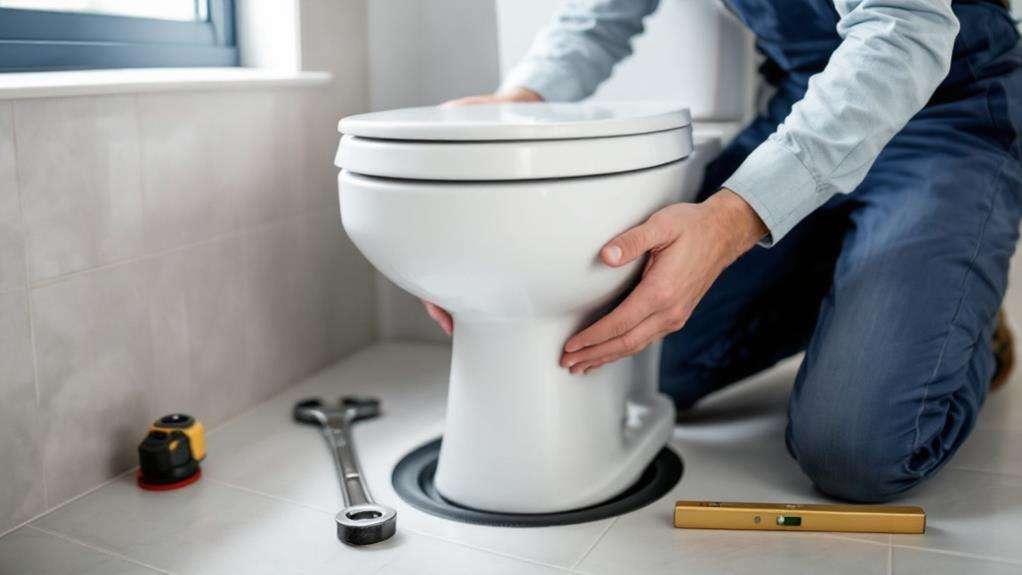
Install the Wax Ring
The wax ring is a crucial component for creating a watertight seal between your toilet and the floor flange. To install it, first ensure you've chosen the correct size and type of wax ring for your specific toilet model. Place the wax ring on the flange, making sure it's centered properly. Some wax rings come with a plastic sleeve that should face upward.
Next, carefully lift your new toilet bowl and align it with the flange bolts. Gently lower the toilet straight down onto the wax ring, making sure not to tilt or twist it. As you set the toilet down, you'll feel some resistance from the wax ring. This is normal and indicates that the seal is forming.
Once the toilet is in place, sit on it or apply gentle pressure to compress the wax ring further. This will help create a tight seal. Be careful not to rock the toilet or move it side to side, as this could break the seal. If you need to adjust the toilet's position, lift it completely off the flange and start over with a new wax ring.
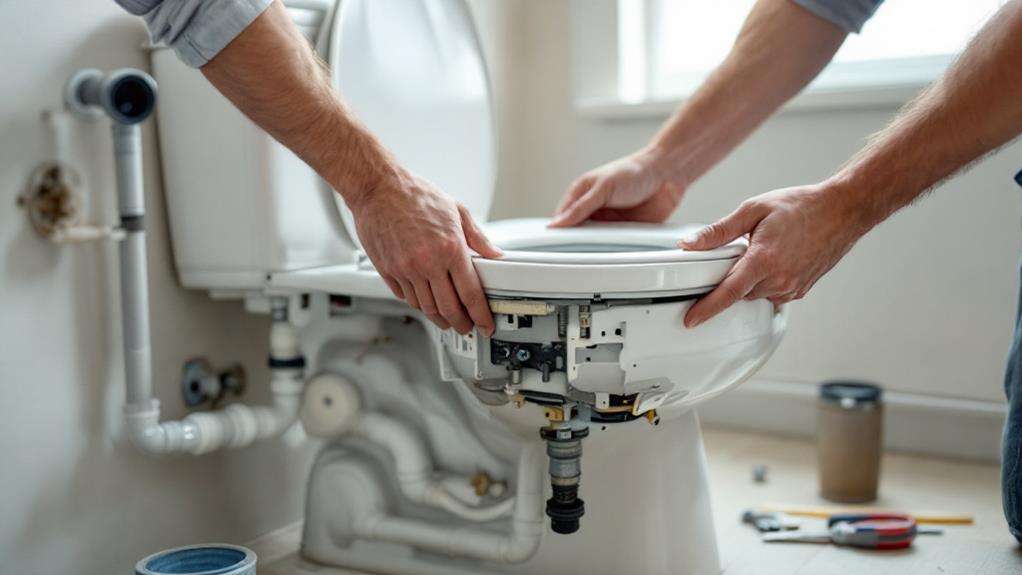
Set the New Toilet
Careful alignment is key when setting your new toilet. Begin by lifting the toilet bowl upside down and carefully flipping it over. With a partner's help, gently lower the bowl onto the wax seal and new closet bolts. Make sure the toilet's base aligns perfectly with the flange. Once in position, apply your body weight to compress the wax ring, creating a watertight seal.
Next, install the new toilet by securing it to the floor. Place washers on the closet bolts and hand-tighten the nuts. Use a wrench to tighten the bolts alternately, being careful not to overtighten. If there's any rocking, use toilet shims to level the base. Trim excess shim material once the toilet is stable.
To ensure you've set the new toilet correctly, follow these emotional cues:
- Feel the satisfaction of a perfectly aligned bowl
- Experience the relief of a stable, leak-free installation
- Enjoy the pride of completing a challenging DIY task
Once you're confident the toilet is in place, connect the water supply line and test for leaks. Caulk around the base, leaving the back uncaulked for leak detection. Congratulations, you've successfully installed your new toilet!
Secure and Connect
Securing and connecting your newly installed toilet is the final crucial step. To install a new toilet properly, you'll need to fasten it to the floor and connect the water supply. Most new toilets come with bolts, washers, and nuts for this purpose. Place the washers over the bolts protruding from the toilet's base, then thread the nuts onto them.
Use an adjustable wrench to tighten the nuts, alternating between sides to ensure even pressure. Be careful not to overtighten, as this can crack the porcelain. Once secure, you'll need to install the water supply line. Connect one end to the fill valve on the toilet and the other to the shut-off valve on the wall. Hand-tighten the connections, then give them an extra quarter-turn with pliers.
Before finishing your toilet installation, make sure to test for leaks by flushing several times and checking around the base and connections. If everything's dry, you can add the toilet bolt caps for a polished look. Finally, caulk around the base of the toilet, leaving a small gap at the rear to allow for potential leak detection in the future.
Test and Finish
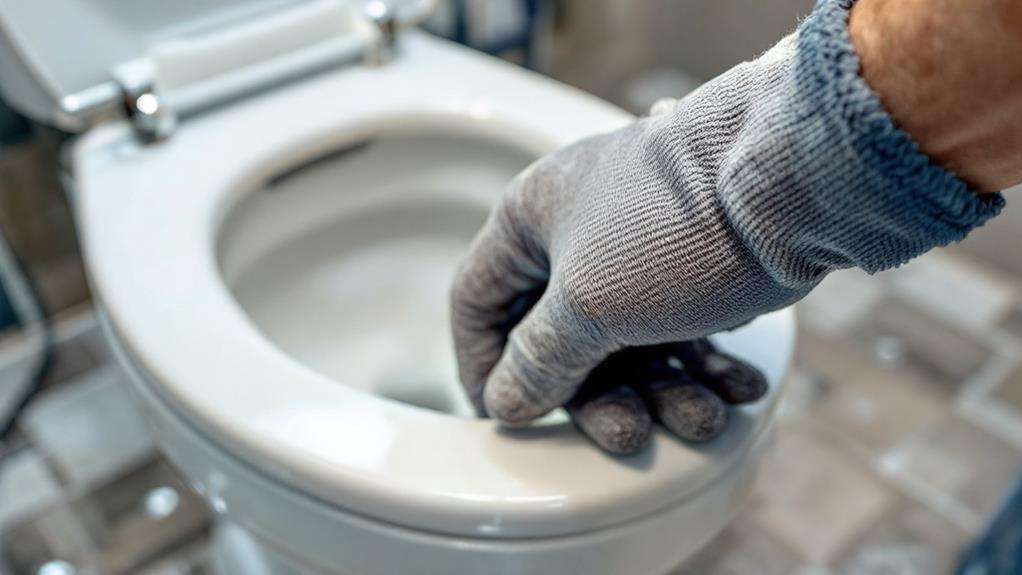
With your toilet secured and connected, it's time to put your installation to the test. Turn on the water supply and watch closely as the tank fills. Once it's full, flush the toilet a few times to ensure proper operation. As you do this, carefully inspect the connections and along the base for any signs of leakage. If you notice any leaks, immediately turn off the water and address the issue before proceeding.
Next, check that the toilet starts and stops filling correctly after each flush. If everything looks good, you can be confident that your toilet is installed properly and won't cause water damage. Finally, apply a bead of caulk along the base of the toilet where it meets the floor, leaving a small gap at the back uncaulked to allow for potential leak detection in the future.
To complete your installation, follow these final steps:
- Clean up any debris or tools from the work area
- Dispose of the old toilet and packaging materials responsibly
- Take a moment to admire your handiwork and enjoy your newly installed toilet