
How to Install a French Drain for Better Yard Drainage
To install a French drain, start by evaluating your yard's drainage requirements and collecting the necessary tools and materials. Plan the drain route, then dig a sloped trench about 18-24 inches deep and 12 inches wide. Line the trench with landscape fabric, install a perforated pipe with holes facing down, and surround it with gravel. Wrap the fabric over the gravel and backfill with soil. Finish by tamping down the soil and adding grass seed or sod. Regularly maintain your drain by keeping it clear of debris. With proper planning and execution, you'll convert your soggy yard into a well-drained oasis.
Assessing Your Drainage Needs
Before you start digging, it is critical to thoroughly evaluate your yard's drainage requirements. Begin by observing your property during and after heavy rainfall. Note areas where water pools or flows, as these indicate potential problem spots. Pay attention to how quickly water drains from different parts of your yard.
Conduct a soil type analysis to determine your soil's composition and drainage capabilities. Clay soils retain water and drain slowly, while sandy soils allow for quicker drainage. Understanding your soil type will help you plan your French drain's depth and design.
Next, map out the site water flow patterns. Identify the natural slope of your property and any existing drainage features. Look for low-lying areas where water accumulates and potential obstacles like tree roots or underground utilities. Use this information to plan the ideal route for your French drain.
Consider factors such as the volume of water you need to redirect and any local regulations that may affect your project. By thoroughly evaluating your drainage needs, you'll be better prepared to design and install an effective French drain system that addresses your yard's specific issues.
Gathering Required Tools and Materials
Now that you've assessed your drainage needs, it's time to gather the necessary tools and materials for your French drain installation. Choosing appropriate tools is paramount for a successful project. You'll need a shovel, pickaxe, wheelbarrow, level, tape measure, and ground cover fabric. For larger areas, consider renting a trencher to save time and effort.
When selecting suitable materials, opt for perforated pipes designed for drainage systems. These come in various sizes, typically 4 to 6 inches in diameter. You'll also need gravel or crushed stone to surround the pipe and promote water flow. Choose washed gravel between 3/4 to 1 1/2 inches in size.
Don't forget to purchase landscaping fabric to wrap around the gravel and prevent soil from clogging the system. You may also need connectors, elbows, and caps for your pipe network. If you're planning to install a catch basin, add that to your list as well. Finally, have enough topsoil or sod to cover the trench once you've completed the installation. With these tools and materials on hand, you'll be ready to start digging and installing your French drain.
Planning the Drain Route
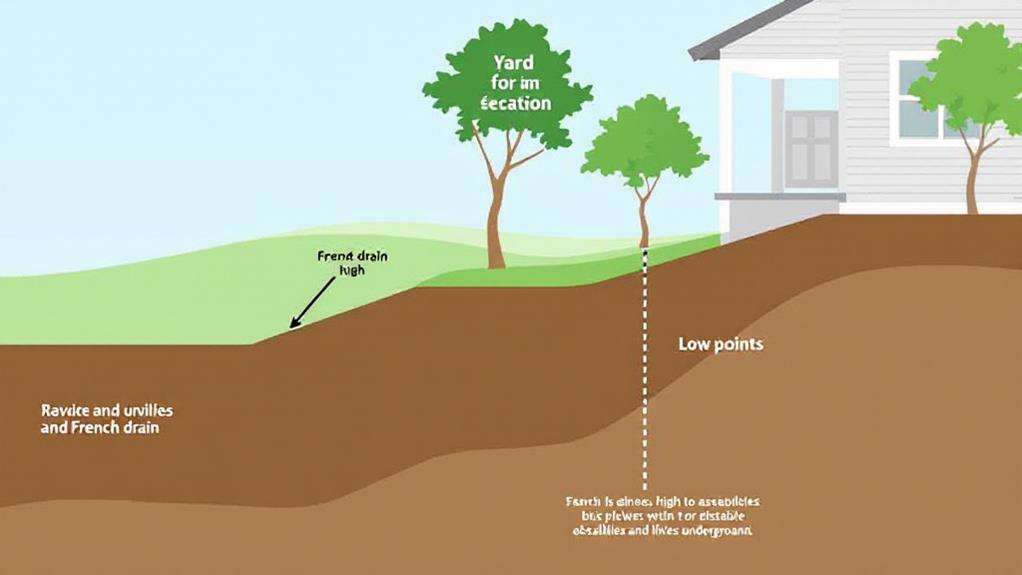
The blueprint for your French drain's success lies in carefully planning its route. Begin by identifying the areas in your yard that collect water and where you'd like the water to drain. Walk your property during or after heavy rain to pinpoint problem spots. Consider the natural slope of your land and use it to your advantage.
When selecting trench depth, aim for at least 8 inches deep, but deeper is better for improved drainage. Factor in obstacles like tree roots, underground utilities, and structures. Guarantee the trench has a consistent downward slope of about 1 inch per 8 feet to promote proper water flow.
Determining pipe size is essential for efficient drainage. For most residential applications, a 4-inch diameter pipe is sufficient. However, if you're dealing with larger areas or heavy water flow, you might need a 6-inch pipe. Consider the volume of water you'll need to manage and choose accordingly.
Map out your drain route using stakes and string. This visual guide will help you avoid potential issues and guarantee a straight path. Remember to plan for any turns or bends in the route, as these can affect water flow and drainage efficiency.
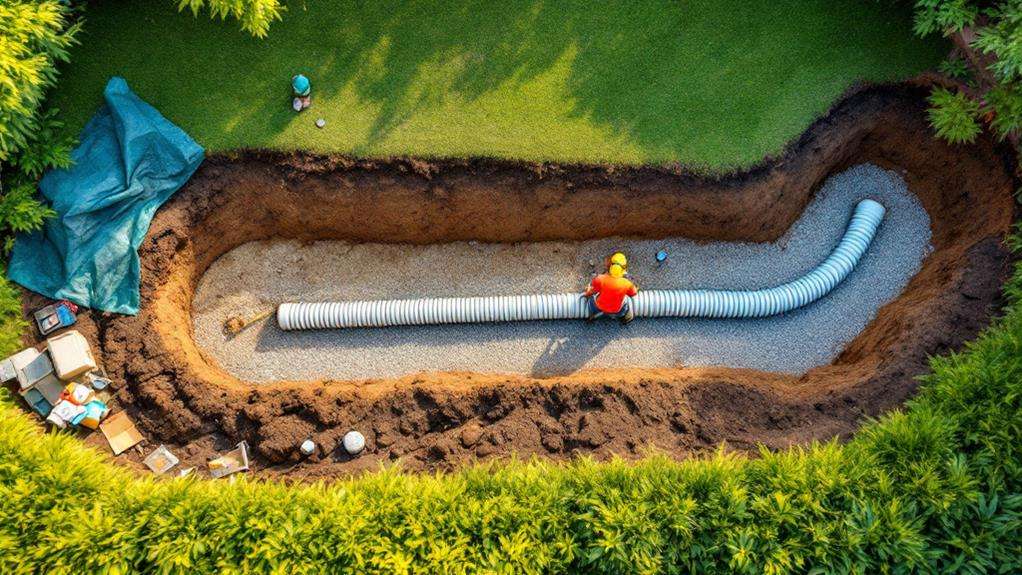
Digging the Trench
Excavation marks the beginning of your French drain's physical creation. Achieving proper trench depth is essential for effective drainage. Start by digging a trench that's 18 to 24 inches deep and about 12 inches wide. The trench should maintain a consistent slope of at least 1% (1 inch drop per 10 feet) to guarantee water flows away from your home.
For efficient soil removal, use a trenching shovel or rent a small excavator for larger projects. As you dig, pile the soil on one side of the trench for easy backfilling later. Remove any rocks, roots, or debris you encounter to create a smooth trench bottom. If you hit utility lines, stop digging immediately and contact your local utility company.
Once you've reached the desired depth, use a level to check the trench's slope. Make adjustments as needed to maintain the proper gradient. For added stability, consider slightly widening the bottom of the trench. This will help prevent cave-ins and provide a more secure base for your drain pipe. With the trench dug to the correct specifications, you're ready to move on to the next step in your French drain installation.
Laying the Landscape Fabric
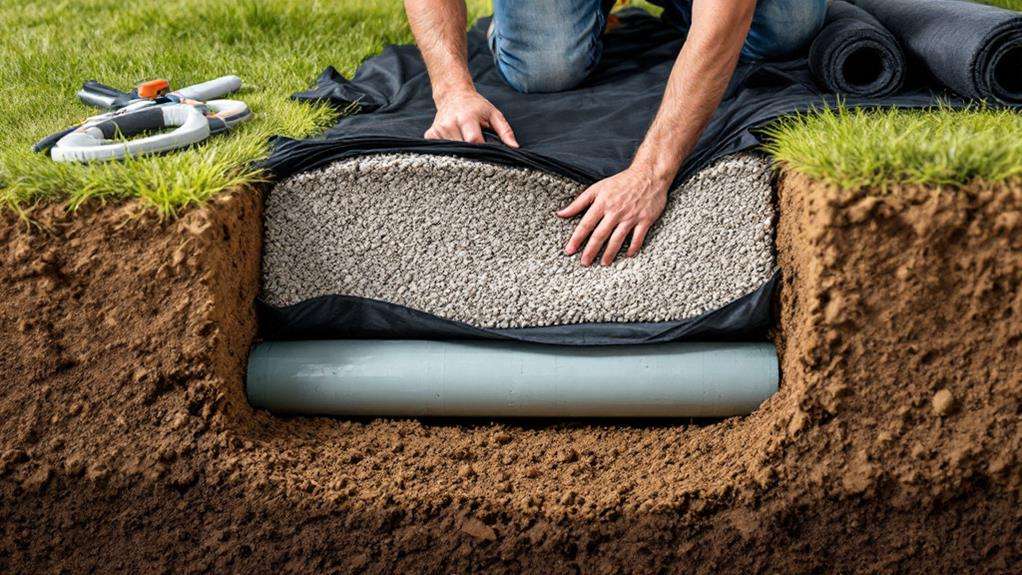
With your trench properly excavated, it's time to roll out the terrain fabric. This essential step prevents soil from infiltrating your drainage system while allowing water to pass through. Begin at one end of the trench and unroll the ground cover fabric, ensuring it covers the entire bottom and sides. Use layering techniques to create a secure barrier, extending the fabric about 10 inches beyond the trench edges.
As you work your way down the trench, pay attention to fabric overlapping. Each new section should overlap the previous one by at least 12 inches to prevent gaps. Secure the fabric in place using landscape staples or by balancing it with small rocks. Make sure the fabric is taut and free of wrinkles to maximize its effectiveness.
For corners or curves, cut the fabric as needed to fit snugly against the trench walls. Don't skimp on material; it's better to have excess fabric than not enough. Once you've covered the entire trench, trim any excess fabric along the edges, leaving enough to fold over the top of your drain pipe and gravel later in the installation process.
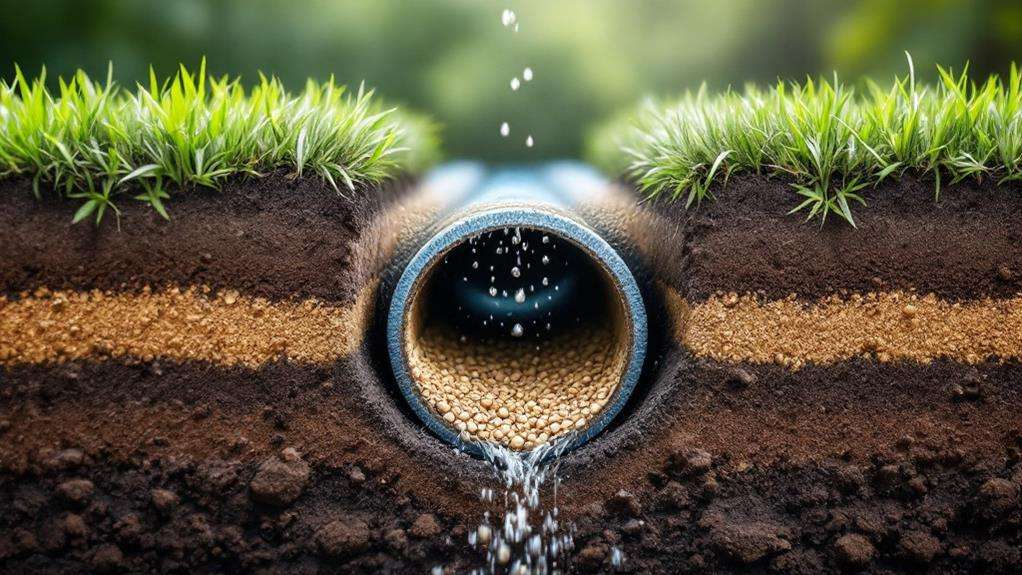
Installing the Perforated Pipe
Next up in your French drain installation is laying the perforated pipe. Begin at the highest point of your trench, ensuring proper pipe placement for ideal drainage. Unroll the pipe along the trench, keeping the perforations facing downward to prevent clogging. As you lay the pipe, maintain a consistent pipe slope of about 1 inch per 10 feet to facilitate water flow.
Use pipe connectors to join sections if needed, ensuring a snug fit to prevent leaks. Secure any joints with waterproof tape for added protection. At corners or turns, use elbow fittings to maintain a smooth flow. If your drain system includes multiple branches, use T-connectors to join them to the main line.
Once you've positioned the pipe, double-check its slope using a level. Make adjustments as necessary to maintain the proper gradient. At the outlet end, install a drain opening or connect to an existing drainage system. Consider adding a catch basin at the highest point to collect surface water more effectively. With the pipe securely in place, you're ready to backfill the trench with gravel, completing your French drain installation.
Adding Gravel and Backfilling
Once you've properly positioned the perforated pipe, it's time to add gravel and backfill the trench. Start by pouring a layer of gravel around and over the pipe, guaranteeing even distribution. Use clean, washed gravel between 3/4 to 1 1/2 inches in size. Fill the trench with gravel until it's about 3 inches below the surface.
Next, cover the gravel with landscaping fabric to prevent soil from mixing with the drainage material. This step is pivotal for maintaining the drain's effectiveness over time. Now, begin backfilling the trench with the soil you removed earlier. Add the soil in layers, about 4 to 6 inches at a time, and compact each layer thoroughly. Proper compaction is vital to prevent settling and confirm the stability of your yard's surface.
As you approach the top of the trench, slightly mound the soil to allow for natural settling. Water the area to help settle the soil and identify any low spots that may need additional filling. Finally, add grass seed or sod to blend the drain area with the rest of your lawn, maintaining a cohesive look while improving drainage.
Finishing the Surface
After backfilling the trench, you'll need to focus on finishing the surface to guarantee a seamless integration with your yard. Start by leveling the soil over the trench, making certain it's even with the surrounding ground. Tamp it down gently to prevent future settling. If you've used sod in your yard, replace it over the filled trench, ensuring to water it thoroughly to encourage root growth.
For areas without grass, consider decorative surface treatments that'll blend with your existing landscaping. You can spread a layer of mulch, install river rocks, or plant groundcover to hide the drain's path. If your French drain runs through a garden bed, replant flowers or shrubs along the trench line.
In hardscaped areas, you might need to replace pavers or repair concrete. Confirm any surface material you use allows water to percolate through to the drain below. Avoid compacting the soil too much, as this can hinder drainage. Finally, observe the area during the next rainfall to confirm proper water flow and address any pooling issues promptly. With these steps, your French drain will effectively manage water while maintaining your yard's aesthetic appeal.
Maintenance and Troubleshooting
In light of your newly installed French drain, regular maintenance and occasional troubleshooting are essential for its long-term effectiveness. Perform periodic inspections, especially after heavy rainfall or storms, to guarantee your drain is functioning properly. Check for signs of water pooling or slow drainage, which may indicate a problem.
Keep the drain's surface clear of debris, leaves, and soil buildup. Regularly remove any vegetation growing near the drain to prevent roots from interfering with its operation. If you notice reduced drainage efficiency, you may need to flush the system with water to clear any minor blockages.
Addressing clogs immediately is vital for maintaining your French drain's performance. If water backs up or drains slowly, you might have a more significant blockage. In this case, you'll need to locate the clog and remove it manually or with specialized equipment. For persistent issues, consider hiring a professional to inspect and clean the system thoroughly.
In winter, take precautions to prevent freezing, which can damage the drain. If you live in a cold climate, insulate exposed parts of the system and keep snow cleared from the drain's surface.