
How to Fix a Leaky Faucet: A Step-by-Step DIY Guide
To fix a leaky faucet, start by gathering the necessary tools and identifying your faucet type. Turn off the water supply and remove the faucet handle. Carefully disassemble the internal components, keeping track of their order. Diagnose the problem by inspecting washers, O-rings, and seals for wear or damage. Replace any faulty parts, ensuring you use the correct size and type. Reassemble the faucet, making sure all components are properly aligned and tightened. Finally, turn the water back on and test for leaks. With these steps, you'll be well on your way to a drip-free faucet, but there's more to learn about this DIY repair.
Gather Necessary Tools
Before you begin fixing your leaky faucet, it's crucial to gather all the necessary tools. Start by check for proper tools in your toolbox or workshop. You'll need an adjustable wrench, pliers, screwdrivers (both flathead and Phillips), and a basin wrench. Don't forget to include a utility knife, plumber's tape, and replacement parts specific to your faucet type.
Ensure adequate supplies by having extra O-rings, washers, and valve seats on hand. These small components often need replacement and come in various sizes. It's also wise to have a small bucket, towels, and cleaning supplies nearby to manage any water spills or messes.
Before you start, lay out all your tools and supplies on a clean, dry surface near the faucet. This organization will save you time and frustration during the repair process. If you're unsure about any specific tools or parts needed for your faucet model, consult your faucet's manual or look up the information online. Being well-prepared will make the repair process smoother and more efficient.
Identify the Faucet Type
Accurately identifying your faucet type is indispensable before you begin any repairs. Different faucets have unique mechanisms and require specific repair techniques. Start by determining whether you have a cartridge, ball-type, ceramic disk, or compression faucet. Each type has distinct internal components and leak causes.
Examine the handle configuration: single or double handles can indicate the faucet type. Cartridge faucets often have a single handle, while compression faucets typically feature separate hot and cold handles. Ball-type faucets have a single handle that moves in a ball-like motion. Ceramic disk faucets usually have a single lever that moves side to side.
Consider the faucet material composition, as it can influence the repair process. Common materials include brass, stainless steel, and plastic. The faucet mounting style is also vital; look for deck-mounted or wall-mounted designs. Deck-mounted faucets attach directly to the sink or countertop, while wall-mounted ones connect to the wall behind the sink.
Turn Off Water Supply
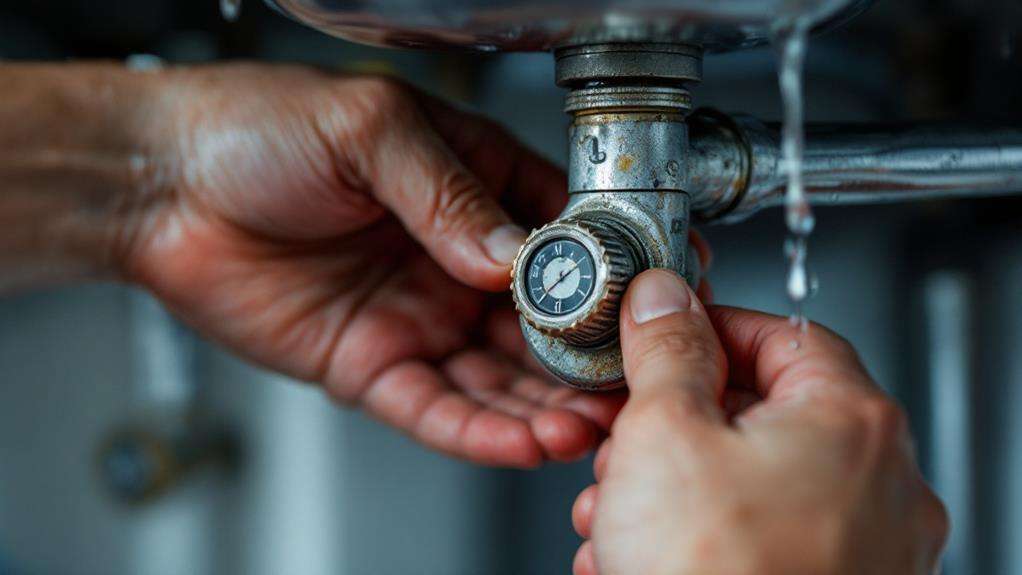
Safety first: turning off the water supply is a crucial step before attempting any faucet repair. You'll need to locate the main water shutoff valve for your home, which is typically found in the basement, crawl space, or near the water meter. Once you've identified it, turn it clockwise to shut off the water supply to the entire house.
If you're only working on a single faucet, you may not need to turn off the main water supply. Instead, look for individual shutoff valves beneath the sink or behind the fixture. These valves are usually located on the water supply lines leading to the faucet. Turn them clockwise to shut off the water supply at the fixture.
After turning off the water, open the faucet to release any remaining pressure and drain the lines. This will prevent water from spilling out when you disassemble the faucet. Double-check that the water is completely off by running the faucet for a few seconds. If no water comes out, you're ready to proceed with the repair. Remember to inform other household members that the water supply is off to avoid any confusion or inconvenience during the repair process.
Remove Faucet Handle
The faucet handle removal process is your next indispensable step in fixing a leaky faucet. Start by carefully inspecting the handle to determine its attachment method. You'll typically find a decorative cap or screw cover that you'll need to pry off gently using a flathead screwdriver.
Once you've exposed the screw, use the appropriate screwdriver to remove it. For handles without visible screws, look for a set screw on the side or underneath. After removing the screw, you should be able to pull the handle off easily. If it's stuck, don't force it; instead, use a handle puller tool to avoid damaging the faucet.
As you remove the handle, take note of its position and any washers or spacers that may come off with it. These details will be indispensable when reassembling the faucet later. With the handle removed, you can now inspect the faucet stem for signs of wear or damage. Look for mineral buildup, corrosion, or worn-out O-rings. This examination will help you identify the source of the leak and determine which parts need replacement. Remember to keep all components organized as you proceed to the next steps in your faucet repair process.
Disassemble Internal Components
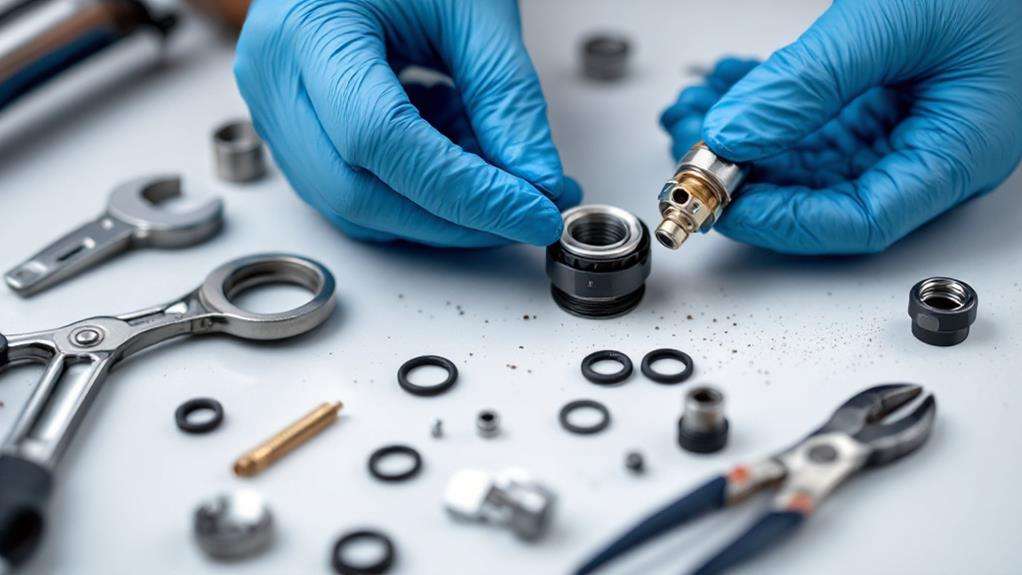
With the faucet handle removed, you're ready to tackle the internal components. First, use pliers to unscrew the packing nut, which is the large nut directly beneath where the handle was. Once loosened, you can remove it by hand. Next, pull out the stem assembly, which includes the valve stem and any attached washers or O-rings.
Now, it's time to carefully examine each component:
- Inspect the rubber washer at the bottom of the stem. If it's worn, cracked, or hardened, it needs replacement.
- Check the O-rings for signs of wear or damage. These are often the culprits in leaky faucets.
- Examine gasket condition, looking for any tears or deterioration.
After inspecting these parts, turn your attention to the faucet body itself. Inspect the valve seat for damage, such as pitting or roughness. If it's damaged, you may need to replace it or have it resurfaced.
As you disassemble, keep track of the order and orientation of each part. Taking photos or making a simple diagram can be helpful. If any components are severely corroded or damaged, it's best to replace them entirely rather than trying to clean or repair them.
Diagnose the Problem
Based on your inspection of the disassembled components, you'll need to pinpoint the exact cause of the leak. Look for signs of wear, damage, or mineral buildup on each part. Pay close attention to the washers, O-rings, and seals, as these are common culprits for faucet leaks.
Check the condition of the rubber washers and seals. If they're cracked, worn, or deformed, they'll necessitate replacement. Inspect the valve seat for corrosion or roughness, which can hinder a proper seal. Examine the O-rings for any signs of deterioration or flattening.
Next, check the water pressure. High pressure can cause leaks by putting excess strain on the faucet components. Use a pressure gauge to guarantee it's within the recommended range for your plumbing system.
Look for mineral deposits on metal parts, especially in areas with hard water. These can interfere with proper sealing and cause leaks. If you find buildup, you'll need to clean or replace the affected parts.
Replace Faulty Parts
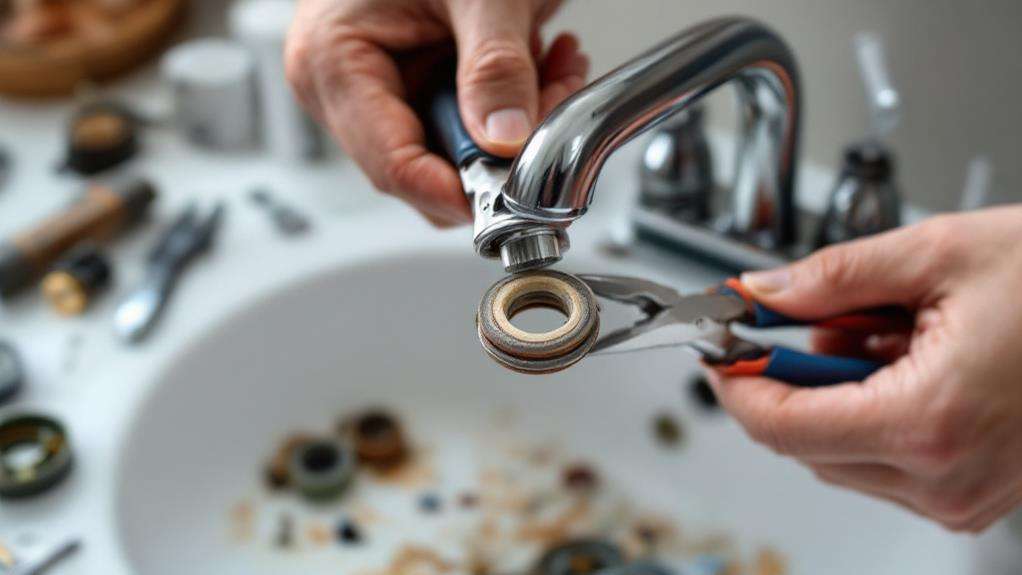
Once you've identified the faulty components, it's time to replace them. Begin by turning off the water supply and removing the faucet handle. Carefully disassemble the faucet, keeping track of each part's position. Inspect washers for signs of wear or damage, as these are common culprits in leaky faucets. If the washers are worn, replace them with new ones of the same size and type.
For cartridge faucets, you may need to replace the entire cartridge. Remove the old cartridge and take it to a hardware store to find an exact match. Install the new cartridge, ensuring it's properly aligned and seated.
When replacing parts, follow these key steps:
- Clean all components thoroughly before reassembly
- Apply plumber's grease to O-rings and moving parts
- Tighten all connections securely, but avoid over-tightening
Once you've replaced the faulty parts, reassemble the faucet in reverse order. Turn the water supply back on and test the faucet for leaks. If the problem persists, double-check your work or consider calling a professional plumber for assistance.
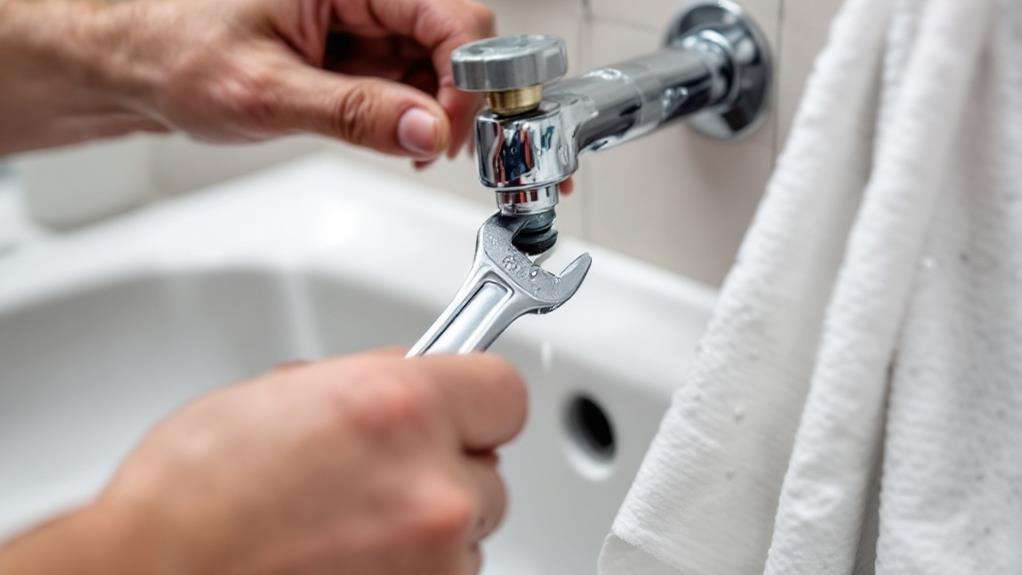
Reassemble the Faucet
After you've replaced the faulty parts, it's time to reassemble the faucet. Begin by carefully placing each component back in its original position, following the reverse order of disassembly. As you work, replace washers and inspect o-rings for any signs of wear or damage. If you notice any issues, replace these parts to guarantee a proper seal.
Next, reattach the valve stem or cartridge, making sure it's properly aligned and seated. Tighten any retaining nuts or screws, but be careful not to overtighten, as this can damage the components. Replace the packing nut and handle, ensuring they're securely fastened.
If your faucet has a decorative cap or button, snap it back into place. Turn on the water supply slowly and check for any leaks around the base, handle, and spout. If you notice any drips, tighten connections slightly or double-check that all parts are correctly installed.
Test for Leaks
Now that you've reassembled the faucet, it's crucial to test for any remaining leaks. Turn on the water supply and carefully observe the faucet's performance. Check for water stains or droplets forming around the base, handles, or spout. Inspect water flow to guarantee it's smooth and consistent without any unusual sputtering or dripping.
To thoroughly test for leaks, follow these steps:
- Open the faucet halfway and let it run for a few minutes. Look closely at all connections and joints for signs of water seepage.
- Turn the faucet on full blast, then quickly shut it off. Listen for any residual dripping or observe if water continues to trickle out.
- If you have a double-handle faucet, test both hot and cold water separately to isolate potential issues.
If you notice any leaks during testing, don't panic. It's possible you may need to tighten connections or replace a worn washer. In some cases, you might have to disassemble the faucet again to address the problem. Remember, persistence is key when fixing a leaky faucet, and it may take a few attempts to get it right.