
How to Fix a Leaking Toilet: Step-by-Step Guide
To fix a leaking toilet, start by identifying the source of the leak. Check the tank, flapper, fill valve, and base for signs of water escape. Gather necessary tools like cleaning cloths, a putty knife, wrench, and toilet repair kit. Tighten the toilet bolts at the base if they're loose. If the leak persists, you may need to remove the toilet and replace the wax ring. Shut off the water supply, disconnect the line, and lift the toilet. Install a new wax ring, carefully lower the toilet back onto the flange, and secure it. Test for proper function after reinstallation. This guide will equip you with the know-how to tackle more complex toilet repairs.
Key Takeaways
- Identify the leak source by inspecting the tank, flapper, fill valve, and base of the toilet.
- Gather necessary tools and materials, including cleaning cloths, a putty knife, wrench, and toilet repair kit.
- Check and tighten toilet bolts at the base, alternating sides for even pressure.
- Replace the wax ring by removing the toilet, scraping off the old ring, and installing a new one.
- Test the toilet after reinstallation by flushing and observing water levels, making final adjustments as needed.
Identifying the Leak Source
Before tackling any repairs, you'll need to pinpoint the source of your toilet leak. Start by inspecting the toilet tank for any visible water escaping around the edges or through the bottom. Check the flapper and fill valve for signs of wear or malfunction, as these are common culprits for tank leaks. If the tank seems secure, examine the base of the toilet. Look for water pooling around the bottom, which could indicate a worn wax ring or loose mounting bolts.
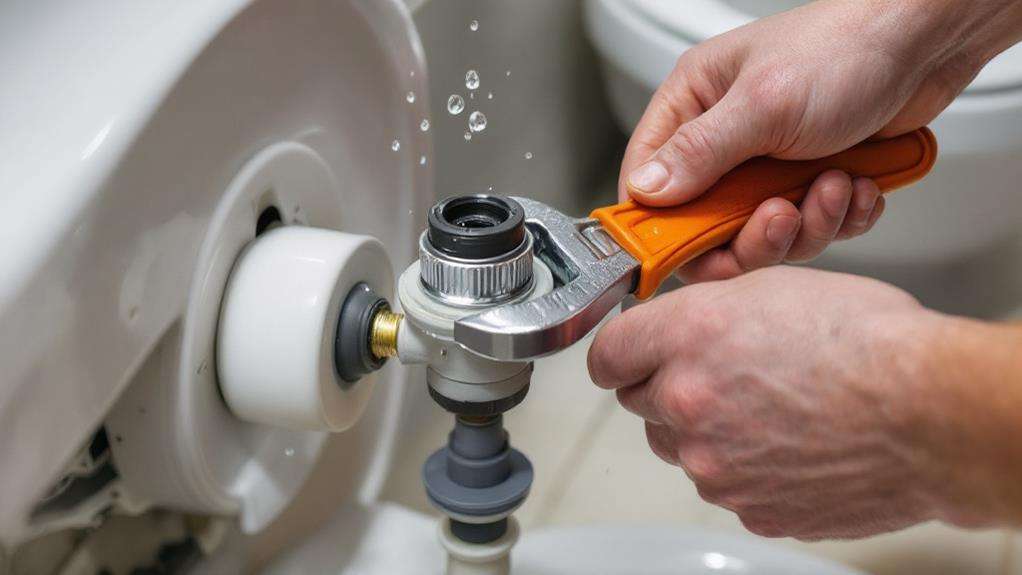
Don't forget to consider condensation as a possible cause of water around the base, especially in humid environments. Next, inspect the supply line connecting the toilet to the shut-off valve. Look for any drips or moisture along the line and at connection points. If you're still unsure, try this simple test: add a few drops of food coloring to the tank water. If colored water appears in the bowl without flushing, you've likely got a faulty flapper. By systematically checking these areas, you'll be able to identify the source of your toilet leak and proceed with the appropriate repairs.
Gathering Necessary Tools and Materials
With the source of your toilet leak identified, it's time to gather the tools and materials you'll need for the repair. Start by collecting a variety of cleaning cloths, including terry cloth and microfiber, to ensure a thorough clean-up of the area. You'll also need a putty knife, which will come in handy when installing new toilet parts like a wax ring.
Next, gather essential tools such as a wrench, hacksaw, and screwdriver. These will be crucial for disconnecting and reconnecting the toilet during the repair process. Don't forget to obtain a toilet repair kit, which typically includes assorted washers, gaskets, and bolts, along with a new wax ring.
If you're planning to replace the wax ring, it's advisable to enlist the help of another person. This task can be challenging to manage alone due to the toilet's weight and size. Having an extra pair of hands will make maneuvering the toilet much easier and safer.
Checking and Tightening Toilet Bolts
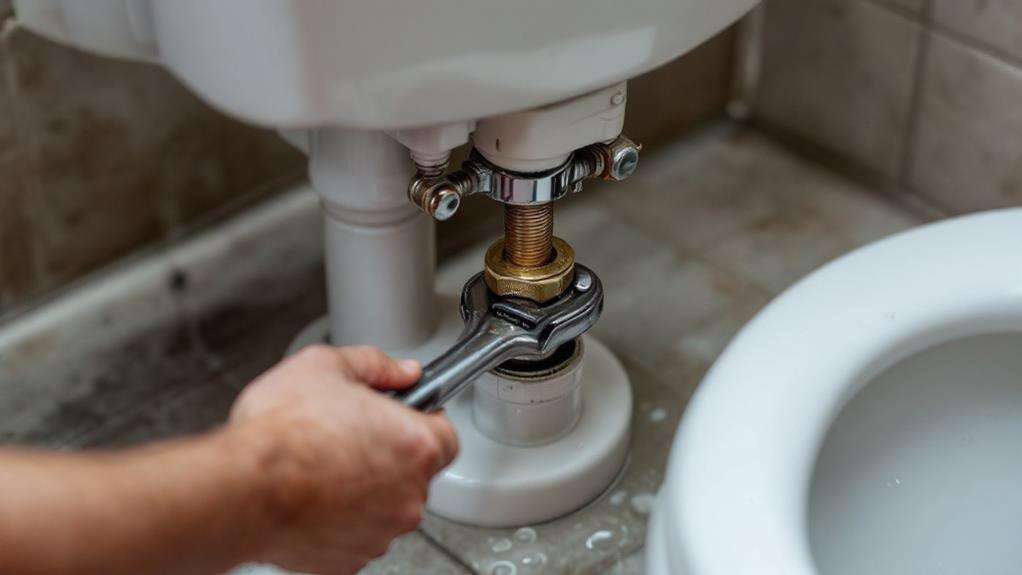
Loose bolts are often the culprits behind a leaking toilet. To address this issue, start by inspecting the base of the toilet for signs of water leaking. If you notice any moisture or puddles on the floor around the toilet, it's time to check the connection bolts.
You'll find two toilet bolts on either side of the base, usually covered by plastic caps. Remove these caps and examine the bolts. If they're loose, you'll need to tighten them. Use a wrench to carefully turn the bolts clockwise, but be cautious not to overtighten, as this can crack the porcelain. Tighten the bolts gradually, alternating sides to ensure even pressure.
As you tighten, watch for any movement in the toilet. If it rocks or shifts, you may need to add shims to level it before fully tightening the bolts. Once secure, check around the base for any remaining leaks. If water is still seeping out, the problem may lie with the wax ring seal between the toilet and the closet flange. In this case, you'll need to remove the toilet to replace the seal.
Removing the Toilet
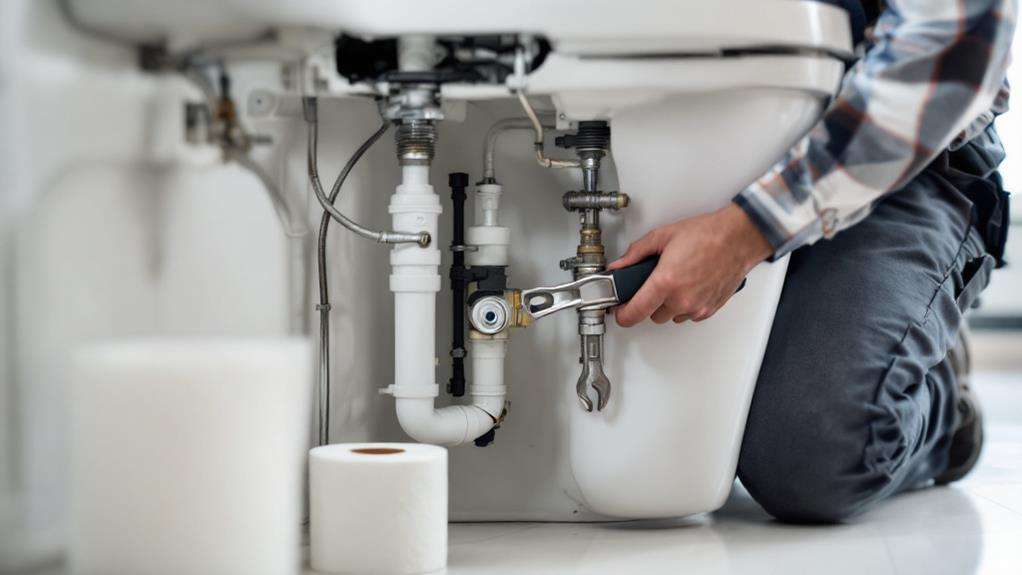
If tightening the bolts doesn't solve your leaking toilet problem, you'll need to remove the toilet to replace the wax ring seal. Before you start, shut off the water supply and flush the toilet to drain the water from the tank and bowl. Disconnect the water supply line from the toilet's base.
Next, you'll need to:
- Remove the decorative caps covering the bolts that hold the toilet to the floor
- Unscrew the nuts from these old bolts
- Rock the toilet gently to break the wax seal
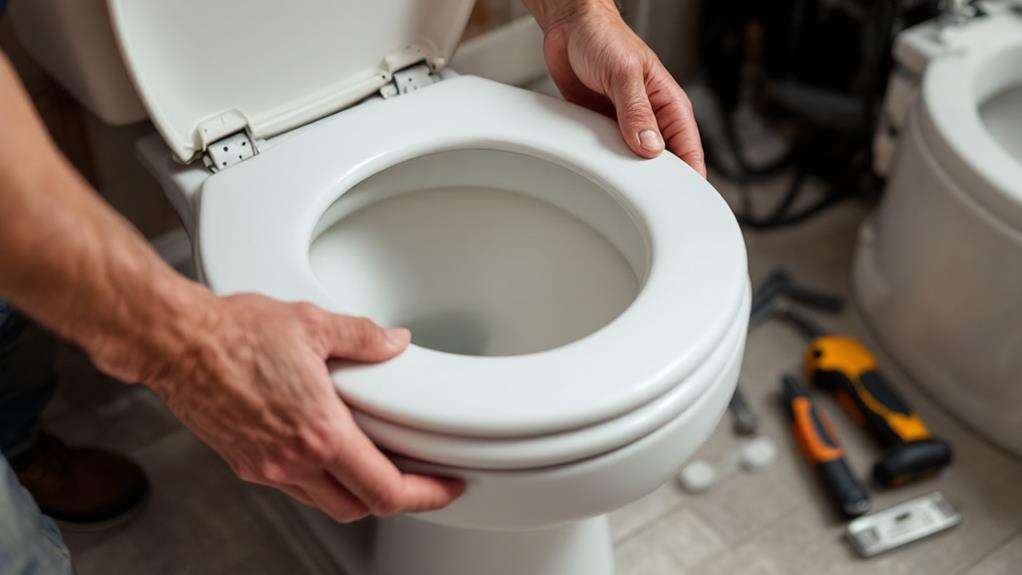
Once you've completed these steps, you can lift the toilet straight up and away from the flange. Be careful, as toilets are heavy and awkward to move. It's best to have a helper for this task. Place the toilet on its side on a soft surface to avoid damaging it.
With the toilet removed, you can now inspect the flange and wax ring. If you see any damage or signs of a toilet leaking at the base of your toilet, you'll need to replace these components before reinstalling the toilet. Don't forget to turn the water back on only after you've completed all necessary repairs and reinstallation.
Replacing the Wax Ring
Now that you've removed the toilet, it's time to replace the wax ring. This crucial step will help fix your leaking toilet and prevent future water leaks. Start by scraping off the old wax ring from both the toilet's base and the flange on the bathroom floor. Use a putty knife to ensure you've removed all traces of the old ring.
Next, inspect the flange for any damage. If it's cracked or broken, you'll need to repair or replace it before proceeding. Once the flange is in good condition, place the new wax ring on top of it. Make sure it's centered and seated properly.
Carefully lift the toilet and align it with the bolts on the flange. Slowly lower the toilet onto the new wax ring, ensuring it's straight and level. Apply your body weight to compress the wax ring and create a watertight seal. Secure the toilet by tightening the nuts on the bolts, alternating sides to maintain even pressure.
Reinstalling the Toilet
With the new wax ring in place, you're ready to reinstall the toilet. Carefully lower the toilet onto the flange, ensuring the bolts align with the holes in the base. As you set it down, apply even pressure to create a watertight seal between the toilet's bottom and the new wax ring. This seal is crucial to prevent water damage and sewer gas leaks.
Once the toilet is in position, secure it by:
- Tightening the nuts on the bolts, alternating sides for even pressure
- Checking the toilet's level and adjusting if necessary
- Applying caulk around the base for added protection
Next, reconnect the water supply line to the toilet tank. Turn the water back on and watch for any leaks. If you notice water seeping, you may need to tighten connections or replace the wax ring again.
Testing and Final Adjustments
After reinstalling the toilet, it's crucial to test its functionality and make any necessary adjustments. Begin by turning on the water valve and allowing the tank to refill. Once full, flush the toilet and observe the water level as it drops and refills. Ensure the flush is strong and complete, and that the tank refills properly.
If you notice any issues, such as a running toilet or one that runs intermittently, you'll need to make some adjustments. Start by checking the water level in the tank. It should be about an inch below the top of the overflow tube. If it's too high or low, try adjusting the float. For toilets with a float cup, simply bend the arm connecting it to the fill valve. For those with a float ball, adjust the screw at the top of the fill valve.
Next, check that the water line in the bowl is at the correct height. If it's too low, you may need to adjust the fill valve to allow more water into the bowl during each flush. Remember, a properly functioning toilet shouldn't run continuously or make strange noises.