
How to Avoid Common Mistakes When Installing a Sump Pump
To avoid common mistakes when installing a sump pump, start by choosing the right location at the lowest point in your basement. Install a backup system for added protection and waterproof your foundation before installation. Maintain the sump pit regularly and guarantee proper discharge pipe connection. Position the float switch correctly and install a check valve to prevent backflow. Test the system thoroughly and troubleshoot any issues. While DIY installation is possible, it's often best to seek professional assistance for complex tasks. By following these steps, you'll set yourself up for a reliable and effective sump pump system that keeps your basement dry.
Choosing the Right Location
When it comes to choosing the right location for your sump pump, you'll need to examine both practical and legal factors. Start by identifying the lowest point in your basement, as this is where water naturally collects during basement flooding. This area is typically the ideal spot for your sump pump pit.
Guarantee the location you choose is easily accessible for maintenance and repairs. Don't place the pump in a corner or behind large appliances that might obstruct access. Ponder the proximity to electrical outlets, as your pump will need a power source. If possible, install the pump near an exterior wall to minimize the distance water needs to travel when being pumped out.
Be aware of local building codes and regulations, as some areas have specific requirements for sump pump installations. You'll also want to consider the noise factor, especially if you're placing the pump near living spaces. If possible, choose a location that's away from bedrooms or frequently used areas. Ultimately, ensure the discharge pipe has a clear path to the exterior of your home, avoiding any obstacles that could impede water flow or cause freezing issues in colder climates.
Installing a Backup System
Often overlooked, installing a backup system is indispensable for ensuring continuous protection against basement flooding. When your primary sump pump fails or a power outage occurs, a battery-operated backup sump pump becomes your last line of defense. Don't make the mistake of relying solely on your main pump; invest in a reliable backup system to maintain water removal capabilities during critical moments.
To avoid common pitfalls, properly size and install your backup sump pump alongside the primary system. This guarantees comprehensive flood prevention and seamless operation when needed. Regular testing and maintenance of your battery backup are pivotal to guarantee its functionality during emergencies. Don't forget to integrate an alarm system that alerts you when the primary pump malfunctions, triggering the activation of your backup.
When selecting a backup system, consider a battery-operated option that can withstand extended power outages. Remember, the goal is to keep your basement dry even in the most challenging circumstances. By installing a sturdy backup sump pump, you'll have peace of mind knowing your home is protected against unexpected flooding events, regardless of power availability or primary pump performance.
Waterproofing the Foundation
Waterproofing your foundation is a vital step that's often overlooked when installing a sump pump. To guarantee your pump operates effectively, you'll need to implement proper basement waterproofing techniques before installation. Without this indispensable step, you're setting yourself up for disappointment and potential flooding issues.
A thorough waterproofing system creates a barrier that directs water away from your home's foundation and towards the sump pump's discharge line. This prevents water intrusion and allows the pump to efficiently remove excess moisture. If you skip waterproofing the foundation, you'll likely find your sump pump running constantly, yet still struggling to keep your basement dry.
To avoid these issues, apply sealants or install drainage systems as part of your waterproofing strategy. These methods will help protect your foundation and maximize your sump pump's effectiveness. Remember, even a properly functioning pump can't overcome a poorly waterproofed foundation. By addressing waterproofing before installing your sump pump, you're ensuring that the pump can perform its job effectively, keeping your basement dry and protecting your home from water damage.
Regular Sump Pit Maintenance
Regular maintenance of your sump pit is critical for guaranteeing the longevity and efficiency of your sump pump system. At least once a year, you should clean your sump pit to remove any debris that could potentially clog the pump or interfere with the float switch. This simple task can prevent costly repairs and system failures.
Don't forget to check the pump intake screen regularly. Remove any accumulated debris to make certain proper water flow into the pump. This step is indispensable for preserving ideal performance and preventing unnecessary strain on your sump pump.
To keep your system running smoothly, follow these key maintenance steps:
- Inspect the sump pit for cracks or damage
- Test the pump by pouring water into the pit
- Consider upgrading to a submersible pump
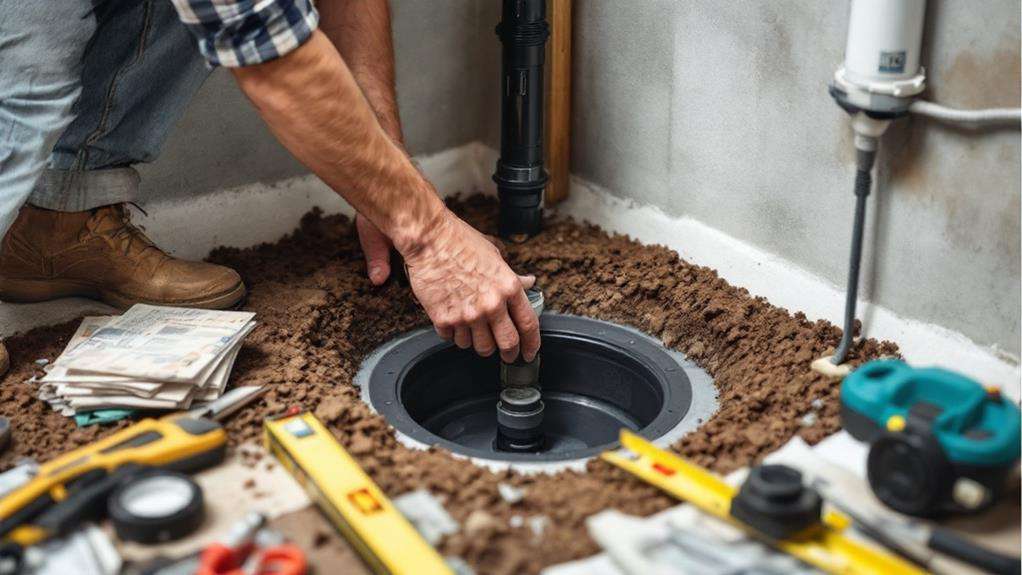
Proper Discharge Pipe Connection
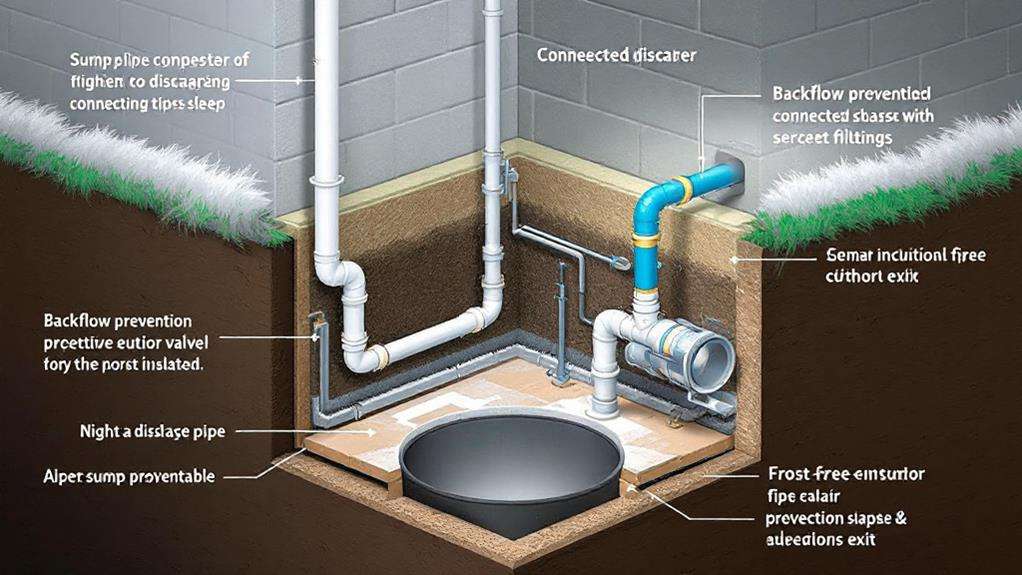
Connecting your sump pump's discharge pipe properly is essential for safeguarding your home from water damage. Your sump pump system relies on the discharge pipe to efficiently remove water from your basement, so it's vital to get this part right. First, make certain you're connecting the pipe to an approved drainage system, such as a storm sewer or dry well. Never connect it to a sanitary sewer, as this can lead to dangerous sewage backups.
When installing the discharge pipe, pay attention to its slope. A proper incline will promote smooth water flow and prevent pooling or backflow issues. In colder climates, don't forget to insulate the pipe to avoid freezing, which could render your sump pump ineffective when you need it most.
Regular maintenance is key to keeping your discharge pipe in top condition. Schedule periodic inspections to check for breaks, clogs, or other problems that could compromise your sump pump's performance. By taking these steps, you'll guarantee your discharge pipe functions correctly, effectively directing water away from your home's foundation and protecting your property from potential water damage.
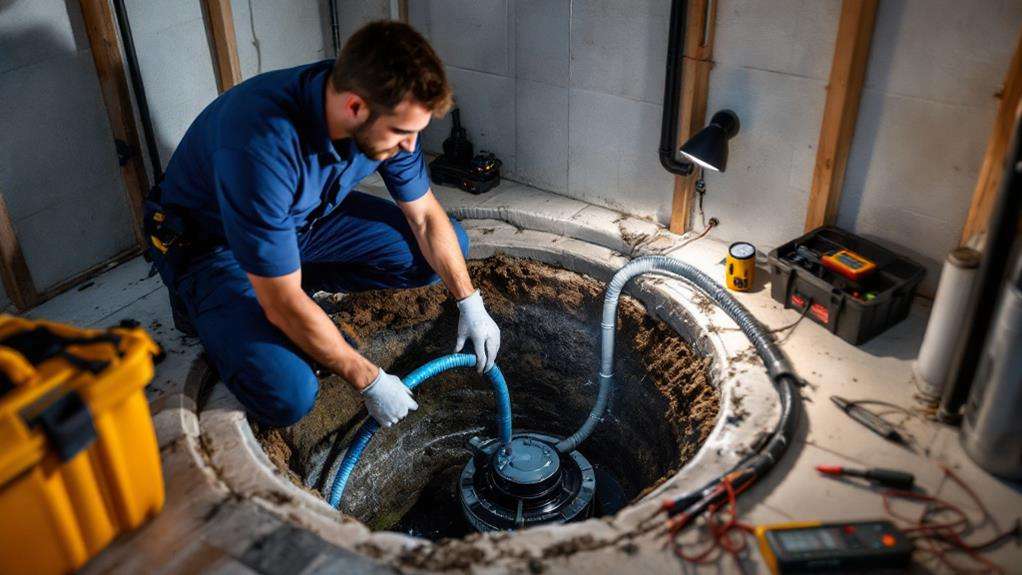
Preventing Debris Accumulation
Your sump pump's efficiency hinges on keeping debris at bay. To ensure your sump basin remains free from debris that could potentially damage or clog your pump, start by clearing the pit of loose silt, small gravel, and other unwanted materials. Use rocks or gravel at least the size of a dime to create a protective layer at the bottom of the sump pit, preventing smaller particles from entering the pump.
Regular maintenance is indispensable for ideal sump pump performance. Implement these key steps:
- Inspect your sump pump and pit regularly, removing any accumulated debris.
- Clean the pump's intake screen to prevent system clogging.
- Schedule routine cleanings of the entire sump basin to avoid potential pump failure.
Neglecting these maintenance tasks can lead to serious consequences, including pump malfunction and basement flooding. By taking proactive measures to prevent debris accumulation, you'll markedly extend the life of your sump pump and protect your home from water damage. Remember, a clean sump pit is essential for your pump to function effectively, so make debris prevention a priority in your home maintenance routine.
Float Switch Positioning
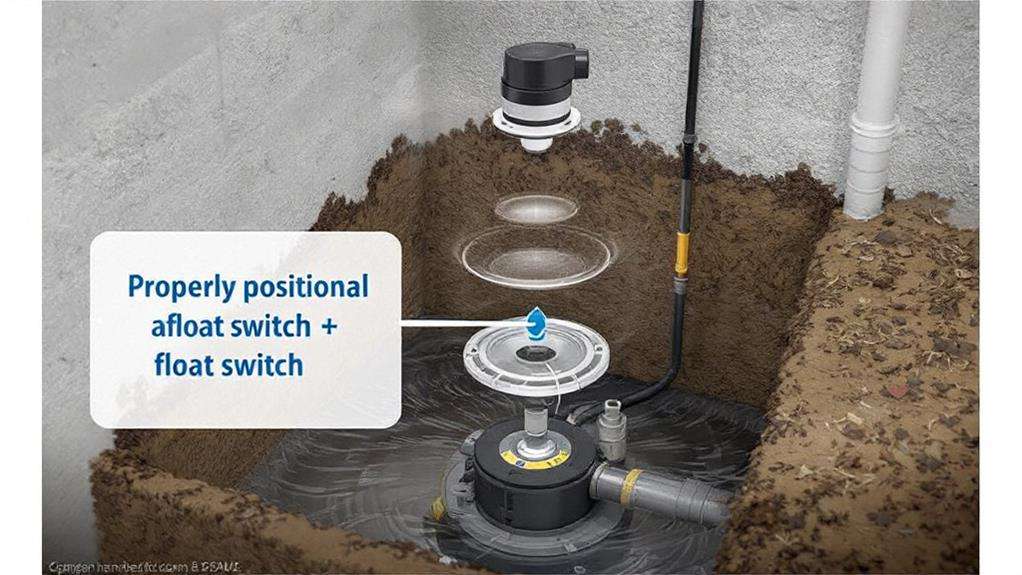
While keeping debris at bay is paramount, proper float switch positioning is equally important for ideal sump pump performance. When installing your float switch, ensure it has ample space to move freely up and down without any obstructions. This unrestricted movement is essential for the switch to accurately respond to changes in water level.
Position the float switch correctly to activate the sump pump when the water rises to a predetermined level. You'll need to adjust the switch height carefully to prevent the pump from cycling on and off too frequently, which can lead to premature wear and increased energy consumption. Remember, you shouldn't secure the float switch in a fixed position, as it needs to move with the water level fluctuations.
Regular inspections of your float switch are critical to maintain its effectiveness. Check for any signs of the switch getting stuck or impeded by debris in the sump pit. By keeping the float switch clean and properly positioned, you'll guarantee your sump pump activates when needed, protecting your home from potential water damage. Proper float switch positioning is a key factor in maintaining an efficient and reliable sump pump system.
Check Valve Installation
Why is the check valve so indispensable in a sump pump system? This small but vital component prevents water from flowing back into your sump pit after the pump has cycled, ensuring efficient water removal and safeguarding your basement from potential flooding.
When installing a check valve, you must:
- Position it correctly with the arrow pointing away from the sump basin
- Confirm it's functioning properly to prevent backflow
- Install it securely to maintain system effectiveness
To avoid common mistakes, always verify that you've installed the check valve in the right direction. A reversed check valve can severely impair your sump pump system's performance. Regularly inspect the valve for signs of wear or damage, and don't hesitate to replace it if it becomes stuck or faulty.
System Testing and Troubleshooting
Once you've completed the installation, it's crucial to test your sump pump system thoroughly and be prepared to troubleshoot any issues. Start by filling the sump pit with water to check if the float switch activates the pump. Pour water into the pit using a garden hose or buckets until the pump turns on. Observe if it's working properly and efficiently removing water.
Listen for any unusual noises or vibrations that might indicate problems. Guarantee the pump shuts off once the water level drops below the float switch. If it doesn't turn on or off as expected, check the electrical connections and float switch positioning.
Test the backup battery system if you've installed one. Unplug the main pump and pour water into the pit to activate the backup. Verify that it's functioning correctly and providing adequate power.
If you encounter issues, consult the manufacturer's troubleshooting guide. Common problems include clogged inlets, damaged impellers, or faulty switches. Don't hesitate to call a professional if you're unsure about resolving complex issues. Regular testing and maintenance will help ensure your sump pump remains dependable during heavy rains or flooding events.
Professional Assistance and Repairs
Despite the appeal of DIY projects, sump pump installations and repairs are best left to professionals. Attempting to tackle these tasks on your own can often lead to costly mistakes and future problems. Professional plumbers and contractors have the necessary tools, proficiency, and experience to properly address any sump pump issue.
When it comes to sump pump systems, you'll need a professional for:
- Initial installation
- Major repairs or replacements
- Complex troubleshooting
If you've tried basic troubleshooting and your sump pump still isn't working correctly, it's time to call a professional. They can quickly diagnose the problem and provide an effective solution, saving you time and money in the long run. Remember, improper installation or repairs can cause significant damage to your home's foundation and lead to flooding.
Don't hesitate to seek professional assistance when dealing with sump pump issues. While it may seem like an added expense upfront, it's a wise investment in protecting your home from water damage. By relying on experts, you'll guarantee your sump pump system is set up correctly and functioning ideally, giving you peace of mind during heavy rains and potential flooding situations.