
Expert Guide to Using Threaded Plumbing Connectors

Commanding threaded plumbing connectors is indispensable for successful home repairs and improvements. You'll need to familiarize yourself with various types, including nipples, couplings, elbows, tees, and unions. When selecting connectors, consider material, size, temperature range, and pressure rating. Vital tools include pipe wrenches, thread sealants, and pipe cutters. For proper installation, clean threads thoroughly, apply sealant, and tighten carefully. If you encounter leaks, inspect for damage and reassemble with fresh sealant. Regular maintenance helps prevent issues. By understanding these basics, you'll be well-equipped to tackle most plumbing projects, but there's always more to learn about this pivotal aspect of home maintenance.
Types of Threaded Plumbing Connectors
There are several common types of threaded plumbing connectors you'll encounter in your DIY projects. The most frequently used are nipples, couplings, elbows, tees, and unions. Nipples are short, straight pipes with male threads on both ends, while couplings join two pipes with female threads. Elbows change the direction of pipe flow, typically at 45 or 90-degree angles. Tees create branches in the plumbing system, and unions allow for easy disassembly and reassembly of pipe sections.
When selecting threaded connectors, consider the connector materials and connector sizes. Common materials include brass, stainless steel, PVC, and galvanized steel. Each material has its advantages, such as corrosion resistance or affordability. Connector sizes typically range from 1/4 inch to 4 inches in diameter, with the most common residential sizes being 1/2 inch and 3/4 inch. It's essential to match the connector size to your existing plumbing to confirm a proper fit. Always use thread tape or pipe joint compound to create a watertight seal when installing threaded connectors. By familiarizing yourself with these connector types, materials, and sizes, you'll be better equipped to tackle your plumbing projects with confidence.
Choosing the Right Connector
Selecting the right connector for your plumbing project is essential for guaranteeing a proper fit and leak-free installation. When choosing a threaded plumbing connector, you'll need to evaluate several factors, including connector material selection and connector size considerations.
First, think about the type of pipes you're connecting and the environment they'll be in. Different materials are better suited for specific applications. For example, brass connectors are durable and corrosion-resistant, making them ideal for both indoor and outdoor use. Plastic connectors are lightweight and affordable but may not be suitable for high-pressure systems.
Next, focus on the size of your pipes and the connector's threading. Measure your pipes accurately and choose a connector with matching thread size and type. Remember that some connectors may require adapters or reducers to fit properly.
Finally, consider these additional factors when selecting your connector:
- Temperature range: Ensure the connector can withstand the expected water temperatures
- Pressure rating: Choose a connector that can handle your system's pressure
- Local building codes: Verify that your chosen connector meets all relevant regulations
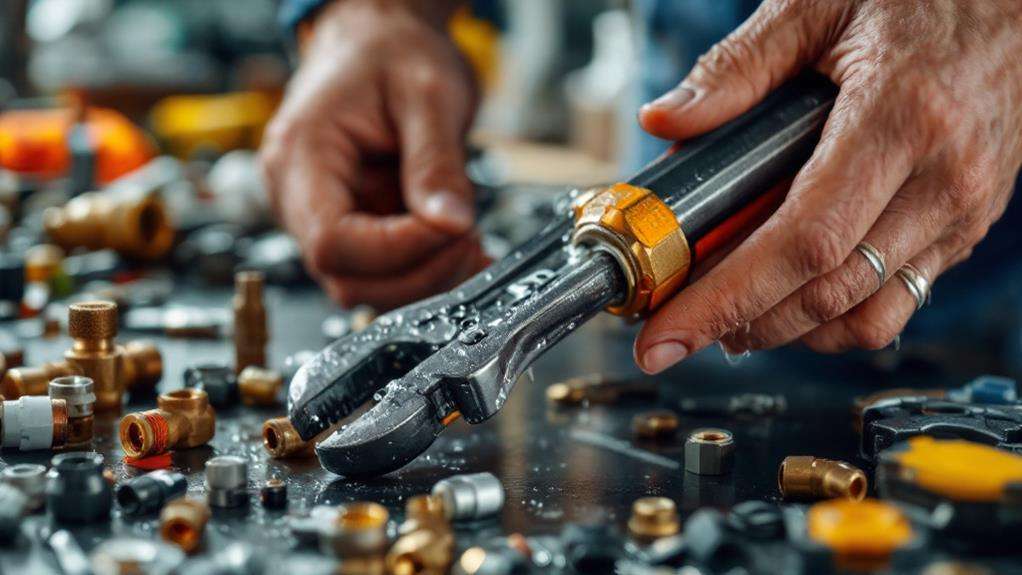
Tools for Threaded Connections
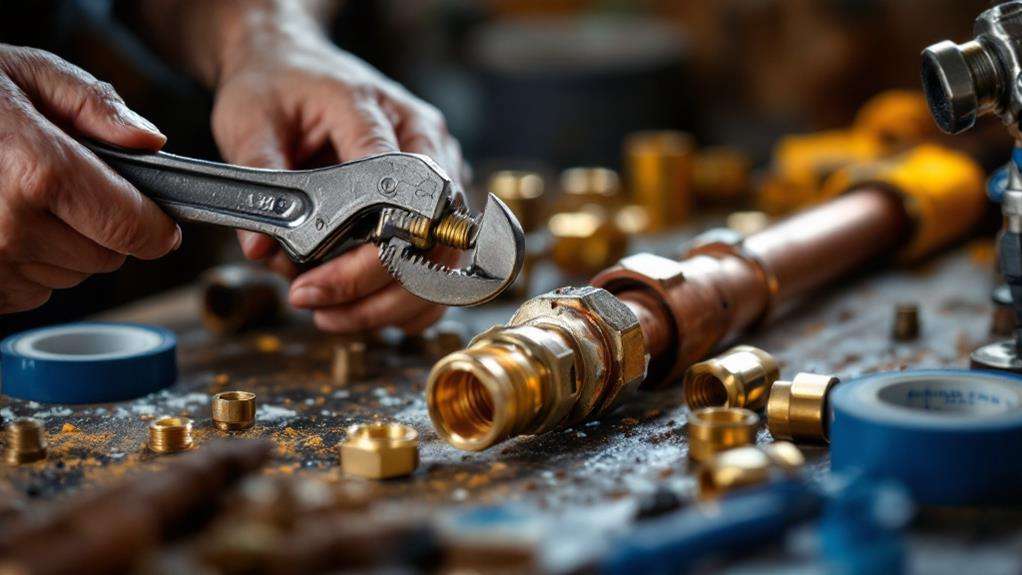
Once you've chosen the right connector, you'll need the proper tools to complete your threaded plumbing connection. The most essential tool is a pair of pipe wrenches. These heavy-duty wrenches come in various sizes and are designed to grip and turn pipes and fittings without damaging them. You'll typically need two wrenches: one to hold the pipe steady and another to turn the fitting.
Thread sealants are imperative for ensuring a watertight connection. You have several options, including Teflon tape, pipe dope, and thread seal cord. Teflon tape is easy to apply and works well for most applications. Pipe dope, a paste-like substance, is ideal for larger connections and provides excellent sealing properties. Thread seal cord is a newer alternative that's gaining popularity due to its ease of use and effectiveness.
Other useful tools include a pipe cutter for trimming pipes to the correct length, a deburring tool to smooth cut edges, and a wire brush to clean threads before applying sealant. Don't forget safety equipment like gloves and safety glasses to protect yourself while working with plumbing materials and tools.
Proper Installation Techniques
Several key steps guarantee proper installation of threaded plumbing connectors. You'll need to start by cleaning both the male and female threads thoroughly, making certain they're free from debris and old sealant. Next, apply an appropriate thread sealant, such as Teflon tape or pipe dope, following the manufacturer's instructions for the specific type of connection you're making.
When threading the connectors together, follow these critical steps:
- Align the threads carefully to avoid cross-threading
- Hand-tighten the connection first to ensure proper alignment
- Use a wrench to tighten further, typically 1-2 turns beyond hand-tight
Don't overtighten, as this can damage the threads or the connector itself. After installation, it's essential to perform pressure testing to verify the integrity of your connections. This involves filling the system with water or air and checking for leaks at each joint.
Remember that different sealing techniques may be required for various types of connections or materials. Always consult local plumbing codes and manufacturer guidelines to ensure you're using the correct methods and materials for your specific application.
Troubleshooting Common Issues
Leak detection and repair are essential skills when working with threaded plumbing connectors. If you've installed your connectors correctly but still encounter issues, don't panic. Start by identifying leaks, which often manifest as water droplets or damp spots around the connection points. To pinpoint the source, dry the area thoroughly and wrap it with tissue paper. Check back after a few hours to see if the paper's wet.
Once you've located the leak, tighten the connection slightly with a wrench. Be careful not to overtighten, as this can damage the threads or compress the seal too much. If tightening doesn't solve the problem, you may need to disassemble the connection and check for damaged threads, debris, or misaligned seals. Clean the threads, replace any damaged parts, and reapply thread tape or sealant before reassembling.
Preventing damage is key to avoiding future issues. Always use the correct size and type of connector for your pipes, and avoid using excessive force when tightening. Regularly inspect your connections for signs of corrosion or wear, and address any problems promptly to prevent more serious leaks or failures.