
10 Common Faucet Problems and How to Fix Them
Common faucet problems include dripping, low water pressure, squealing noises, loose handles, temperature issues, and mineral buildup. You can often fix these yourself by replacing worn washers, cleaning aerators, tightening screws, or adjusting valves. For drips, disassemble the faucet and replace faulty parts. Low pressure might require cleaning the aerator or checking for leaks. Squealing noises can be resolved by cleaning or replacing components. Loose handles need tightening or replacement. Temperature issues may involve adjusting the water heater or mixing valve. Regular maintenance, like cleaning mineral deposits, can prevent many issues. With the right knowledge, you'll be equipped to tackle most faucet problems head-on.
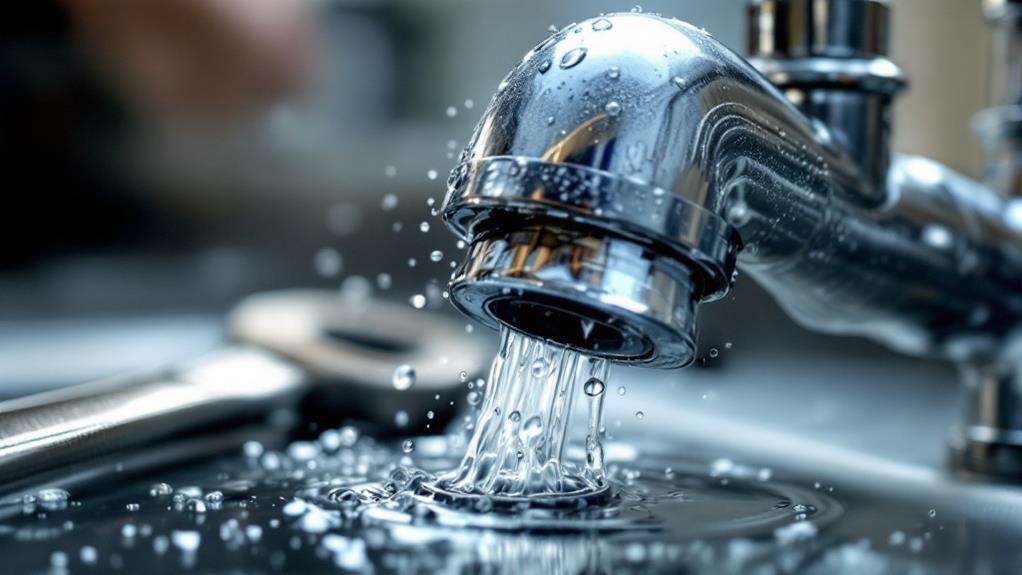
Dripping Faucet
A dripping faucet can drive you up the wall and waste gallons of water over time. It's often caused by worn-out washers or O-rings inside the faucet. To fix this, you'll need to disassemble the faucet and replace the faulty parts. Start by turning off the water supply and removing the faucet handle. If you encounter a stuck handle, apply penetrating oil and gently tap it with a hammer to loosen it.
Once the handle is off, remove the packing nut and stem. Inspect the washer and O-ring for signs of wear. Replace them if necessary, ensuring you get the correct size. While you're at it, check for mineral buildup and clean any debris you find. Reassemble the faucet, taking care not to overtighten the parts.
If the drip persists, the problem might be a worn valve seat. In this case, you'll need to replace the entire stem assembly. Another common issue is a clogged aerator, which can cause irregular water flow. To fix this, unscrew the aerator, soak it in vinegar, and clean out any debris before reattaching it.
Low Water Pressure
Low water pressure can be a frustrating issue that affects your daily tasks. When you're struggling with a weak stream from your faucet, there are several potential causes to examine. Before calling a plumber, try these troubleshooting steps:
- Check if the problem affects all faucets or just one
- Inspect the aerator for clogs or hard water stains
- Look for visible leaks in the supply lines
- Test the water pressure at the main valve
If you've determined the issue is isolated to one faucet, start by cleaning the aerator. Unscrew it from the faucet head and soak it in vinegar to remove any sediment buildup or hard water stains. For persistent clogs, use a small brush to gently scrub away debris.
If cleaning the aerator doesn't solve the problem, you might be dealing with a clogged cartridge or valve. These components can accumulate mineral deposits over time, restricting water flow. You'll need to remove and clean or replace these parts to restore proper pressure.
In cases where low pressure affects your entire home, the issue might lie with your main water supply or pressure regulator. You'll want to consult a professional plumber to diagnose and address these more complex problems.
Squealing or Whistling Noises
While low water pressure can be frustrating, a squealing or whistling faucet can be equally annoying. These high-pitched noises often occur when you turn on the tap, and they're typically caused by a few common issues.
One of the main culprits is a clogged aerator. Over time, mineral deposits can accumulate in the small screen at the end of your faucet, causing water to force its way through tiny openings. This creates a whistling sound. To remedy this, unscrew the aerator, clean it thoroughly with vinegar, and rinse it before reattaching.
Another possible cause is damaged washers. As washers wear out, they can become loose or misshapen, allowing water to vibrate against them and produce a squealing noise. You'll need to replace these washers to resolve the problem. Turn off the water supply, disassemble the faucet, and install new washers.
If these solutions don't work, you might be dealing with worn valve seats or loose parts within the faucet assembly. In these cases, it's best to consult a plumber or consider replacing the entire faucet to achieve a quiet, smooth water flow.
Loose Handle
Many homeowners encounter a loose faucet handle at some point. This common issue can be frustrating, but it's often easy to fix. A loose handle can result from regular wear and tear, an overtightened handle, or improper handle alignment. If left unaddressed, it may lead to more serious problems like leaks or internal damage.
To fix a loose faucet handle, follow these steps:
- Turn off the water supply to the faucet
- Remove the handle by unscrewing the decorative cap and loosening the setscrew
- Inspect the handle and stem for damage or wear
- Tighten or replace the setscrew as needed
If the handle is still loose after tightening the setscrew, you may need to replace the entire handle assembly. In some cases, the problem might be due to a worn-out cartridge or valve stem. You'll need to remove the handle and cartridge to inspect and replace these parts if necessary.
Water Temperature Issues
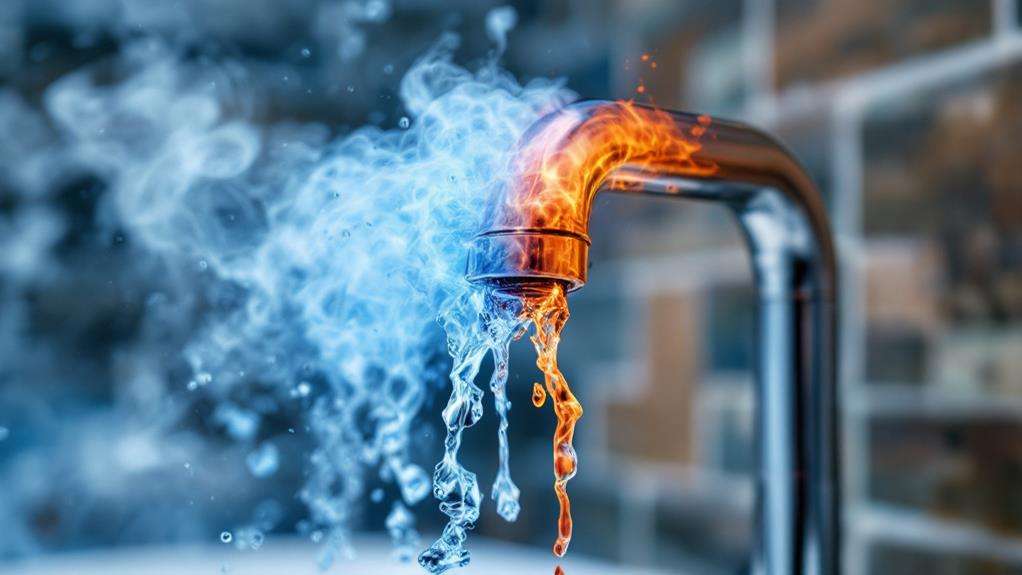
Struggling with inconsistent water temperature from your faucet can be a frustrating experience. Temperature fluctuations can occur due to various reasons, ranging from simple adjustments to more complex water heating malfunctions. First, check if the issue affects all faucets or just one. If it's isolated, the problem likely lies within that specific fixture.
For single-handle faucets, the temperature-limiting device may need adjustment. Remove the handle and locate the limiting ring or stop. Adjust it slightly to allow for a wider range of hot water. In dual-handle faucets, guarantee both hot and cold water valves are fully open.
If the problem persists across multiple faucets, inspect your water heater. The thermostat might need recalibration or replacement. Sediment buildup in the tank can also cause temperature inconsistencies. Flush the tank to remove debris and improve performance.
For instant temperature changes, a faulty mixing valve could be the culprit. This component balances hot and cold water and may require professional replacement. In older homes, inadequate pipe insulation can lead to heat loss. Consider adding insulation to maintain consistent temperatures throughout your plumbing system.
Mineral Buildup
Three common signs of mineral buildup in your faucet are reduced water flow, strange noises, and visible white or green deposits. This limescale accumulation occurs when hard water evaporates, leaving behind minerals like calcium and magnesium. If left untreated, mineral buildup can damage your faucet and plumbing system.
To address this issue, you'll need to focus on mineral deposit removal. Here are some effective methods:
- Vinegar soak: Remove the aerator and soak it in white vinegar overnight.
- Lemon juice: Wrap a lemon juice-soaked cloth around the faucet for a few hours.
- Baking soda paste: Apply a paste of baking soda and water to affected areas.
- Commercial descaler: Use a store-bought product designed for limescale removal.
After treating the buildup, scrub the faucet with an old toothbrush to remove loosened deposits. Rinse thoroughly and reassemble any removed parts. To prevent future mineral accumulation, consider installing a water softener or regularly cleaning your faucets with vinegar. You'll maintain ideal water flow and extend your faucet's lifespan by addressing mineral buildup promptly and consistently.
Leaking Spout
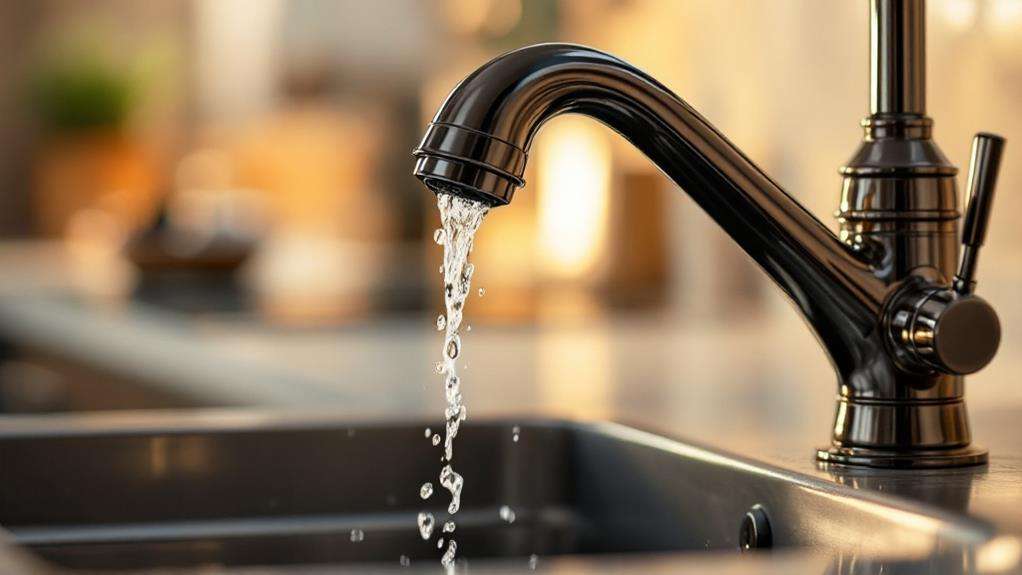
While mineral buildup can restrict water flow, a leaking spout often results in unwanted water flow. This common issue can waste water and increase your utility bills if left unaddressed. The most frequent cause of a leaking spout is worn faucet washers or gaskets.
To fix a leaking spout, you'll need to disassemble the faucet. Start by turning off the water supply and removing the handle. Next, unscrew the packing nut and remove the stem. Inspect the washer or gasket at the base of the stem for signs of wear or damage. If you find any, replace the worn faucet washers or gaskets with new ones of the same size and type.
For compression faucets, you might need to replace the O-ring as well. Cartridge and ceramic disk faucets may require replacing the entire cartridge or disk. Once you've replaced the necessary parts, reassemble the faucet in reverse order. Turn the water supply back on and test the faucet for leaks. If the problem persists, you may need to consult a professional plumber for more complex issues.
Faulty Cartridge
A faucet's cartridge is the heart of its operation, controlling water flow and temperature. When you're experiencing issues with your faucet, a faulty cartridge might be the culprit. Signs of a worn out cartridge include:
- Difficulty turning the handle
- Inconsistent water temperature
- Dripping when the faucet is off
- Reduced water flow
If you've identified these symptoms, it's time to evaluate faulty cartridge replacement. First, turn off the water supply and remove the faucet handle. You'll need to locate and remove the retaining nut to access the cartridge. Once exposed, carefully extract the old cartridge and take it to a hardware store to find an exact match.
To install the new cartridge, simply reverse the removal process. Insert the new cartridge, ensuring it's properly aligned. Replace the retaining nut and handle, then turn the water supply back on. Test your faucet to confirm the issue is resolved. If you're uncomfortable with this process, don't hesitate to call a professional plumber. They can quickly diagnose and replace a faulty cartridge, restoring your faucet's functionality.
Corroded Valve Seat
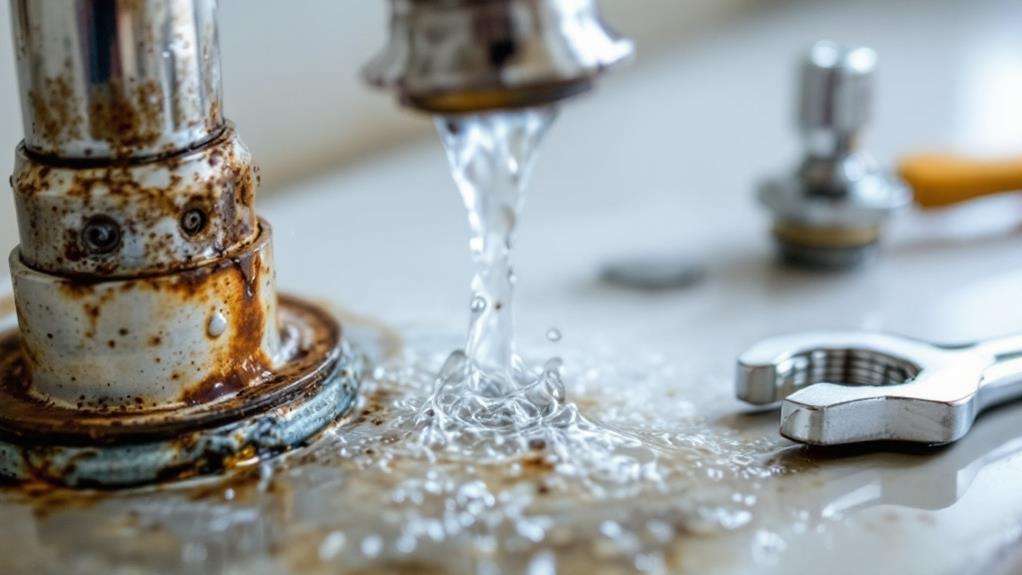
Inside your faucet, the valve seat forms a seal between the faucet body and the washer. Over time, this component can become corroded due to water exposure and mineral buildup. A corroded valve seat often leads to leaks around the spout base, even when the faucet is turned off.
You'll need to address a corroded valve seat promptly to prevent water damage and wasted resources. Start by shutting off the water supply and removing the faucet handle and stem. Inspect the valve seat for signs of corrosion, such as pitting or roughness. If you notice a calcified valve seat, you can try cleaning it with vinegar or a specialized cleaner to remove mineral deposits.
For more severe corrosion, you might need to replace the valve seat entirely. Use a valve seat wrench to remove the old seat and install a new one. Be sure to choose the correct size and type for your faucet model. If you're dealing with a sediment clogged valve, flush the system thoroughly to remove debris. Regular maintenance, including periodic cleaning and inspection, can help prevent valve seat corrosion and extend your faucet's lifespan.
Worn-Out O-Ring
Another common issue that can lead to faucet leaks is a worn-out O-ring. This small rubber ring creates a watertight seal between the faucet handle and stem. Over time, it can deteriorate, causing water to seep out around the handle when you turn on the faucet. If you notice this type of leak, it's likely that you need to replace the O-ring.
To fix a worn-out O-ring:
- Turn off the water supply to your faucet
- Remove the handle and stem assembly
- Locate the old O-ring and remove it
- Replace it with a new O-ring of the same size and type
When replacing the O-ring, be careful to avoid improper installation, as this can lead to continued leaks. Guarantee the new O-ring is seated correctly and not twisted or pinched. If you're unsure about the exact size or type of O-ring needed, bring the old one to a hardware store for comparison.
Sometimes, a faulty seal replacement can occur if you use an incorrect O-ring or damage it during installation. If you're not confident in your DIY skills, it's best to consult a professional plumber to guarantee proper replacement and prevent further issues.